
If you want to keep a black car looking its best, you have to approach washing it with a specific mindset: gentle and methodical. This isn't just about getting it clean; it's about protecting that deep, reflective paint from scratches and swirl marks. It all comes down to a multi-step process: a pre-wash foam bath, the classic two-bucket wash, and a touch-free drying method. Master these, and you'll get that flawless, mirror-like finish every time.
Why Washing a Black Car Is Different

There's no denying it—a freshly detailed black car is a showstopper. That deep, liquid shine is simply unmatched. But here's the catch: the very quality that makes it so stunning also makes it incredibly unforgiving. Unlike a white or silver car that can hide minor imperfections, black paint acts like a high-definition mirror, putting every single flaw on full display.
The Challenge of Black Paint
The problem is all about how light plays off the surface. A black car’s clear coat is designed to reflect light directly back at you, which is what creates that incredible depth and gloss. But when you introduce microscopic scratches, often called swirl marks, they catch and fracture that light. Suddenly, what should be a perfect reflection is a web of visible imperfections.
Simple mistakes that you might get away with on a lighter-colored car can wreak havoc on a black finish. Things like:
- Using just one wash bucket, which means you're just dunking a dirty mitt back into your clean water.
- Washing in direct sunlight, which bakes soap and hard water minerals onto the paint before you can rinse them.
- Grabbing an old bath towel or a rough chamois to dry the car, which essentially drags tiny bits of grit across the paintwork.
The name of the game is minimizing physical contact. And when you do have to touch the paint, you need to make sure it's with a perfectly clean, well-lubricated tool. Every single wipe is a chance to either protect your finish or damage it.
A Meticulous but Rewarding Process
Because it's so sensitive, black paint just demands a smarter washing strategy. In fact, studies have shown that using proper techniques—like the two-bucket method and always washing in the shade—can cut your risk of creating new swirl marks by up to 60%. This isn't just about cleaning; it's about active paint preservation. For those interested, you can find more insights on the car washing service market that really underscore why these techniques matter.
Once you understand why black paint is so unique, you can arm yourself with the right tools and, more importantly, the right mindset. The methods we’re about to cover will shift car washing from a Saturday chore into a careful craft that protects your investment and delivers that jaw-dropping shine you fell in love with at the showroom.
Assembling Your Car Detailing Toolkit

Washing a black car the right way is all about finesse, not brute force. And that finesse starts long before water ever hits the paint—it begins with the tools you choose.
Grabbing a gritty old sponge or a retired bath towel is the fastest route to a paint job covered in swirl marks. Think of your detailing toolkit as your first line of defense against those dreaded imperfections. The goal here is simple: touch the paint as gently and as cleanly as possible.
The Two-Bucket System: Your Non-Negotiable Foundation
If you take only one thing away from this guide, let it be this: you must use the two-bucket method. This isn't just some fancy trick for pro detailers; it's the absolute bedrock of a safe wash for dark-colored cars.
Here’s the breakdown. You’ll have one bucket for your car shampoo solution (the "wash" bucket) and a second one filled with plain water (the "rinse" bucket). After washing a small section of your car, you dunk and scrub your dirty mitt in the rinse bucket first, releasing all the dirt and grime. Only then do you dip it back into the soapy wash bucket.
This one simple step prevents you from dragging the dirt you just removed from your rocker panels all over your hood.
Pro Tip: To really level this up, drop a Grit Guard insert into the bottom of both buckets. This simple plastic grate acts as a washboard, knocking dirt loose from your mitt and trapping it safely at the bottom, far away from your delicate clear coat.
Essential Gear for a Swirl-Free Wash
With your bucket system sorted, let's talk about the other crucial players. The quality of your shampoo, mitt, and pre-wash tools directly determines how safe your wash will be.
Getting your car ready for a safe wash involves some essential gear, but there are also a few upgrades that can make the job easier and more effective. Here's a look at what you truly need versus what's nice to have.
Essential Vs Optional Tools For Washing A Black Car
| Tool Category | Essential Item | Why It's Essential | Optional Upgrade |
|---|---|---|---|
| Buckets | Two 5-gallon buckets | Prevents cross-contamination of dirt and grit, which is the primary cause of swirl marks. | Buckets with a dolly for easy rolling around the vehicle. |
| Grit Management | Two Grit Guards | Traps dirt at the bottom of the buckets, preventing it from being reintroduced to your wash mitt. | A Dirt Trap or similar advanced grit filter. |
| Wash Media | Plush Microfiber Wash Mitt | The deep pile lifts dirt away from the paint surface, unlike sponges which drag grit across the paint. | Multiple mitts—one for upper panels, one for lower. |
| Cleaning Agent | pH-Neutral Car Shampoo | Safely cleans without stripping existing wax or sealant, providing crucial lubrication to prevent scratching. | A shampoo with added gloss enhancers or ceramic (SiO2) infusion. |
| Pre-Wash | Foam Gun (garden hose) | Loosens heavy dirt and grime before you touch the car, dramatically reducing the risk of scratching. | A pressure washer and a dedicated foam cannon for thicker, denser foam. |
| Drying | Large Microfiber Drying Towel | Highly absorbent and soft, designed to soak up water safely without leaving streaks or scratches. | A filtered air blower or "car dryer" for a completely touchless dry. |
Ultimately, starting with the essentials is key. You can always add the optional upgrades later as you get more into detailing.
Here’s a bit more on why those essentials are so important:
-
pH-Neutral Car Shampoo: Step away from the dish soap. While great for greasy plates, it’s a death sentence for your car’s protective layers. It strips wax and sealants, leaving your paint naked and vulnerable. A good pH-neutral car soap is engineered to clean effectively while being gentle, and most importantly, it adds lubrication that lets your mitt glide effortlessly.
-
Plush Microfiber Wash Mitt: Sponges are your enemy. Their flat surfaces trap grit and drag it across the paint, creating a web of fine scratches. A high-quality microfiber mitt, on the other hand, has a deep, plush pile. Its long fibers pull dirt particles up and into the mitt, safely away from the paint surface.
-
Foam Gun: A proper pre-wash is a game-changer for black cars. While a full pressure washer and foam cannon setup is the gold standard, a quality foam gun like the SwiftJet, which hooks right up to a standard garden hose, is a fantastic and accessible starting point. It lays down a thick blanket of foam that dwells on the surface, softening and lifting the heaviest grime before you ever make physical contact.
For a comprehensive look at all the tools that can take your car care to the next level, be sure to review our complete car detailing supplies list.
The Pre-Wash Foam Bath for a Safer Clean
If there's one secret to washing a black car without scratching it, this is it. The most important work happens before your wash mitt ever touches the paint. I'm talking about the pre-wash—a critical first step that dramatically cuts down the risk of grinding dirt and grit into that delicate clear coat.
Think of it as a touchless first pass. The goal is simple: cover the entire car in a thick blanket of snow foam using either a foam cannon (with a pressure washer) or a foam gun hooked up to your garden hose. This isn't just for looks. The foam is designed to cling to the surface, where it immediately starts to break down, lift, and encapsulate all that nasty road grime and grit.
As the foam slowly drips off the car, it takes all that abrasive debris with it.
This pre-wash isn't optional, especially for dark, soft paint. You're removing the vast majority of the scratch-inducing particles before the main wash. That means your wash mitt has far less dirt to deal with, which is the key to preventing swirl marks.
Getting the Foam Just Right
The consistency of your foam makes all the difference. You're not looking for a thin, watery solution or a dry, airy poof. The sweet spot is a rich, shaving cream-like consistency. It should be thick enough to stick to the side of your doors but wet enough to slowly slide down the panels.
This perfect balance gives the cleaning agents in the soap enough time to dwell on the surface and do their job properly.
If you're new to this, learning how to use a foam gun is a game-changer and surprisingly easy. Just be methodical and coat every inch of the car, starting from the roof and working your way down for total coverage.
Dwell Time and Rinsing Strategy
Once the car is completely covered in foam, just let it sit. Give it a good five to ten minutes to work its magic. This "dwell time" is when the soap is actively breaking the bond between the dirt and your car's paint. You'll literally see the foam turn brown as it pulls contaminants off the surface.
One crucial tip: never let the foam dry on the car. If you're washing in the sun or on a warm day, keep a close eye on it, as dried-on soap can leave behind stubborn residue.
When you're ready to rinse, grab your pressure washer or hose and, once again, work from the top down. Use long, smooth, sweeping motions to chase the dirty foam off the car. This ensures all that loosened grit is carried away, leaving you with a much cleaner (and safer) surface for the next phase. The car won't be spotless yet, but the most dangerous, scratch-causing particles will be long gone.
The Two-Bucket Method: Your Best Defense Against Swirls
Once the foam has done its job lifting away the heavy stuff, it's time for the hands-on contact wash. This is where the magic—and the mistakes—happen. If you’re not careful, this is precisely when you’ll inflict those dreaded swirl marks that haunt black paint. The absolute best way to do this safely is the two-bucket method.
It sounds simple, and it is, but it's also incredibly effective at preventing cross-contamination. You’re just keeping your clean, soapy water separate from your dirty rinse water. This little step ensures your wash mitt is fresh and clean every time it touches the paint, which dramatically cuts down the risk of dragging grit across that beautiful black finish.
Getting Your Buckets Ready
First, grab two buckets. For best results, pop a Grit Guard into the bottom of each one.
- Bucket 1 (Wash Bucket): Fill this one with your favorite pH-neutral car shampoo and water. Stick to the dilution ratio on the bottle for the best suds and cleaning power.
- Bucket 2 (Rinse Bucket): This one just gets filled with plain, clean water.
Here’s the logic: you wash a panel, and your mitt is now dirty. Before you even think about getting more soap, you dunk that mitt into the Rinse Bucket and scrub it against the Grit Guard. This action dislodges the dirt and traps it at the bottom. Only then do you go back to the Wash Bucket for fresh, clean suds.
This infographic lays out the pre-wash flow, which is what you should have just completed before starting your two-bucket wash.
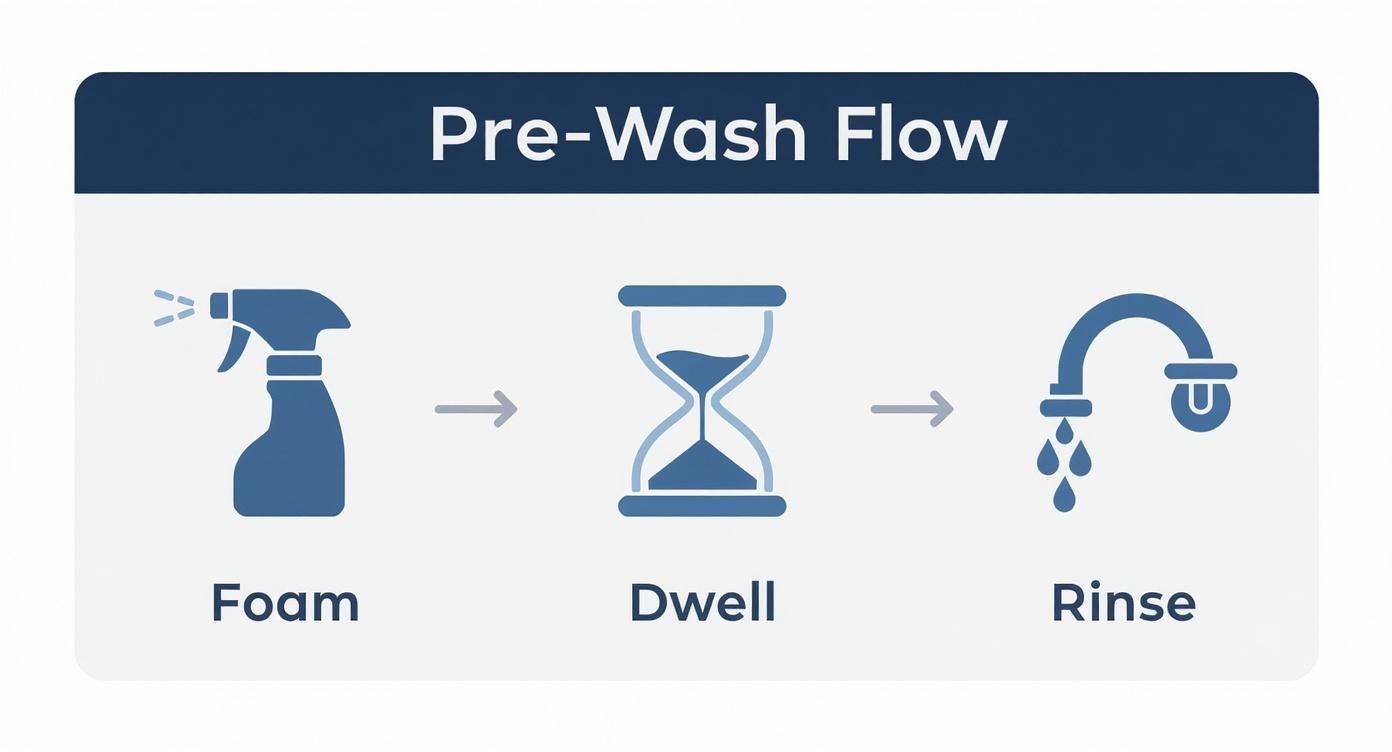
Following this sequence means the most dangerous, scratchy particles are already gone before your mitt ever makes contact.
This careful approach isn't just for detailing nerds anymore. More and more car owners are learning how to properly care for their investment. It's no surprise that in the U.S., about 77% of drivers now lean on professional services, a huge jump from just 48% two decades ago. People are realizing how important paint preservation is. Luckily, methods like this bring that professional level of care right into your own driveway.
Nailing the Washing Technique
With your buckets set up, it’s time to get started. Always, always, always wash from the top down. Think about it—the roof, hood, and windows are way cleaner than your rocker panels. Starting high prevents you from dragging the worst of the road grime all over the car.
When you're washing, use gentle, straight-line motions. No circles! Wiping in circles is exactly how you create those ugly, web-like swirl marks that show up so easily on black cars. I like to focus on one small section at a time, like half the hood or a single door.
Pro Tip: Be disciplined. After you finish every single panel, dunk your mitt in the Rinse Bucket, give it a good scrub on the Grit Guard, and then go back to the Wash Bucket. It might feel repetitive, but this is the secret to a scratch-free wash.
Save the dirtiest parts of the car for the very end. This means areas like:
- The lower sides and rocker panels
- The area right behind the wheels
- The lower half of your bumpers
These spots are magnets for heavy grit. By washing them last, you keep all that nasty stuff contained and away from the rest of your paint. If you want to dive even deeper, check out our full guide on the two-bucket wash method.
Drying and Protecting Your Flawless Finish
https://www.youtube.com/embed/DjTollRHOjw
You've done all the hard work. The pre-wash, the foam bath, the careful two-bucket wash—it’s all behind you. But don't relax just yet. The next five minutes are arguably the most critical for a black car, as improper drying can instantly ruin that perfect, swirl-free finish you just worked so hard for.
This is where most of the damage happens. Dragging the wrong material across your paint is the number one cause of water spots and fine scratches. Forget about old bath towels or that trusty chamois you've had for years. They're just not up to the task and will inevitably pull microscopic bits of grit across your clear coat, undoing everything you just did.
The Safest Drying Methods
So, how do you get every drop of water off without creating a mess of new swirl marks? You have two fantastic, pro-level options: a premium microfiber towel or a touchless air blower.
-
Plush Microfiber Drying Towel: Not just any microfiber will do. You need a dedicated drying towel—something large, thick, and with a high GSM (grams per square meter) count. These are designed to be incredibly soft and absorbent, pulling water off the surface instead of pushing it around.
-
Touchless Air Drying: If you want a truly 100% scratch-free method, you can't beat air. A clean leaf blower or a purpose-built car dryer like those from BigBoi or EGO is perfect. They blast water out of every nook and cranny—mirrors, grilles, emblems—where towels can't reach, and nothing ever physically touches your delicate paint.
Pro Tip: The cardinal rule of drying black paint is to blot, never wipe. Lay your plush microfiber towel flat on a panel, gently pat it down to absorb the water, and then lift it straight off. Let the towel’s absorbency do all the work. This one change in technique makes a world of difference.
Add That Final Layer of Shine and Protection
With the car completely dry and free of water spots, it's time for the final, rewarding step. Applying a quality spray wax or paint sealant will take your car’s shine to the next level and add a crucial layer of protection.
Think of it as an invisible shield. This slick surface makes it much harder for dirt, dust, and grime to stick, which means your car stays cleaner longer and the next wash is significantly easier.
A good spray sealant takes just a few minutes to apply. Lightly mist a panel, spread the product evenly with a clean microfiber towel, and then gently buff to a brilliant, streak-free shine with a second, dry towel. This locks in your hard work and keeps that deep, wet look you're after.
This meticulous approach is part of a larger shift in car care. We're moving away from wasteful methods; a traditional car wash can use over 100 gallons of water. By using modern, efficient tools and techniques, we get better results while being more mindful of resources. You can read more about the evolution of car wash systems on FactMr.com to see how the industry is changing.
Mastering this final phase is what separates a good wash from a great one. It ensures that the deep, mirror-like finish you've just created actually lasts.
Your Top Questions About Washing a Black Car, Answered
Even when you have a solid game plan, a few questions always pop up, especially when you're dealing with something as unforgiving as black paint. It’s only natural to want to get every single detail right. Here are my answers to the questions I hear most often from fellow black car owners.
How Often Should I Be Washing My Car?
For a daily driver, giving it a good wash every one to two weeks is the sweet spot. Sticking to this schedule stops abrasive gunk—like road grime, bird droppings, and environmental fallout—from sitting on the paint long enough to cause real damage.
Let that stuff bake on for too long, and it starts to bond with your clear coat. That makes it a whole lot tougher (and riskier) to get off later. On the flip side, washing too often with a sloppy technique is a fast track to creating swirl marks. The real key is being consistent and using the right, safe methods every time.
Are Touchless Car Washes a Safe Bet?
Look, a touchless car wash is worlds better than those automatic car washes with the giant, spinning brushes of death. Those things are infamous for scratching paint, especially dark colors. But that doesn't mean touchless systems are a perfect substitute for doing it yourself.
To get a car clean without anything physically touching it, these places have to rely on some seriously powerful, high-pH chemical detergents. They're great at blasting off dirt, but those same harsh chemicals will also strip your wax or sealant right off the paint, leaving it totally exposed. They’re an okay choice if you're in a real bind, but they just can't match the gentle, controlled clean of a proper hand wash.
When you wash your car by hand, you are in complete control. You pick the pH-neutral soap, you use fresh, clean wash mitts, and you make sure every panel is handled gently. No automated system can ever promise that level of care.
What's the Best Way to Get Rid of Water Spots?
Water spots are the bane of every black car owner's existence. They’re just mineral deposits left behind when water evaporates, but they show up like a spotlight on dark paint. The best way to deal with them is to act fast.
- If the spots are fresh: A quick detailer spray and a high-quality microfiber towel will usually lift them right off without any fuss.
- If the spots are stubborn: This means the minerals have already started to etch into the clear coat. You'll need to step up to a dedicated water spot remover. These products are formulated with a mild acid that safely dissolves the mineral deposits without harming the paint underneath.
When you use a water spot remover, always work on a small, cool section at a time. Let the product dwell for the recommended time (usually less than a minute), and then rinse the area thoroughly to neutralize it. Of course, prevention is the best medicine—always dry your car completely and never, ever wash it in direct sunlight.
Morning or Evening: When's the Best Time to Wash?
The time of day you choose to wash your car makes a huge difference, particularly with black paint that soaks up heat like a sponge. I can't stress this enough: always wash in the early morning or late evening.
Your main enemy here is direct sunlight and a hot surface. When the sun is beating down, a black panel can get hot enough to fry an egg, causing your water and soap to evaporate in seconds. This is the number one cause of stubborn water spots and it also stops your car shampoo from working effectively.
Cooler, shadier conditions give you a much bigger window to get the job done right. You'll have plenty of time to wash, rinse, and dry each section of the car properly before the sun has a chance to ruin all your hard work. It's such a simple adjustment, but it has a massive impact on your final results.
Ready to achieve that perfect, swirl-free wash at home? The SwiftJet Car Wash Foam Gun connects to any garden hose to deliver the thick, dirt-lifting foam you need for a safer pre-wash. Ditch the buckets of dirty water and start with a cleaner surface every time. Discover the difference and get your SwiftJet today.