
Building Your Home Car Wash Setup That Actually Works
 If you're still reaching for that single, gritty bucket and an old kitchen sponge to wash your car, we need to talk. Learning how to wash a car properly is less about elbow grease and more about using an arsenal that actively protects your paint. The right tools are your best defense against the fine scratches and swirl marks that come from improper methods, giving you that shiny, showroom-level finish.
The Core Four: Your Non-Negotiables
The foundation of a truly safe, scratch-free wash is built on a few key items. First up is the two-bucket method. It’s non-negotiable. One bucket is for your soapy water, and the other holds plain water for rinsing your wash mitt. This simple separation is your first line of defense against dragging dirt right back across your car’s finish.
For a serious upgrade, drop a Grit Guard into the bottom of your rinse bucket. This simple plastic insert traps dirt at the bottom, keeping it far away from your mitt. You also absolutely need a dedicated, pH-neutral car shampoo. Forget dish soap—it's designed to strip grease and will do the same to your car's protective waxes. Pair that with a quality microfiber wash mitt, which safely traps dirt particles in its deep pile.
To make it easier to see what you truly need versus what's a great addition, here’s a quick breakdown of the essential tools for a proper car wash.
| Tool | Essential Level | Primary Use | Cost Range |
|---|---|---|---|
| Two Buckets & Grit Guards | Must-Have | Isolates dirt to prevent scratching paint | $20 - $40 |
| pH-Neutral Car Shampoo | Must-Have | Cleans effectively without stripping wax or sealants | $15 - $30 |
| Microfiber Wash Mitt | Must-Have | Lifts and traps dirt safely away from the surface | $10 - $20 |
| Foam Gun/Cannon | Highly Recommended | Pre-soaks the car to loosen heavy dirt before contact | $40 - $80+ |
| Dedicated Wheel Brushes | Recommended | Safely cleans corrosive brake dust from wheels | $15 - $30 |
| Microfiber Drying Towel | Must-Have | Absorbs large amounts of water without scratching | $20 - $40 |
As you can see, the core items are quite affordable, and even the more advanced tools offer significant benefits for protecting your vehicle's finish.
Beyond the Basics: Tools That Elevate Your Wash
Once you have the fundamentals down, a couple of extra tools can completely change your car washing game. A foam gun, like the SwiftJet, is a perfect example. It hooks up to a regular garden hose and covers your vehicle in a thick blanket of suds. This pre-soak stage is a game-changer because it loosens heavy grime, meaning you have to do far less scrubbing. If you're curious about what's out there, you can explore our top car washer spray gun picks to find one that fits your needs.
Additionally, investing in dedicated wheel cleaning tools is a smart move. Your wheels collect some of the most harmful contaminants, like corrosive brake dust, and using a separate set of brushes prevents you from transferring that gunk to your car’s paint. For drying, a large, plush microfiber drying towel with a high GSM (grams per square meter) rating is essential. It absorbs massive amounts of water safely and quickly, drastically reducing the chance of causing scratches during this critical final step.
Setting the Stage for Perfect Results Every Time
 Ever finish washing your car, step back to admire your work, and then watch in horror as streaks and water spots appear out of nowhere? The culprit often isn't your washing technique, but what you did—or didn't do—beforehand. Getting that flawless, showroom shine means mastering the setup just as much as the wash itself.
Read the Environment, Protect Your Paint
Your biggest enemy on wash day is often the sun. Washing your car when it’s sitting in direct sunlight or when the paint is hot to the touch is a guaranteed way to create a mess. The heat causes water and soap to evaporate almost instantly, leaving behind ugly soap scum and mineral deposits that can actually damage your clear coat.
Always try to work in a shady spot or wash during the cooler hours of the day, like early in the morning or later in the evening. A simple touch test on the hood will tell you everything you need to know; if it’s hot, wait. This level of care is what makes a home wash superior to a drive-through. While automated washes are popular—with over 70% of American car owners using them by 2020 and an estimated 8 million cars washed daily—they can't match the control you get at home. Taking the time to prep gives you an outcome you can be proud of, a trend you can even explore in market research reports.
Prepare Your Vehicle and Workspace
Before a single drop of water hits your car, do a quick walk-around. Look for any stubborn spots like bird droppings, bug splatter, or road tar. These will need a little extra attention with a pre-treatment spray. Trying to scrub them off mid-wash is a great way to scratch your paint. You might also want to cover sensitive parts like exposed air intakes or delicate trim with a bit of painter's tape.
Next, get your workspace organized for an efficient wash. Arrange your buckets, foam gun, wash mitts, and brushes so they're all within easy reach. This prevents you from constantly walking back and forth, dripping water everywhere, and potentially tripping over your hose. Having a smooth, organized process makes the job safer, faster, and much more satisfying. This principle of proper preparation is key to many DIY projects, which you can see in Trekology's How To Series.
Perfecting the Art of Scratch-Free Washing
With your car prepped and the area clear, it's time for the main event. This is where your technique truly shines. Properly washing a car isn't about scrubbing hard; it’s about using a gentle, deliberate method to lift dirt away without scratching the paint. Every move you make from here on out counts.
The Legendary Two-Bucket Method
If there's one non-negotiable rule for a safe car wash, it's the two-bucket method. This simple system is the best defense against swirl marks, which are usually caused by dragging dirt-filled water across your paint.
Here’s how it works: you have one bucket for your pH-neutral soap solution and a second one filled with plain rinse water. After you wash a single panel, you dunk your dirty wash mitt into the rinse bucket. It's a great idea to have a Grit Guard at the bottom to scrub the mitt against, which helps release all the trapped dirt particles. Only after a thorough rinse do you dip it back into your clean soap bucket. This little ritual prevents you from rubbing grit all over your car's finish.
Your Washing Sequence Matters
To get a perfect finish, you need a game plan. Always work from the top of the car down, tackling one small section at a time. Start with the roof, then move onto the glass, the hood, the trunk, and the upper parts of the doors.
The lower sections of your car collect the most road grime and dirt, so you should always save them for last. This top-down approach stops dirty water from running down and ruining the areas you’ve just cleaned. It’s a simple workflow that makes a huge difference.
This infographic shows the wash-and-rinse cycle you should repeat for every panel.
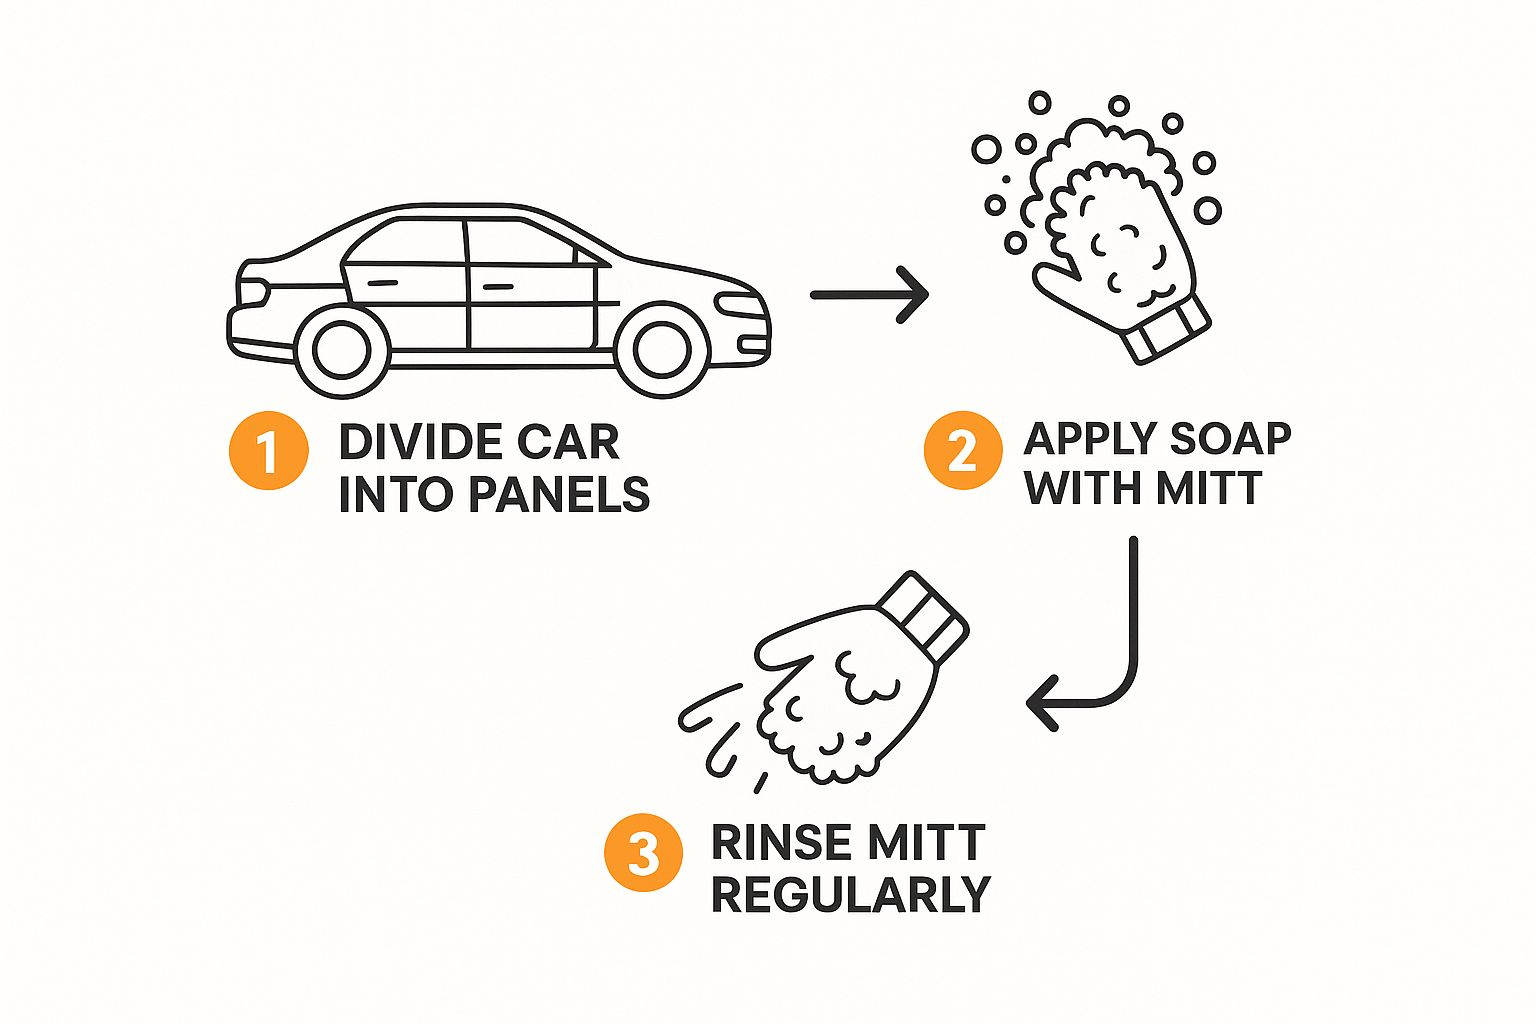
As the visual shows, rinsing your mitt isn't a one-time thing—it's a critical part of the process for each section. As you glide your soapy mitt over the paint, use very light pressure and let the soap’s lubricants do the real work. Move in straight, overlapping lines instead of the classic "wax-on, wax-off" circles, which are more likely to create swirl marks. This careful approach is exactly why the professional car wash industry is booming. Valued at USD 34.31 billion in 2024, it's expected to climb to USD 49.06 billion by 2030 because people pay for a flawless finish. You can explore the industry's growth here. By mastering these techniques, you're basically giving your car that same professional treatment at home.
Mastering the Final Rinse and Drying Like a Pro
You’ve done all the hard work of washing, and now your car is gleaming under a blanket of suds. But these next few steps are what separate a good-looking wash from a truly professional one. This is where you can either lock in that perfect shine or, unfortunately, create swirl marks and water spots that ruin the finish.
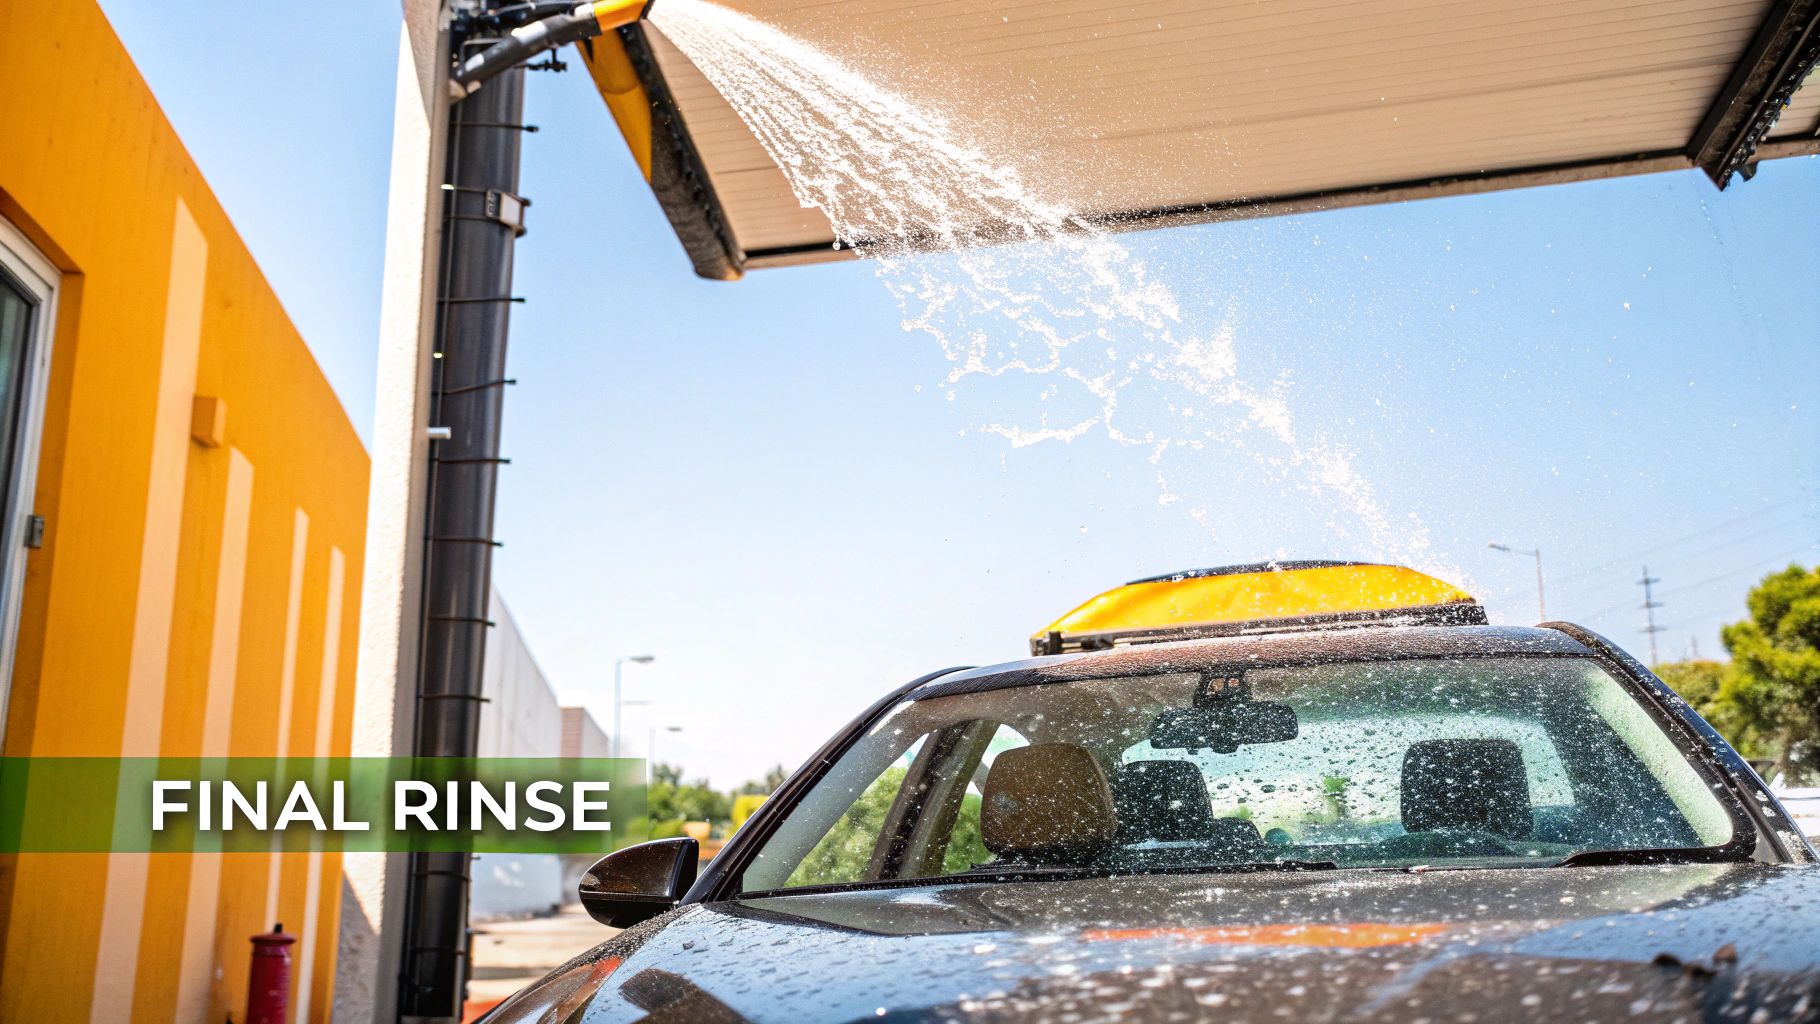
The Sheeting Rinse: Let Water Do the Work
Here's a trick the pros use that feels counterintuitive at first. Instead of blasting the soap off with a high-pressure jet, take the nozzle off your hose. Let a gentle, open-ended stream of water flow over the car, starting from the roof and working your way down.
This creates a "sheet" of water that clings to the surface, pulling the vast majority of suds and water droplets down and off the car with it. It’s an incredibly effective way to get the car about 80% dry before you even touch it with a towel and a key part of learning how to wash a car properly.
Drying Without Inducing Scratches
This is the moment of truth for your paint. Please, step away from old bath towels or a synthetic chamois. They might feel soft, but they’re notorious for dragging tiny, unseen particles of grit across your paint, leaving behind a web of fine scratches. Your best friend here is a large, plush microfiber drying towel.
- Blot, Don't Wipe: This is the most important technique to learn. Lay the towel across a panel, like the hood or a door, and gently pat it down to absorb the water. Then, lift the towel and move to the next wet area. This blotting motion minimizes friction and is the safest way to dry your car.
- Handle Tricky Areas: Water loves to hide in mirrors, door handles, gas caps, and around emblems, only to drip out later and ruin your perfect finish. Use a smaller, separate microfiber cloth or a car dryer to blow the water out of these spots before you call it a day.
This gentle approach is your best defense against water spots. If you're fighting a battle with mineral deposits left behind from previous washes, a more specific approach might be needed. You can check out our guide on removing water spots from your windshield for some expert tips.
Achieving this kind of flawless finish is exactly why the professional car washing industry is so massive, with a global market size of USD 24 billion in 2022. When you master techniques like these, you’re bringing that same professional quality right to your own driveway. You can discover more insights into this growing industry here.
Conquering Stubborn Stains and Problem Areas
 You've finished your wash, stood back to admire your work, and... what's that? A stubborn spot that just wouldn't budge. We’ve all been there. I’m talking about the classic offenders: baked-on bird droppings, sticky tree sap, and that gritty road tar that a regular wash mitt seems to glide right over.
Targeted Treatments for Tough Grime
Leaving these spots isn't just an eyesore; it's a recipe for permanent damage. Bird droppings, for example, are surprisingly acidic and can start to etch into your car’s clear coat in just a few days. The trick isn't to scrub harder—that will just scratch your paint. It’s about working smarter and treating each type of stain with a specific approach.
Seasonal problems, like bug splatter in the summer or corrosive road salt in the winter, often need a specialized cleaner to break them down safely. Tree sap is another classic headache that requires a bit more care. If you find your car covered in that sticky mess, it's worth checking out a complete guide on removing tree sap safely.
To make things easier, here’s a quick-reference table for dealing with the most common messes you'll find on your car.
| Stain Type | Removal Method | Tools Needed | Safety Tips |
|---|---|---|---|
| Bird Droppings | Soak the spot with a quick detailer spray, let it dwell for a minute, then gently lift it away with a clean microfiber towel. | Quick detailer spray, microfiber towels | Never wipe a dry dropping. The grit acts like sandpaper and will scratch your paint. |
| Road Tar | Apply a dedicated tar remover solvent to a cloth and gently dab the tar spots until they dissolve. | Tar remover solvent, soft microfiber cloth | Work in a well-ventilated area and try to avoid getting the solvent on unpainted plastic trim. |
| Tree Sap | Use a cotton ball soaked in isopropyl alcohol or a specialized sap remover to soften and wipe away the sap. | Isopropyl (rubbing) alcohol, sap remover, cotton balls or microfiber towel | Always test the remover on a small, inconspicuous area of your paint first to ensure it's safe. |
| Bug Splatter | Use a dedicated bug remover spray before you wash. Let it soak to break down the proteins, then wash as normal. | Bug remover spray, bug sponge or microfiber towel | Remove bugs as soon as possible. Their residue is acidic and can damage the clear coat over time. |
The main takeaway here is to let the chemical do the work. The goal is always to dissolve the stain so you can lift it away, not to scrub it into submission.
Handling Delicate Surfaces
Beyond the big, flat panels, your car's smaller details are magnets for trapped dirt and old wax residue. I'm talking about the textured plastic trim, rubber window seals, and the little crevices around your car's emblems. Your big, fluffy wash mitt is great for the doors and hood, but it just skips right over these intricate areas.
This is where a soft-bristled detailing brush becomes your best friend. A clean, soft-bristled toothbrush also works perfectly in a pinch. Just dip it into your soapy water and gently agitate the dirt from those tight spaces. This focused cleaning ensures every single part of your vehicle looks spotless.
This is the secret that separates a quick wash from a professional-level detail. Paying attention to these small areas is how you truly master how to wash a car properly, making your vehicle look meticulously cared for.
Adding Those Final Touches That Turn Heads
So, you’ve washed and dried your car, and every surface is spotless. This is where the real magic happens. A clean car is one thing, but a protected and meticulously detailed car is what truly stands out. Now it's time to lock in all that hard work and make sure that incredible shine lasts for weeks, not just a few days.
Properly washing a car is about more than soap and water; it’s about building layers of protection and focusing on the little things that make a big impression.
Protecting Your Perfect Finish
With the paint perfectly clean, it's also completely exposed. Applying a layer of protection is probably the most important final step you can take. What you choose really comes down to how much time you have and the results you're after.
For a fast, brilliant shine that will hold up for a few weeks, a modern spray sealant is a great choice. The application couldn't be easier: just a light mist on a panel, a gentle spread with one microfiber towel, and a quick buff to a high gloss with a second, clean towel.
If you’re looking for more durable protection that lasts 3-6 months, a traditional paste wax or paint sealant is the way to go. The secret here is to apply a very thin, even coat. Most people make the mistake of slathering it on too thick, which just wastes product and makes it a nightmare to remove. All you need is a thin haze to form before you buff it off. This protective layer not only deepens the gloss but also makes your next wash much easier.
It’s All in the Details
Now for the finishing touches that separate a simple car wash from a professional-level detail. Let’s start with the tires. Forget those greasy, slinging tire shines that splatter all over your clean paint job. Instead, grab a water-based tire dressing. It gives your tires a rich, satin black finish that looks clean and stays put. Use a dedicated foam applicator for a neat, even coat.
Next up is the glass. Using a quality, ammonia-free glass cleaner with a dedicated microfiber glass towel is the key to a perfectly clear, streak-free view from the inside and out. Lastly, give your door jambs a quick wipe-down. This simple action removes any leftover water and dirt, stopping ugly drips from ruining your clean finish later.
These small details are what pull the whole look together. To keep your car looking this good, maintenance is key. For those washes in between major details, the SwiftJet foam gun is perfect. It creates a thick, cleansing foam that gently lifts away new dirt without stripping the wax or sealant you just applied, helping you keep your car turning heads all year long.