
Let's be honest, you're here because you're tired of seeing those frustrating swirl marks and want that professional, showroom shine without paying a detailer. The secret isn't just about more scrubbing; it's about washing smarter. This is where a foam gun completely changes the game, turning your routine car wash into a critical, protective pre-soak.
Why a Foam Gun Is Your Secret Weapon
The real magic of using a foam gun happens during the touchless pre-wash. It’s a simple but brilliant idea. Instead of grinding road grit and grime directly into your paint with a wash mitt, you first blanket the entire vehicle in a thick layer of slick suds. This isn't just for a cool photo-op—it's a fundamental step in protecting your car's finish.
This clinging foam immediately gets to work, loosening, lifting, and wrapping up all those abrasive dirt particles. By doing this first, you drastically reduce the chances of creating micro-scratches and swirls when you finally do your main contact wash. Think of it as giving the dirt something to grab onto besides your precious clear coat. For this guide, we'll be demonstrating with the SwiftJet foam gun, a model I’ve found strikes a fantastic balance between being easy to handle and delivering professional-level foam.
The Science of a Safer Wash
This pre-soak method has become the gold standard for pro detailers and car enthusiasts for one simple reason: it works. The entire goal is to get as much dirt and contamination off the car as possible before your wash mitt ever touches the paint.
The pre-soak is the single most important step for a safe wash. It’s what separates a quick rinse from a true detailing-level clean, minimizing friction and protecting your investment.
This isn't just theory; it's backed by real-world results. Studies show that a good foam gun pre-wash can remove up to 90% of surface dirt even before the final rinse, which is why they’ve become so popular. This approach transforms a weekend chore into a satisfying process that actively protects your vehicle. Of course, picking the right tool is key, and you can learn more about how to choose an auto foam gun for your needs in our detailed guide.
Foam Gun Car Wash Quick Start Guide
To get you started, I've put together a quick-glance table that breaks down the entire process. Think of this as your cheat sheet for a perfect foam wash every time.
| Stage | Key Action | Objective |
|---|---|---|
| Preparation | Mix soap and water; connect to hose | Ensure proper foam consistency and a secure, leak-free setup. |
| Application | Cover the vehicle from bottom to top | Allow foam maximum dwell time on the dirtiest lower panels. |
| Dwell Time | Let foam sit for 5-10 minutes | Give the soap time to break down and lift grime from the surface. |
| Rinsing | Rinse thoroughly from top to bottom | Safely wash away foam and loosened dirt without leaving residue. |
Following these four stages—Prep, Apply, Dwell, and Rinse—will ensure you get the most out of your foam gun and give your car the safest, most effective wash possible.
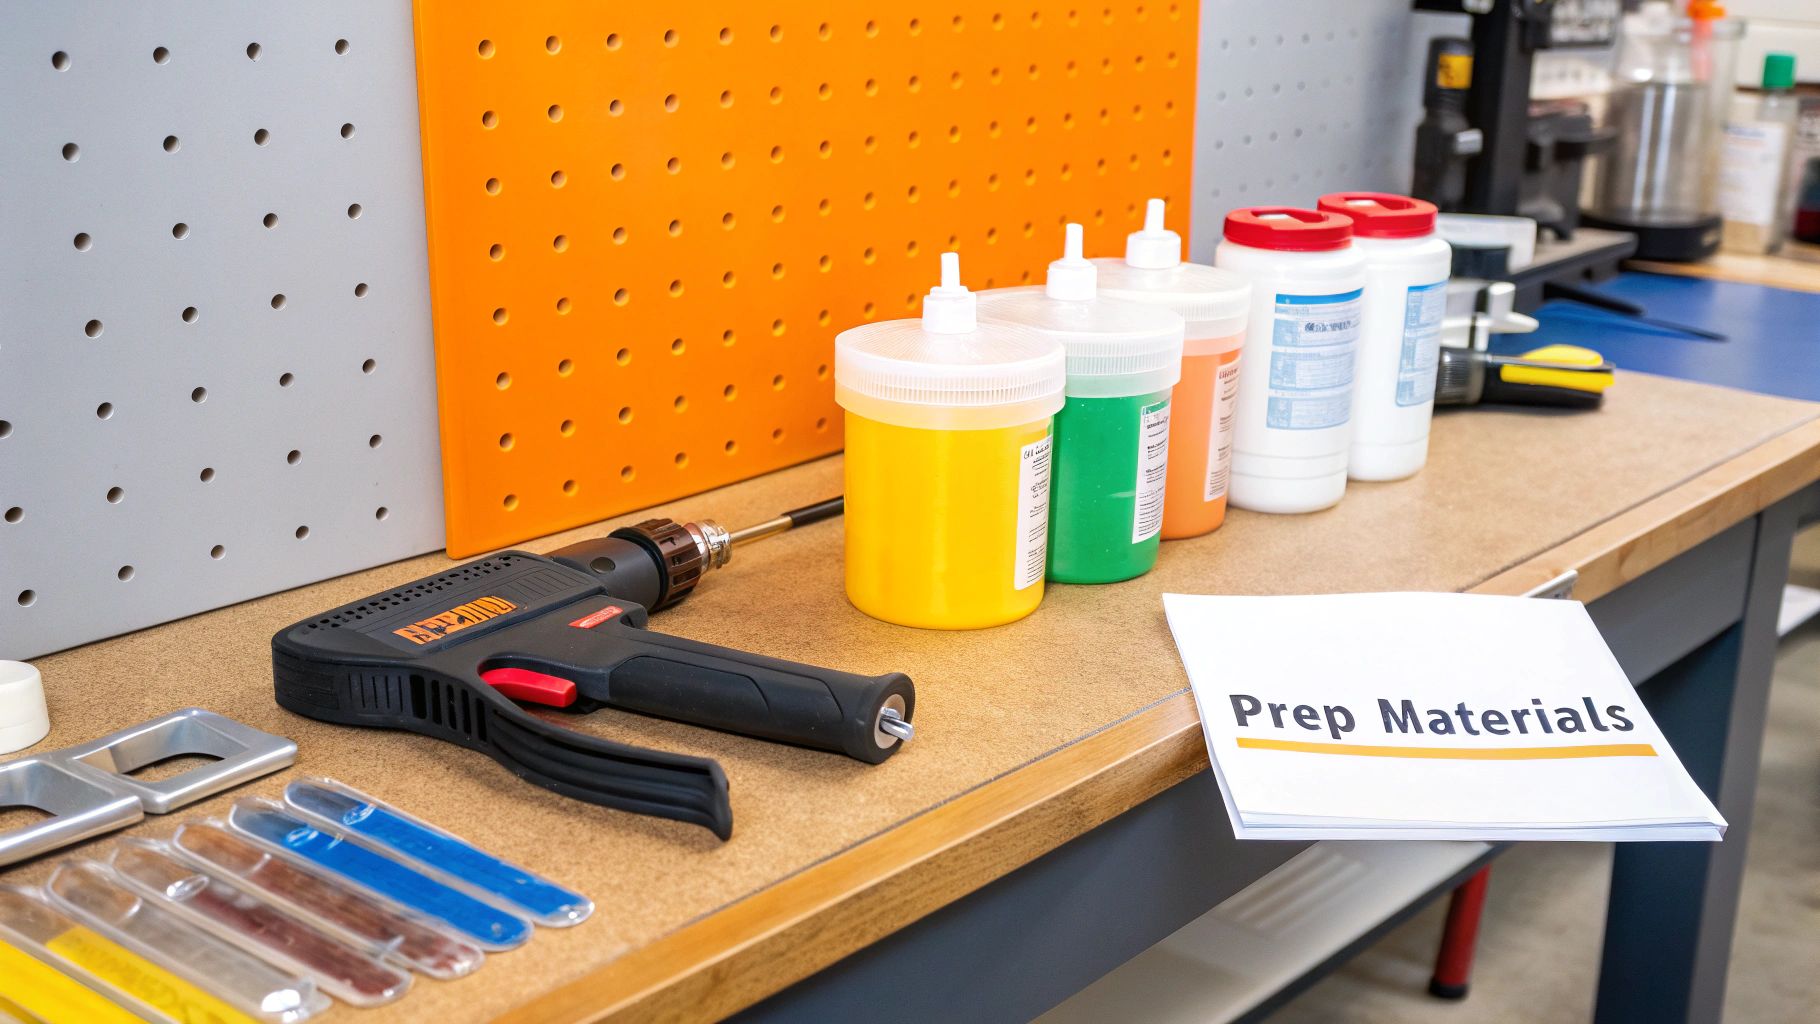
Setting Up for a Flawless Foam Application
Getting that perfect, thick blanket of foam doesn't just happen when you pull the trigger. The real secret is in the setup. It's what makes the difference between a sad, watery mess and a rich, dirt-lifting pre-soak.
Your first move is choosing the right soap. I know it's tempting to just grab whatever car wash liquid you have on the shelf, but you really need a soap designed for high-foam applications. Only these formulas will give you that satisfying, shaving-cream consistency we're all after.
When you're ready to fill the SwiftJet's canister, always add the water first, then the soap concentrate. If you pour the soap in first, you’ll end up with a canister full of suds before you even add the water, which messes up your mixture and gives you weak foam. It’s a simple trick, but it makes a world of difference.
Dialing In Your Foam Ratio
If you want to master the foam gun, you have to get your soap-to-water ratio just right. There's no single magic number here; it really comes down to the specific soap you're using and the kind of foam you need for the job.
Here are the two main starting points I use:
- For a rich, thick foam: I usually start with a 1:10 ratio—that's one part soap to ten parts water. This is my go-to for really grimy vehicles because the dense foam clings to the surface, giving the cleaning agents more time to break down tough dirt.
- For a wetter, runnier foam: When I'm doing a quick maintenance wash on a car that's just a little dusty, I'll use a 1:20 ratio. This gives you great lubrication to safely lift light dirt without burning through your expensive soap concentrate.
A quick tip: After adding the soap and water, gently swirl the canister to mix them. Whatever you do, don't shake it! Shaking just creates a foamy mess inside the bottle. A light swirl is all you need to get a consistent solution ready for spraying.
Once your canister is mixed, connecting the SwiftJet to your garden hose is a snap. Just make sure the quick-connect fitting clicks firmly into place. You want to feel that solid lock to prevent any annoying leaks, which can kill your water pressure and ruin your foam.
Finally, don't skip the most important step: the pre-rinse. Before you even think about foaming the car, give it a good rinse with plain water from your hose. This knocks off all the loose sand, grit, and other debris. It clears the way for the foam to do its real job—tackling the stubborn, bonded-on grime without you grinding loose dirt into the paint.
This image breaks down how to think about adjusting your foam gun settings for different situations.
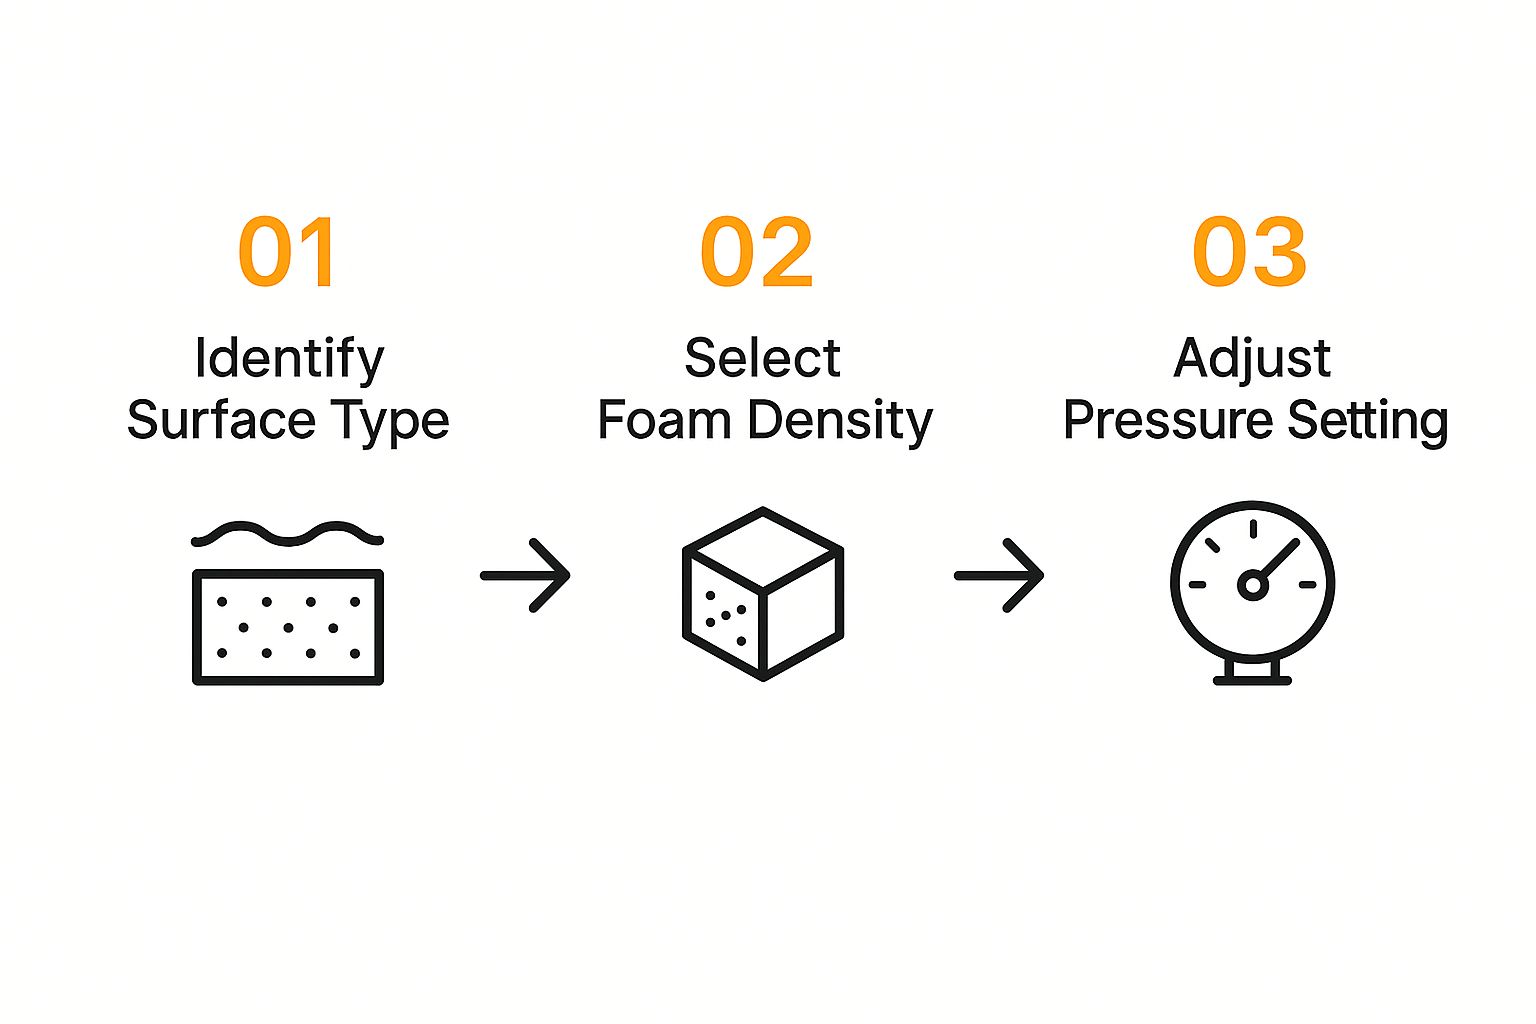
As you can see, matching your foam's thickness and the gun's pressure to the task at hand is the key to getting that perfect, scratch-free wash every time.
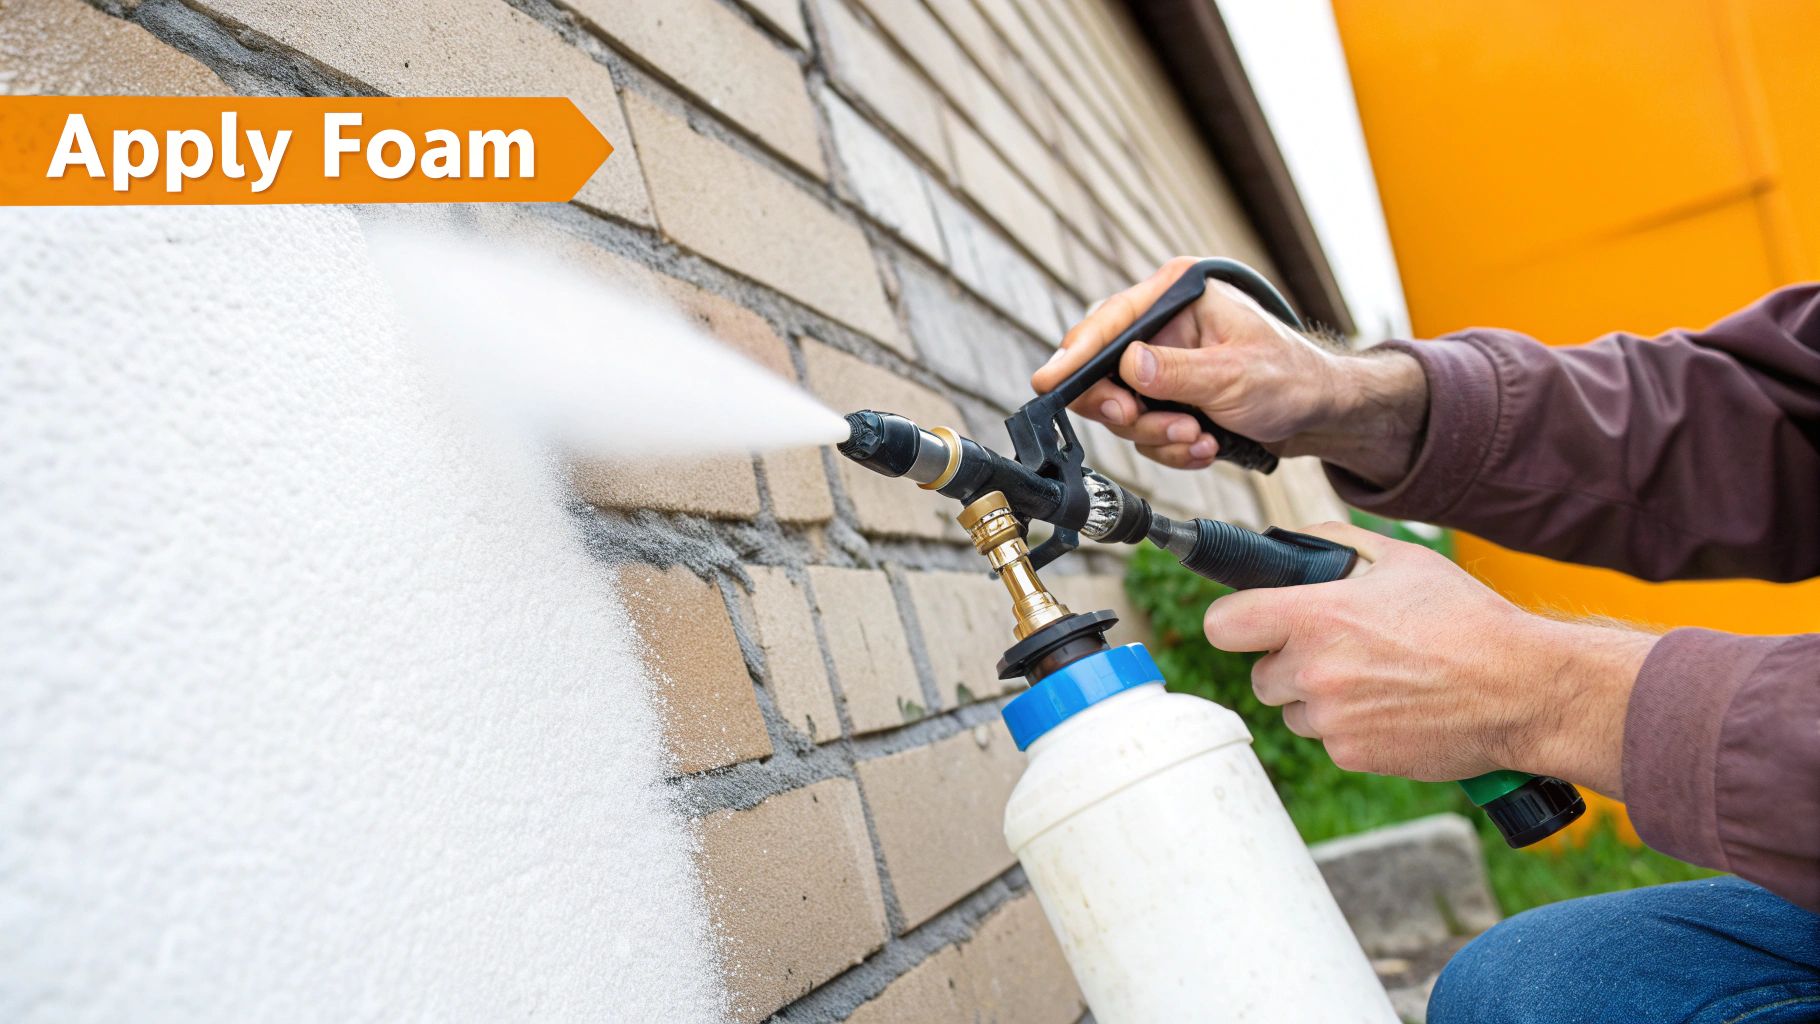
Mastering Your Foam Application Technique
 Alright, your SwiftJet is prepped and ready to go—now for the fun part. This is where you graduate from simply spraying soapy water to laying down a professional-grade blanket of foam. Your technique here makes all the difference in how well that foam lifts dirt and grime off the paint.
The single biggest mistake I see people make is starting at the roof. It feels natural, but you should always start at the bottom and work your way up. Why? Because the lower sections of your car—the rocker panels, bumpers, and bottom of the doors—are by far the filthiest.
Hitting these areas first gives the soap maximum time to break down the heavy grit. It also stops the cleaner foam from the roof from running down and washing away the suds on the dirtiest panels before they've had a chance to do their job.
Fine-Tuning Your Foam and Spray Pattern
The real magic of the SwiftJet is how much control it gives you. Getting that perfect, thick foam that sticks to the car comes down to mastering two simple adjustments.
First, you have the foam concentration dial right on top of the gun. This little dial is your key to controlling the soap-to-water mix.
- Turn it toward the “+” to draw more soap into the stream, which gives you that super thick, clingy foam.
- Turn it toward the “-” for a wetter, thinner foam that’s perfect for a quick rinse-down or when the car is only lightly dusty.
Next is the nozzle at the very front. A quick twist changes the spray from a wide fan to a focused jet.
- Wide Fan: Twist the nozzle counter-clockwise to get a wide, horizontal spray. This is your go-to for covering big areas like the hood, roof, and doors quickly and evenly.
- Pinpoint Stream: Twist it clockwise to narrow the stream into a powerful jet. This is perfect for blasting stubborn grime out of tricky spots like your grille, wheel wells, and intricate body lines.
My personal goal is always a consistency like shaving cream. You know you've nailed it when the foam is thick enough to hang on vertical panels for a few minutes without just sliding off. When it holds its place, that's when it's actively pulling the dirt away from your paint.
This pre-soak method is a favorite among pros because it's so effective. A quality foam gun addresses a major concern for the 85% of car owners who worry about scratches from traditional washing methods. It’s also incredibly efficient, capable of cutting your total wash time by up to 50%.
Once you get a feel for these settings, your car washing game will never be the same. For more great advice, be sure to check out our guide on top tips for a sparkling finish with a foaming car wash.
Rinsing Done Right: The Final Steps
Alright, your car is now covered in a thick, satisfying blanket of suds. This is where the real work happens. It’s called “dwell time,” and it’s when the soap’s cleaning agents are busy breaking down all that caked-on grime.
You'll want to let that foam sit and do its thing for about 5 to 10 minutes. The key is to find the sweet spot—long enough for it to work, but not so long that it starts to dry. If the foam dries on the paint, especially in the sun, you'll be left with soap scum that’s a real pain to get off.
Your Rinsing Game Plan
When those 5-10 minutes are up, how you rinse is just as important as how you foamed. Always, and I mean always, start rinsing from the top of the car and work your way down. This is a non-negotiable in my book.
Gravity is your ally here. Starting at the roof lets the water chase the dirty foam down and off the car, preventing you from accidentally splashing grime back onto a panel you just cleaned. Use a solid, steady stream of water and be methodical. Get into every seam, panel gap, and trim piece until not a single bubble remains.
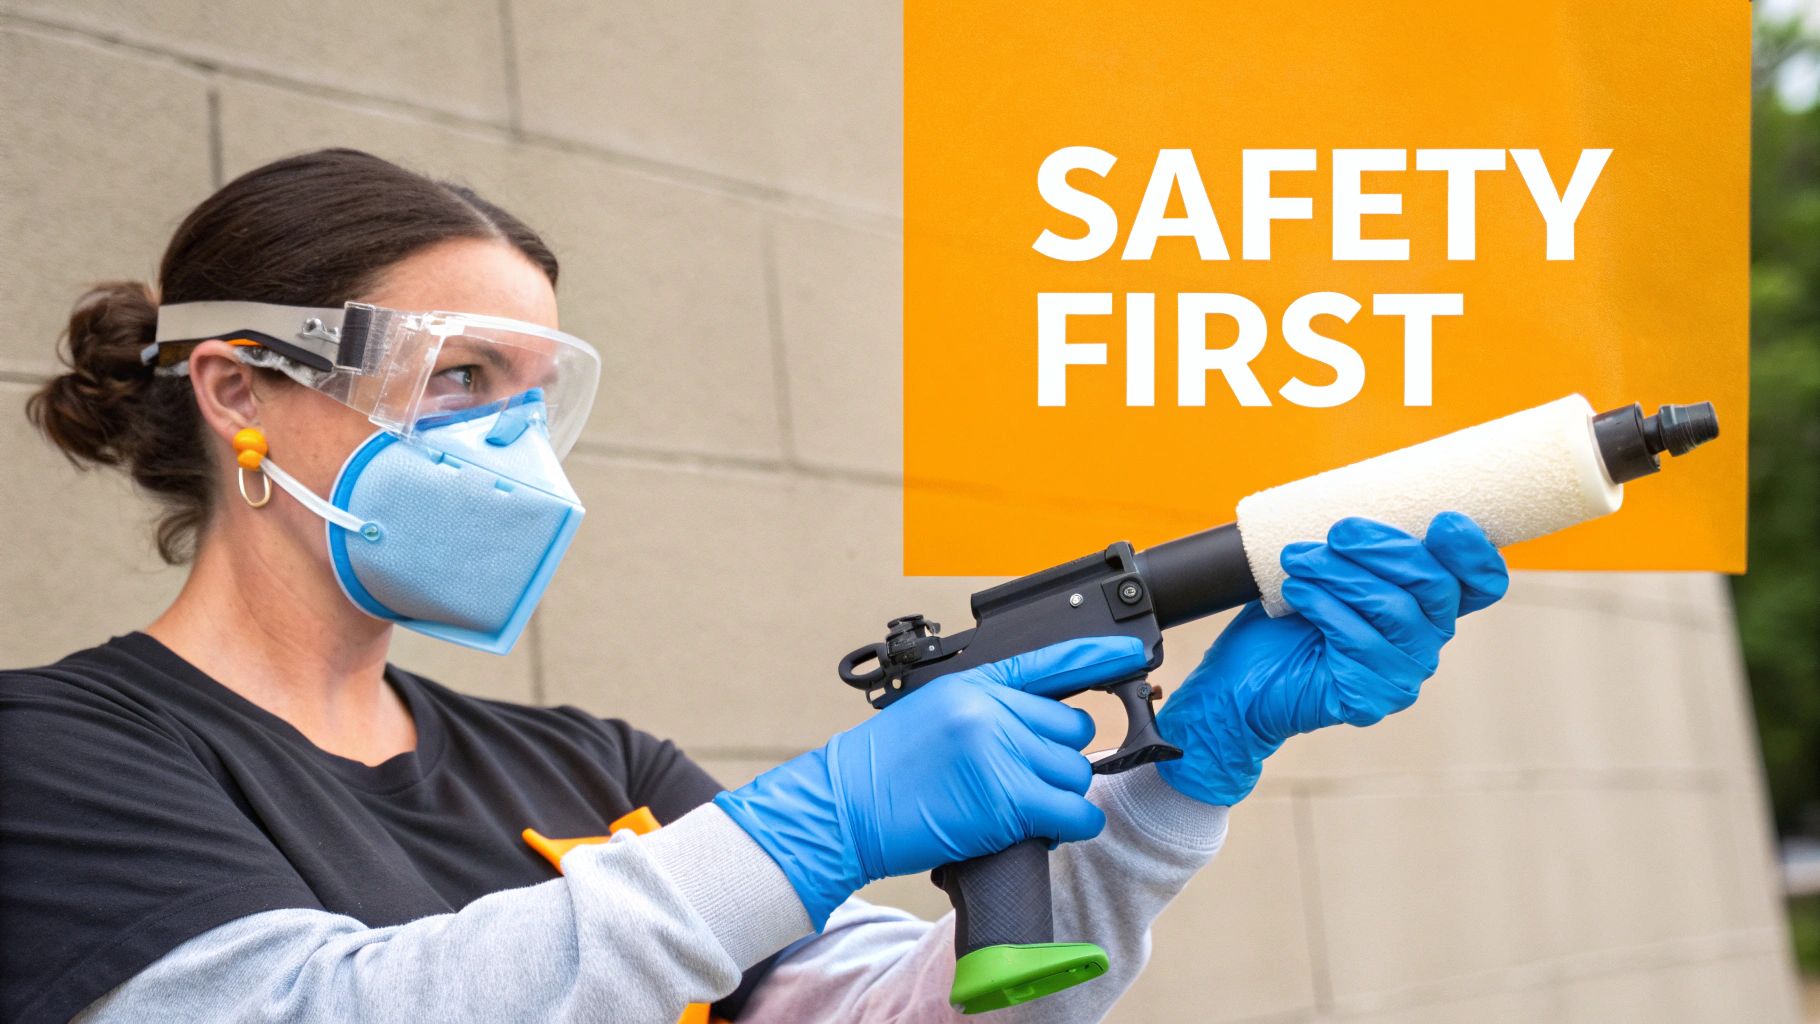
Pro Tip: Think of the foam gun as your ultimate pre-wash tool. Its primary job is to safely lift away the heavy, scratchy dirt before you ever make physical contact with the paint.
To Hand Wash or Not to Hand Wash?
So, is a foam and rinse enough? Honestly, it depends on what you're up against.
-
Lightly Dirty Cars: If you're just dealing with some light dust, pollen, or rain spots, a good foam and a thorough rinse might be all you need for a quick refresh. It’s perfect for maintenance washes.
-
Heavily Soiled Cars: For anything more than light dust—think mud, road film, or bug splatters—you'll still need to follow up with a proper two-bucket contact wash. But here’s the good news: the foam gun has already done the most dangerous part of the job for you, making your hand wash much safer and more effective.
Once you've done your final rinse, grab a plush microfiber drying towel and gently dry the entire vehicle. This is what prevents those annoying water spots and leaves you with a truly brilliant shine.
Keeping Your SwiftJet in Top-Notch Shape
Getting that perfect, thick foam every time you wash your car isn't just about what you do during the wash—it's also about what you do after. A little post-wash care for your SwiftJet is the single best habit you can build to make sure it performs like new for years to come.
Think of it as cheap insurance against future headaches. We've all been there: you're ready for a wash, but all you get is watery, weak foam. This is almost always caused by old soap residue gunking up the works. A quick clean prevents that frustration before it starts.
The 30-Second Flush: Your Secret to Longevity
I can't stress this enough: a simple flush after each use is non-negotiable. It's incredibly easy and saves you from dealing with annoying blockages later.
Here’s all you need to do:
- First, unscrew the reservoir and dump out any leftover soap. Swirl some clean water inside and pour it out.
- Next, fill the bottle with just a few inches of fresh, clean water and screw it back onto the gun.
- Finally, reconnect your hose and spray the clean water through the gun for about 30 seconds. This is the most critical part, as it clears any soap from the internal mixer and nozzle.
Pro Tip: This simple flush is your best defense against clogs. It keeps the internal mesh filter—the component that actually whips up the foam—clear and ready for action.
Taking care of your tools is a universal principle. It's the same reason a professional painter cleans their brushes or a mechanic wipes down their wrenches. Proper maintenance ensures consistent, reliable results every time. To dig deeper into the SwiftJet itself, check out our guide on the benefits of a car foam gun.
Answering Your Top Foam Gun Questions
It’s totally normal to have a few questions when you're getting the hang of a new tool like a foam gun. Even seasoned pros had to start somewhere! Let's clear up some of the most common things people ask, so you can skip the guesswork and get right to a great wash.
"Can I Just Use Dish Soap?"
I hear this one all the time, and the answer is a hard no. Please don't do it! Dish soaps are designed to cut through heavy grease, which is great for pots and pans but terrible for your car. They will strip away any wax or sealant you have, leaving your clear coat exposed and unprotected.
Always, and I mean always, use a quality, pH-neutral car wash soap. They’re specifically formulated to clean your paint without causing damage.
"Why Is My Foam So Watery?"
Seeing sad, runny foam instead of that thick, shaving-cream-like stuff can be a letdown. But don't worry, the fix is usually simple. If your foam isn't clinging like it should, it's almost always one of these culprits:
- Your Soap Ratio: You probably just need a bit more soap concentrate in the canister. Try adding another ounce or so and see if that thickens things up.
- The Adjustment Dial: Check the dial on top of your foam gun. If you want thicker foam, you need to crank it toward the maximum setting. This tells the gun to pull more soap into the water stream.
- Water Pressure: A garden hose just doesn't have the power of a pressure washer. While you can still get amazing foam, extremely low household water pressure can sometimes be a factor.
Also, the type of soap matters immensely. For the best results, grab a car shampoo that’s marketed as a "high-foam" or "snow foam" formula. They're engineered to create the thickest suds possible with a standard hose.
If there's one thing to remember, it's this: a foam gun connects to a garden hose, while a foam cannon requires a pressure washer. That massive difference in pressure is why cannons create that almost-solid-looking foam. Still, a good foam gun is the perfect way to get fantastic, safe results without the bigger investment.
"Do I Still Need to Hand Wash After Foaming?"
This really depends on how dirty the car is. If you're just rinsing off a light layer of dust from a car that was recently detailed, a good foam soak and a thorough rinse might be all you need.
However, for a proper, deep clean, you should absolutely think of the foam gun as your pre-wash step. Its job is to dissolve and lift the heavy, abrasive grit before you ever touch the paint with a wash mitt. This makes the follow-up two-bucket hand wash dramatically safer and more effective. It’s step one of a great wash, not the entire process.
Ready to see what a difference a real pre-wash can make? The SwiftJet Foam Gun is your ticket to thick, protective suds using just your garden hose. Get your SwiftJet today and start washing smarter, not harder!