
Why Most People Are Washing Their Cars Wrong
Here's the uncomfortable truth: your weekly car wash routine might be doing more harm than good. I've chatted with detailers and paint specialists, and they all agree: most car owners unknowingly inflict tiny scratches on their paint every time they wash. Over time, these micro-scratches dull the finish, leaving your car looking hazy and less vibrant. It’s like using super-fine grit sandpaper – you might not see the damage right away, but the cumulative effect is real.
This seemingly simple chore could cost you a fortune in paint correction later on. Nobody wants to spend their hard-earned cash fixing preventable damage, right? Beyond the immediate cosmetic impact, these scratches can also ding your car's resale value. A pristine finish suggests a well-cared-for vehicle, commanding a higher price than one with a dull, swirled paint job.
And then there’s the environmental impact. Many think washing at home saves water, but studies often show the opposite. Overwatering your lawn while rinsing, combined with the lack of water reclamation systems (common in professional car washes), adds up. In fact, the professional car wash industry is booming, partly due to this shift from DIY to “do-it-for-me” washes. By 2024, the market was valued at USD 34.31 billion, and it's projected to hit USD 49.06 billion by 2030, growing at a CAGR of 6.2% from 2025 to 2030. This shows how people are prioritizing professional services for convenience, better results, and increasingly, eco-friendly practices. In the U.S., over 77% of drivers now opt for professional car washes, up from 48% in the early 2000s. Discover more insights.
Understanding the Impact of Improper Washing
Improper washing isn’t just about looks; it’s about protecting your investment. Your car’s paint is its first line of defense against the elements. Micro-scratches weaken this protection, making your car vulnerable to rust, corrosion, and fading. Think about winter road salt getting into those tiny cracks and speeding up rust formation – yikes! If you're trying to figure out how to get more eyes on your car washing content, a tool like the Pinterest Keyword Research Tool can help you find the right keywords. Learning to wash your car correctly isn't just about a shiny finish; it's about preserving its value and keeping it on the road for longer.
Building Your Car Washing Toolkit Without Breaking the Bank
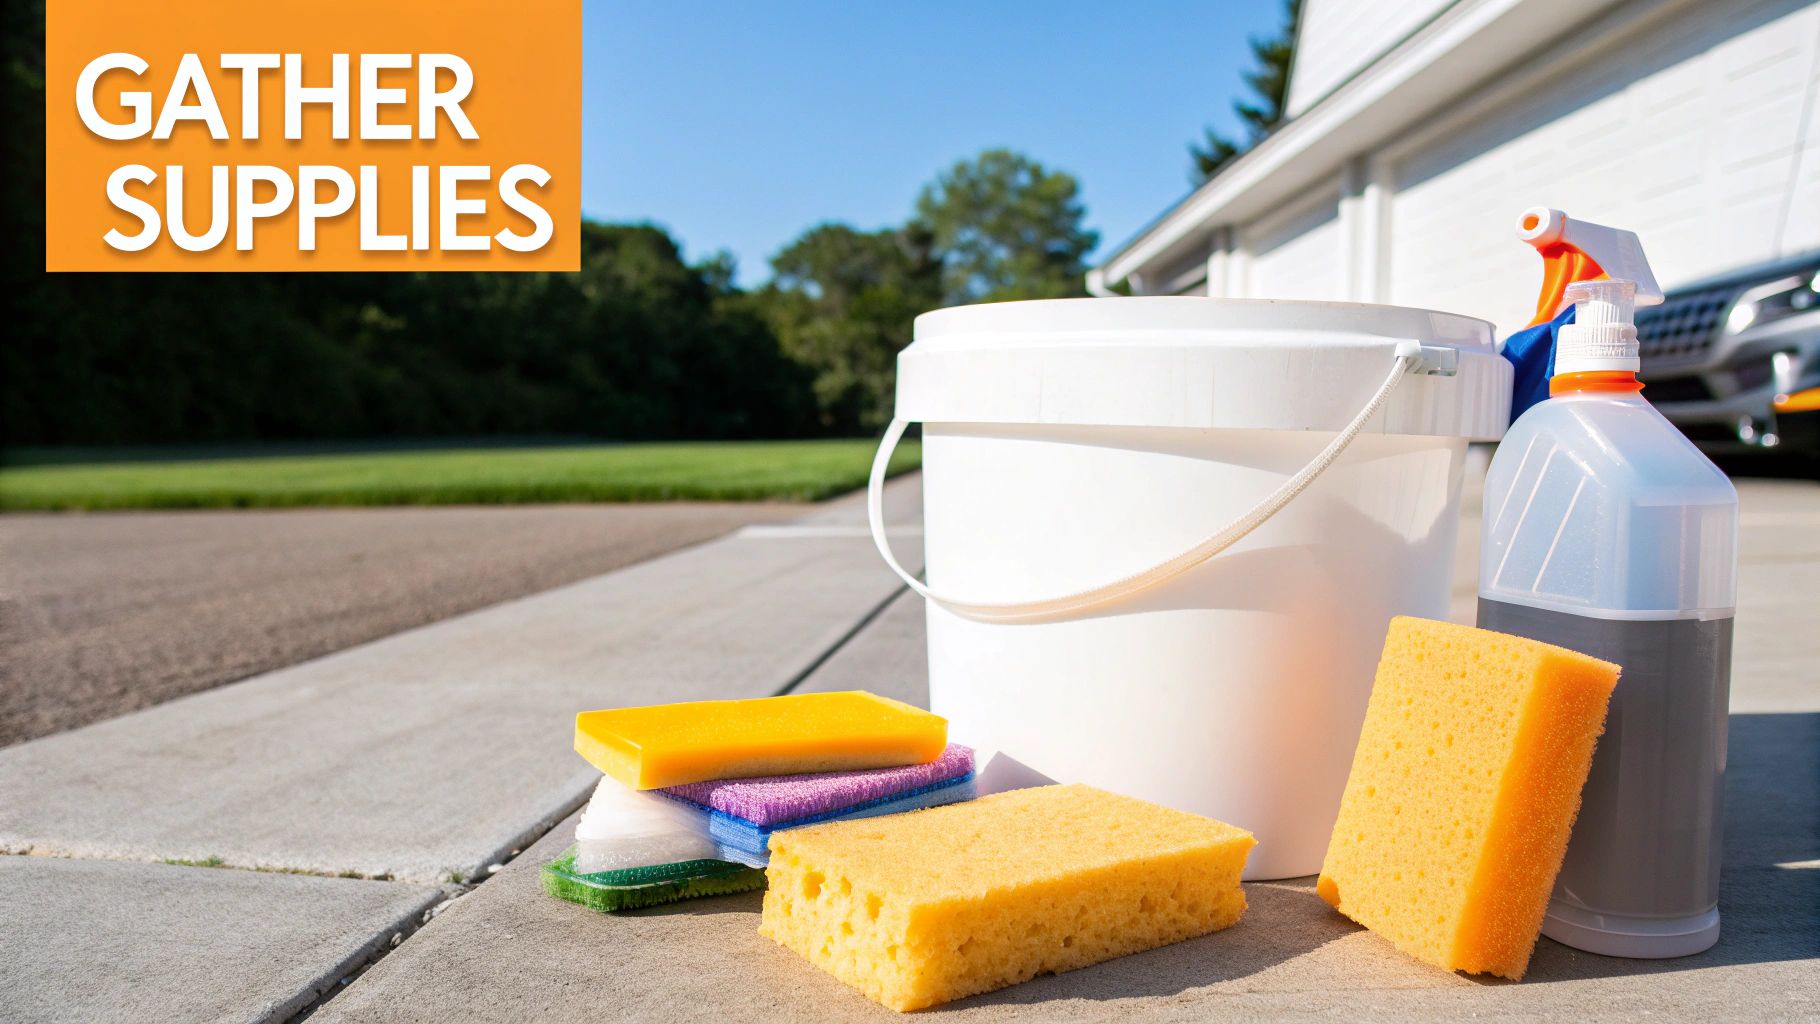
So, you're ready to take your car washing game to the next level? Awesome! But before you max out your credit card buying everything under the sun, let's talk strategy. After countless washes (and a few epic product fails I’ll share later), I’ve learned that a high price doesn't always equal a sparkling clean car.
Essential Tools: Separating the Must-Haves from the Marketing Hype
First things first: microfiber towels. Not all microfiber is created equal. You want the plush, high-quality kind that soaks up water like a champ and glides across your paint without scratching. Think of it like cleaning your glasses – you wouldn't use a brillo pad, right? Cheap microfiber often feels rough and can actually trap dirt, turning them into tiny sandpaper against your car’s finish.
Next up: car wash soap. This isn't the place to cut corners. Using dish soap or household cleaners is a major no-no. They strip away your car's protective wax, leaving it vulnerable to the elements. A pH-neutral car wash soap formulated specifically for cars is the way to go. It cleans gently while protecting that precious wax coating.
I learned this the hard way. Once, I used a cheap all-purpose cleaner on my car, thinking I was being clever and saving a few bucks. The result? A dull, streaky mess that took ages to fix. Live and learn, right? Just like your car needs the right care, businesses offering cleaning services need the right approach to online marketing.
Game Changers: When to Invest in Premium Tools
Now for the fun stuff: foam cannons and pressure washers. They’re often presented as essential, but are they really? A foam cannon, like the SwiftJet, combined with the right soap, blankets your car in thick foam, loosening dirt before you even touch it with a wash mitt. This minimizes scratches and swirl marks. A pressure washer can blast away stubborn dirt, but requires a delicate touch. Too much pressure can actually damage your paint – like power washing your deck and splintering the wood.
Also consider a dedicated wash bucket with a grit guard. This simple tool traps dirt at the bottom of the bucket, preventing you from re-applying it to your car. And finally, a good quality drying aid can work wonders in minimizing water spots and streaks, especially if you live in a hard water area.
Before we move on, let's look at a comparison of some key car washing tools. This table breaks down the cost, effectiveness, and ideal use cases for each, giving you a better idea of what to invest in:
Essential Car Washing Equipment Comparison
| Tool | Cost Range | Effectiveness | Best For | Professional Rating |
|---|---|---|---|---|
| Microfiber Towels | $5-$30 | Excellent for drying and buffing without scratching | Drying, buffing, waxing | 5/5 |
| Car Wash Soap | $10-$25 | Gently cleans and protects car's finish | Regular washing | 5/5 |
| Foam Cannon | $30-$100+ | Loosens dirt and minimizes scratching during pre-wash | Pre-wash, enhancing car wash soap | 4/5 |
| Pressure Washer | $80-$500+ | Powerful cleaning for stubborn dirt and grime | Removing heavy dirt, rinsing | 4/5 |
| Wash Bucket with Grit Guard | $15-$30 | Prevents re-applying dirt during the wash process | Regular washing | 5/5 |
| Drying Aid | $10-$20 | Minimizes water spots and streaks | Final drying stage | 4/5 |
As you can see, there's a range of tools available to suit different budgets and needs. Choosing the right ones can make a world of difference.
These tools can seriously upgrade your car washing routine, leading to amazing results. But they do have a bit of a learning curve. In the next section, we’ll cover pre-wash prep, a crucial step that’s often overlooked, and one that seriously impacts your final results.
The Pre-Wash Preparation That Prevents Damage
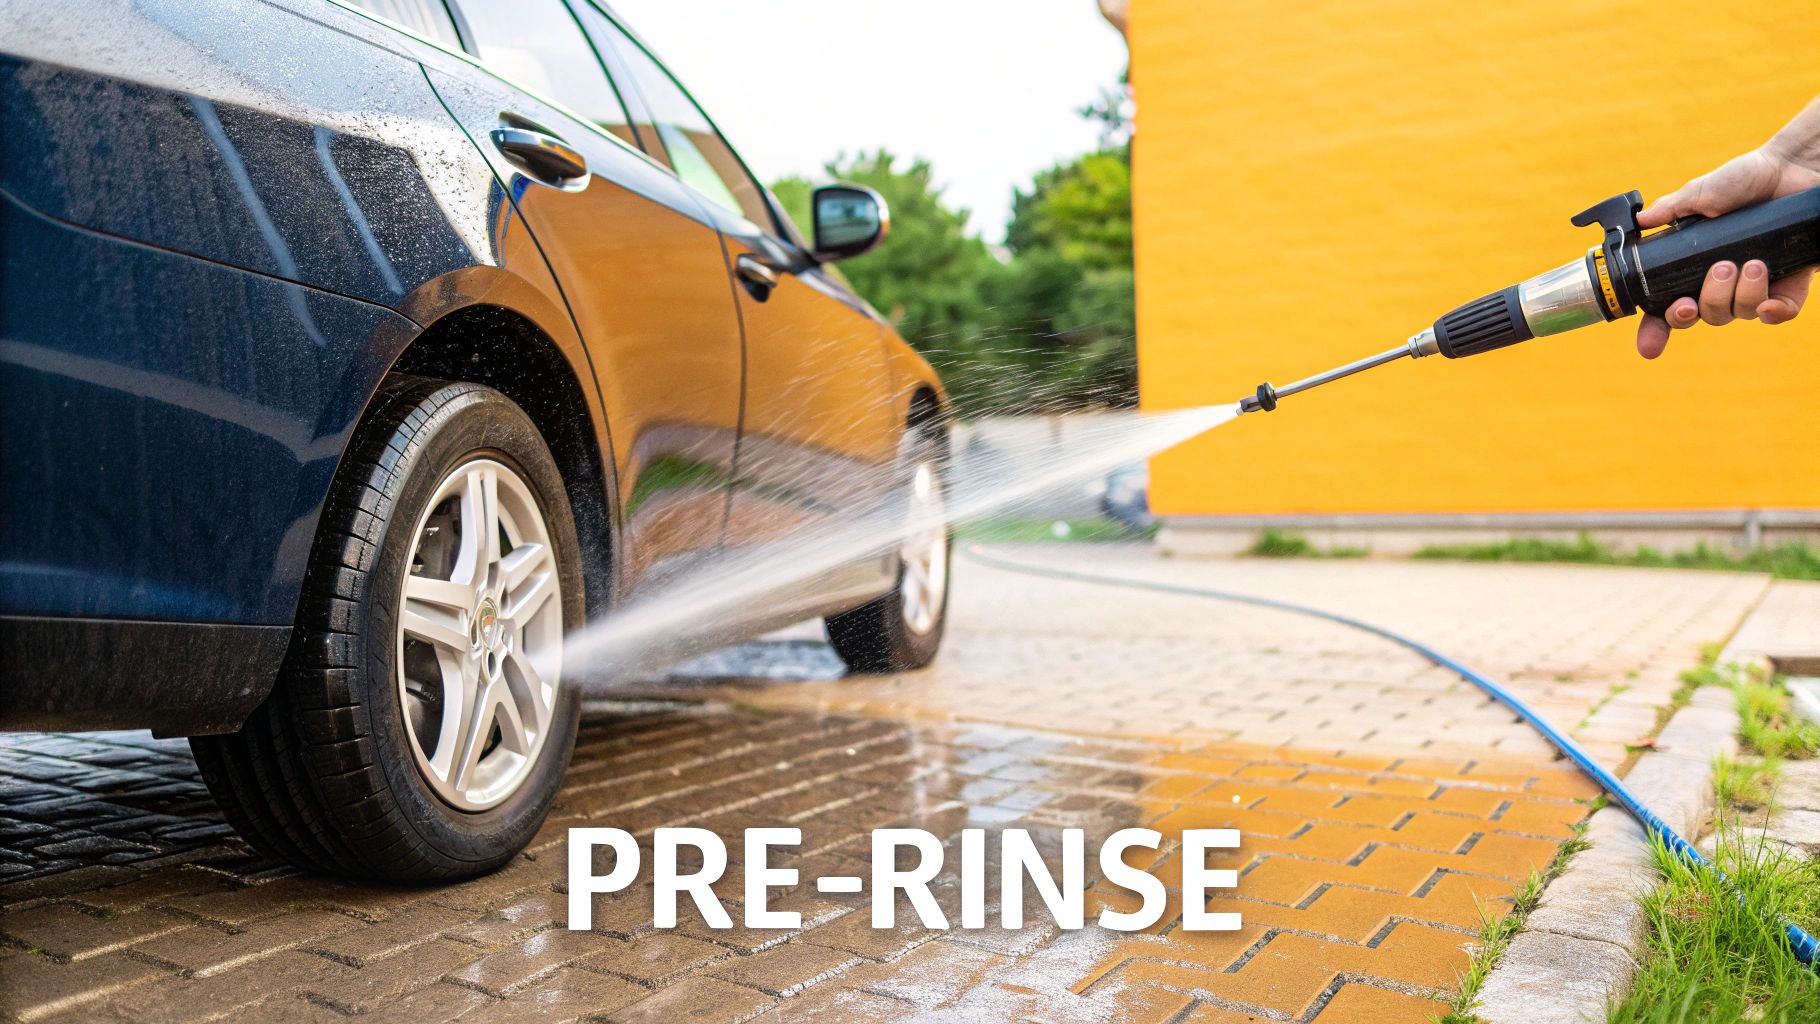
This is where the real magic happens. A little prep work before you even think about grabbing the hose can make a huge difference in your final results. Trust me, I've learned this the hard way. Think of it like painting a wall – you wouldn't slap on a new coat without prepping the surface first, right? Same goes for your car. A good toolkit is always helpful and you might find some good options among the Top 30 Marketing Tools To Use. Though this may not seem relevant at first, good marketing begins with understanding client needs.
Timing and Location: Setting the Stage for Success
First things first: timing. Avoid washing your car in direct sunlight like the plague. I’ve made this mistake before and ended up with water spots everywhere. The sun bakes the water onto your paint, leaving behind unsightly marks. Early morning or late afternoon are your best bets.
Another key factor is location. A flat surface is ideal. If you’re on a slope, water runs down unevenly, leading to streaks. If you’re stuck with a sloped driveway, work in sections and dry each panel quickly. Also, watch out for windy days – you don’t want dust and debris sticking to your wet car.
Wheel Cleaning: The Crucial First Step
Wheels – they’re usually the dirtiest part of the car. Brake dust, road grime, all sorts of nasty stuff accumulates there. Clean them first. I can’t stress this enough. This prevents you from spreading that grime all over your freshly washed paint.
Use a dedicated wheel cleaner and a separate wash mitt or brush. This might seem like an extra step, but it’s a game-changer. You'll avoid those annoying little black spots that can ruin a perfect wash.
Assessing Your Car’s Condition: A Personalized Approach
Finally, take a look at your car's paint. Are there any stubborn spots like bird droppings, tree sap, or road salt? These need special attention. Bird droppings, for example, are acidic and can eat into your paint. Tree sap can harden and become a real nightmare to remove. Road salt can lead to rust and corrosion.
Addressing these issues before you wash will save you a lot of trouble down the line. This is where a pre-wash spray or specific cleaner comes in handy. It’s all about working smarter, not harder. Taking the time for this initial assessment ensures a truly professional-looking finish.
Mastering Foam Application for Safe, Effective Cleaning
Now comes the fun part: covering your car in a thick, luxurious blanket of foam. This isn't just for showing off on Instagram; it's a crucial step in washing your car correctly. Think of the foam as a protective layer, almost like a lubricant, that lifts dirt and grime away from your paint. This prevents your wash mitt from grinding contaminants into the clear coat, which is what causes those dreaded swirl marks.
It's all about the right chemistry. You need to find that sweet spot for dilution—enough cleaning power without wasting product or leaving residue. Too much soap, and you’ll be fighting streaks. Too little, and you lose the lubrication. You’re aiming for a consistency that clings to the car, giving the cleaning agents time to do their work.
You might be interested in checking out our guide on choosing the perfect foam gun. Having the right tool makes a world of difference.
Professional Foam Application Techniques
Even coverage is essential. Think about applying sunscreen: miss a spot, and you’ll get burned. Same idea here. Start at the top of the car and work your way down, making sure every inch is coated.
How long should you let it sit? That depends on the product and how dirty your car is. Generally, 3-5 minutes is enough time for the foam to penetrate and loosen the grime. But don't let it dry completely, especially if you’re washing in direct sunlight.
Troubleshooting Common Foam Application Issues
If you're getting uneven coverage, it could be your technique or a clogged foam gun. Overlap your passes, and keep the gun a consistent distance from the car. If the foam disappears too quickly, the soap formulation might be the culprit. Some soaps are designed to dwell longer. Experiment to see what works best.
Weather also plays a role. On hot, windy days, the foam can evaporate quickly. Try washing in the shade, or adjust your dilution ratio to make a thicker foam. Interestingly, the car wash industry is changing. In mature markets like North America, automated washes are becoming more common. But in Asia Pacific, a rising number of cars creates a growing demand for car washes, especially in urban areas where space and environmental rules make washing at home difficult. Discover more insights.
Achieving the Perfect Foam Blanket
Professional detailers have their tricks for that perfect, Instagram-ready foam. They understand the nuances, from adjusting the foam gun's spray pattern to how different parts of the car need to be treated. For example, the lower panels are usually dirtier, so they might need more foam or a longer dwell time. The key is to pay attention and adjust as needed. Mastering foam application is a skill, but with practice, you can get professional results every time. This perfect foam sets you up for a scratch-free contact wash, which we'll cover next.
Contact Washing Techniques That Deliver Professional Results
This is where the magic happens – the contact wash. It's the most important part of washing your car, the point where a great technique leads to a sparkling, swirl-free finish, and a bad one leaves you with a scratched mess. Trust me, I've learned the hard way! Let's get into the details of how to do a contact wash right, focusing on the two-bucket method that the pros use.
The Two-Bucket Method: Your Secret Weapon Against Swirl Marks
The two-bucket method is simple: one bucket for soapy water, one for rinsing. Why? Because if you keep dipping your dirty wash mitt back into your soap bucket, you're just putting the dirt back onto your car. The rinse bucket lets you get the grime off your mitt before you add more soap. It’s like washing dishes – you rinse your sponge between plates, right?
This simple trick makes a huge difference in preventing swirl marks – those tiny scratches you see in sunlight. Learn more in our article about the best way to wash your car without scratching.
Mastering Washing Motions and Pressure
How you wash matters. Forget those circular motions – they're a one-way ticket to Swirl City. Instead, wash in straight, overlapping lines, from top to bottom. Think of it like painting – nice, even strokes.
Pressure is also key. Too much, and you grind dirt into your paint. Too little, and you don't clean effectively. The sweet spot is a gentle glide. Let the soap and mitt do the work. I used to think more pressure meant cleaner, but I was so wrong!
Sectioning for Complete Coverage
Don’t try to wash the whole car at once. Work panel by panel. This keeps the soap from drying and ensures you cover every inch. I start with the roof, then the hood, sides, and lastly, the lower parts, which are usually the dirtiest.
Let's talk about rinsing. Here's an infographic showing how different rinse methods affect water usage:

Using a spot-free rinse saves a lot of water compared to a regular hose. This is important for both a perfect finish and for saving water.
Avoiding Common Washing Mistakes
Some common washing mistakes: circular motions, too much pressure, and not washing from top to bottom. Washing from top to bottom keeps you from dragging dirt from the lower panels onto the cleaner upper sections.
I’ve made my share of mistakes. I used to wash in circles, thinking I was doing a great job, but I ended up with a car covered in swirl marks. Lesson learned! Now that the contact wash is done, you're ready to rinse and dry.
To further illustrate the importance of technique, let’s look at this table:
Washing Technique Impact on Paint Protection
| Technique | Scratch Risk | Cleaning Effectiveness | Time Required | Paint Longevity |
|---|---|---|---|---|
| Automatic Car Wash (with brushes) | High | Moderate | Low | Reduced |
| Hand Wash (circular motions) | High | Moderate | Moderate | Reduced |
| Hand Wash (two-bucket method, straight lines) | Low | High | Moderate | Increased |
| Touchless Automatic Car Wash | Low | Low | Low | Moderate |
This table clearly demonstrates how using the right technique – the two-bucket method with straight-line washing – minimizes scratch risk, maximizes cleaning effectiveness, and ultimately prolongs the life and beauty of your car’s paint.
Achieving a Spotless, Streak-Free Finish
You've scrubbed, foamed, and now comes the truly satisfying part: making your car shine. This is where so many car washes fall short. Rinsing and drying are the final steps, but they can easily undo all your hard work if not done right. No one wants streaks, water spots, or mineral deposits ruining a perfectly good car wash.
Rinsing: More Than Just a Spray
Rinsing is about more than just blasting your car with water until the suds disappear. It's a strategic process of completely removing the soap without forcing water into unwanted places. Start with a higher pressure setting on your SwiftJet foam gun to get the bulk of the soap off, then dial it back. This lower pressure helps the water sheet off the surface, minimizing water spots.
Your spray pattern matters too. A wide fan spray is perfect for the initial rinse, while a more focused stream is great for getting into those tighter areas like grilles and around emblems. I always start with the roof and work my way down, section by section, to make sure I haven't missed anything. You'll know you're done when the water sheets off cleanly, without any beading or leftover foam.
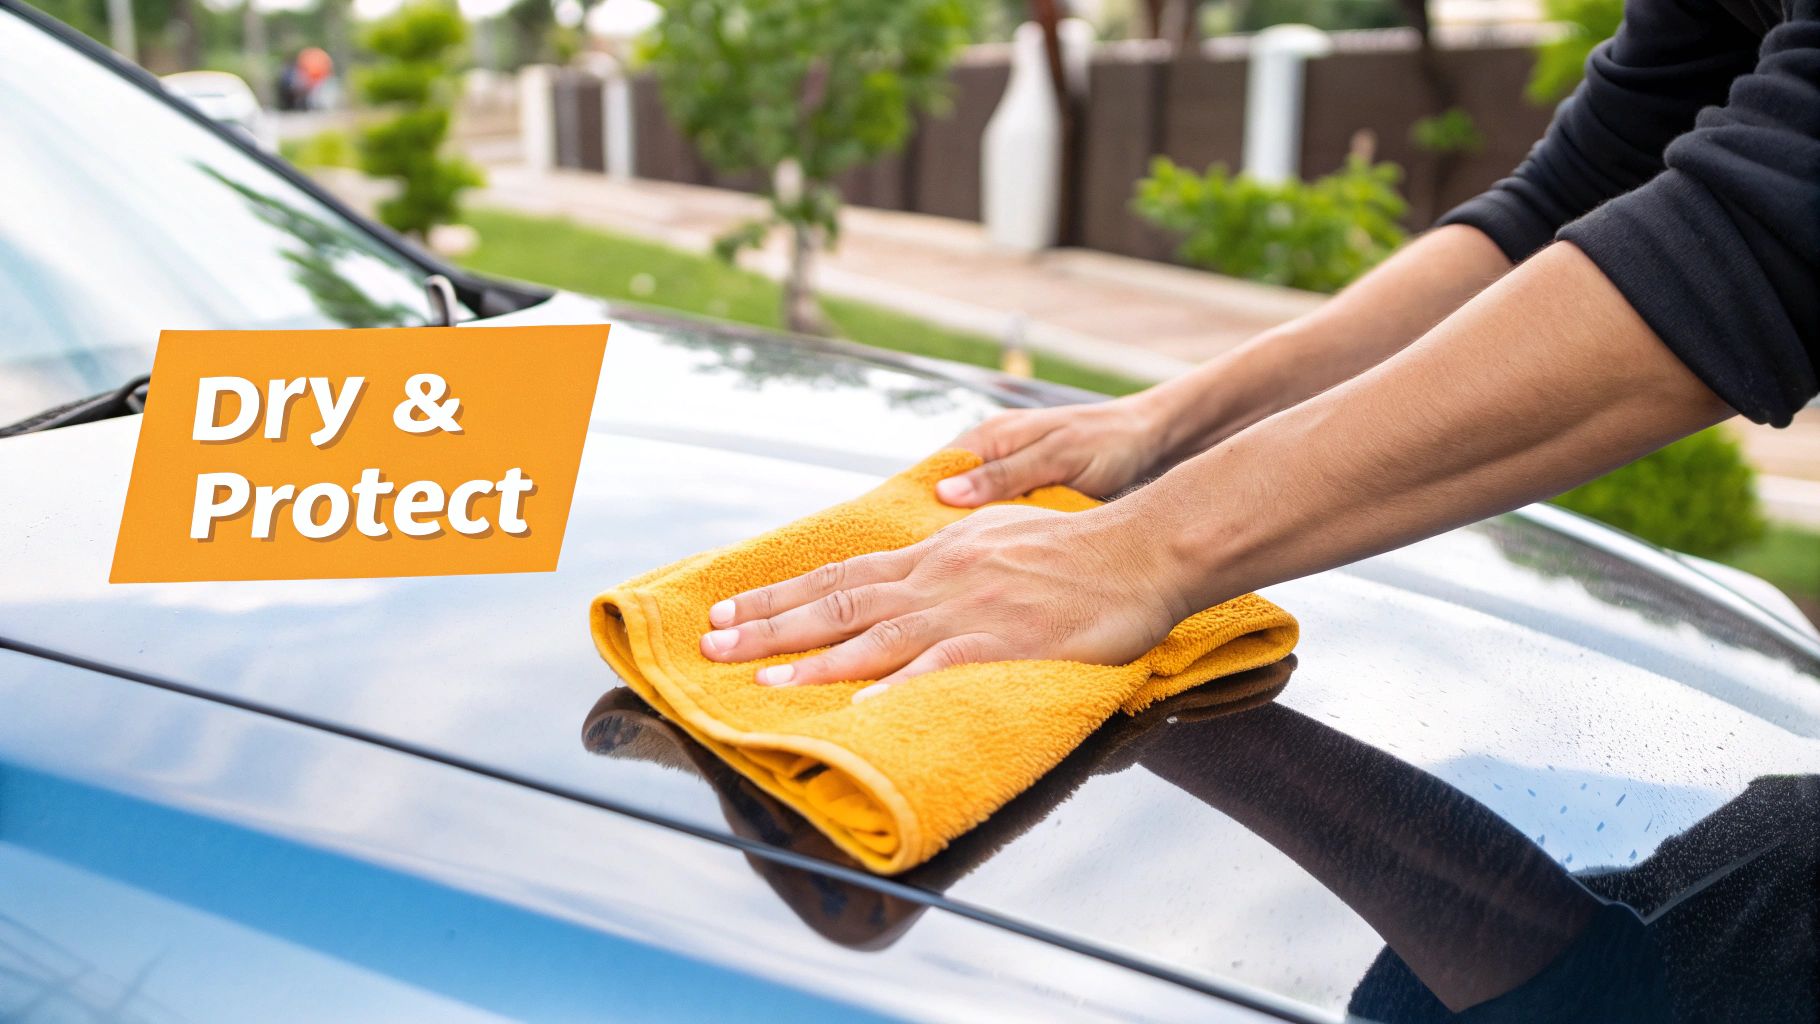
Drying: The Final Touch
Drying is the step where the wrong technique can do the most damage. It’s similar to wiping down a clean window – a bad cloth or too much pressure can leave streaks and scratches. Ditch the old towels or t-shirts; they can trap dirt and scratch your paint. Microfiber drying towels are the way to go. They're incredibly absorbent and gentle.
There are a few different drying methods: the patting method and the dragging method. Patting lifts the water without dragging dirt across the paint, while dragging (with a high-quality microfiber towel) quickly dries large areas, but you have to be careful to avoid streaks. I like to use a combination of both, patting the more delicate areas and dragging across the larger panels. A detailing towel or some compressed air for those tricky spots like mirrors and door handles can stop water from dripping out later and causing streaks.
For extra tips on a truly spotless finish, check out this guide: Check out our guide on achieving a water spot-free finish. It's full of helpful advice for dealing with stubborn water spots.
Troubleshooting Water Spots and Streaks
Even with the best technique, you might still get a few water spots. No worries! A quick detailer spray and a clean microfiber cloth usually does the trick. If you have hard water, a water softener can be a lifesaver, preventing most spots before they even form. Keep in mind that humidity and temperature also play a role in how quickly the water dries and whether spots appear. Washing in a covered area or using a drying aid can help.
A perfect, streak-free finish is about attention to detail. It takes the right tools, the right techniques, and a little patience. With practice, you’ll be giving your car a professional-level wash every time, right in your driveway. This careful approach not only keeps your car looking its best but also protects your investment. Now that we've covered the basics of washing your car, let's talk about maintaining that shine and tackling some common car washing issues.
Maintaining Your Results and Solving Common Problems
So, you’ve mastered the art of the car wash – congrats! But the real magic is in keeping that shine alive between washes and tackling those little car care hiccups that inevitably pop up. Trust me, it's not about constant scrubbing; it's about smart strategies and quick fixes that fit into your real life.
Extending the Life of Your Wash
Think of a freshly washed car like a freshly waxed floor—you wouldn't want to grind dirt into it immediately. Protecting your car's finish is all about reducing exposure to the elements and using quick detailer sprays between washes. These sprays are like a mini-wash in a bottle, perfect for lifting off light dust and fingerprints without the whole shebang of a full wash.
Another secret weapon? Protective waxes and sealants. These create a barrier against dirt, UV rays, and even those dreaded bird bombs. Think of it like a raincoat for your car. I've found a good wax or sealant can seriously stretch the time between washes.
This Wikipedia image shows the huge range of car wash options, from basic self-service bays to full-on automated tunnels. It just goes to show how many ways there are to wash a car, and why knowing the best techniques, regardless of your setup, is essential.
Troubleshooting Common Car Washing Problems
Even the best washing technique can sometimes have a few snags. Streaks are usually caused by hard water or not drying properly. Using a drying aid or a water softener can be game-changers. Personally, I’ve found that a final rinse with filtered water cuts down on streaks like magic.
Water spots are a real nuisance, especially in hard water areas. Again, a drying aid is your best friend. Drying your car in the shade also helps avoid those annoying spots. And for the really stubborn ones, a dedicated water spot remover can work wonders.
Stubborn stains like tree sap or bird droppings need specific cleaners. Don’t try to scrub them off – you’ll likely scratch your paint. Instead, grab a bug and tar remover or a tree sap remover. These are designed to dissolve those sticky messes without harming your car's finish.
Seasonal Washing Challenges
Winter brings its own set of car care headaches. Road salt is incredibly corrosive, so frequent washes are key during those cold months. A pre-wash spray can help loosen the salt and grime before you even start washing. In the summer, it's insect residue that can be a nightmare. A dedicated bug remover and a soft sponge will make short work of those baked-on bugs.
Maintenance Schedules and Professional Help
So, how often should you wash your car? It really depends on where you live, how much you drive, and where you park. Generally, every two to three weeks is a good starting point. But if you're in an area with lots of salt or dirt, you might need to wash more often.
Sometimes, DIY just isn't enough. If you're battling deep scratches or swirl marks, it might be time to call in the pros. Professional detailers have the tools and the know-how to bring your car's paint back to life. Knowing when a problem needs professional help can save you time, money, and a lot of frustration.
Taking good care of your car, inside and out, is essential for protecting its value and avoiding expensive repairs down the road. It's more than just a shiny exterior; it’s about protecting your investment and enjoying a car that looks its best for years to come.
Ready to take your car washing to the next level? The SwiftJet Car Wash Foam Gun can give you a professional-quality wash at home. Its powerful foam lifts away dirt and grime, reduces scratches, and leaves your car with a showroom shine. Check it out here: https://swiftjetusa.com