
Knowing how to properly clean your RV roof isn't just about appearances—it's one of the most vital maintenance tasks you can do. The process is pretty straightforward: a good pre-rinse, a gentle scrub with the right tools, and a thorough final rinse. But doing it correctly is what separates a well-maintained rig from one that's headed for expensive problems.
Think of your roof as the first line of defense against the elements. A clean roof is a healthy roof, protecting your investment and preventing the kind of deterioration that leads to leaks.
Your Guide to a Spotless and Secure RV Roof
I can't stress this enough: keeping your RV roof clean is fundamental preventative maintenance. You're not just washing off dirt and leaves; you're actively fighting back against everything nature throws at it. Constant exposure to sun, rain, bird droppings, and tree sap will absolutely degrade your roof over time, eventually causing leaks and even structural damage.
Another huge benefit of regular cleaning is that it forces you to get up there and actually look at things. It’s the perfect time to inspect the sealant around your vents, AC unit, and seams. Finding a small crack in the sealant before it lets water in can save you from a nightmare repair down the road.
Knowing Your Roof Type is Everything
Before you even think about grabbing a bucket and brush, you have to know what you're working with. Your roof's material dictates the cleaners you can use and the techniques that are safe. Most RVs have either a rubber or a fiberglass roof, and they need to be treated differently.
-
EPDM/TPO Rubber Roofs: These are very common and look like a thick rubber sheet. They are incredibly sensitive to any cleaner with petroleum distillates, citrus ingredients, or harsh chemicals. Stiff brushes are also a no-go, as they can easily tear or gouge the material.
-
Fiberglass Roofs: These are tougher and more like the side of a boat. While they can handle a bit more, you still want to avoid overly abrasive cleaners that can scratch the gel coat and dull the finish. A good wash followed by a protective wax is the best way to keep them looking great.
The real secret to a long-lasting RV roof isn't some magic product—it's a consistent cleaning schedule. When you stay on top of it, you prevent the nasty buildup of grime that can hide—or cause—serious issues.
Safety First, Always
Let's be real: you're working 10+ feet off the ground on a surface that's about to be wet and soapy. This isn't the time to get careless.
Make sure your ladder is sturdy and placed on solid, level ground. Wear shoes with good, non-slip soles. I've seen too many people try to do this in flip-flops. Take your time, and never overreach. A fall can happen in a split second, so stay focused on what you're doing.
RV Roof Cleaning At a Glance
To give you a quick overview, I've put together a simple table. Think of this as your cheat sheet before we dive into the nitty-gritty details of the process. Top manufacturers like Forest River often recommend cleaning your roof at least four times a year, which is a great baseline to follow. This proactive approach is key to longevity.
| Roof Material | Recommended Cleaner | Key Tool | Cleaning Frequency |
|---|---|---|---|
| Rubber (EPDM/TPO) | Specialized RV Roof Cleaner | Soft to Medium Bristles | 3-4 Times Per Year |
| Fiberglass | Mild Soap or RV Wash | Soft Brush or Wash Mitt | As Needed / Quarterly |
| Aluminum/Metal | Car Wash Soap | Soft Brush | As Needed |
This table gives you the basics, but remember that your local environment—whether it's a dusty desert or a humid, tree-filled campground—will influence how often you really need to get up there.
Choosing the Right Tools and Safety Gear
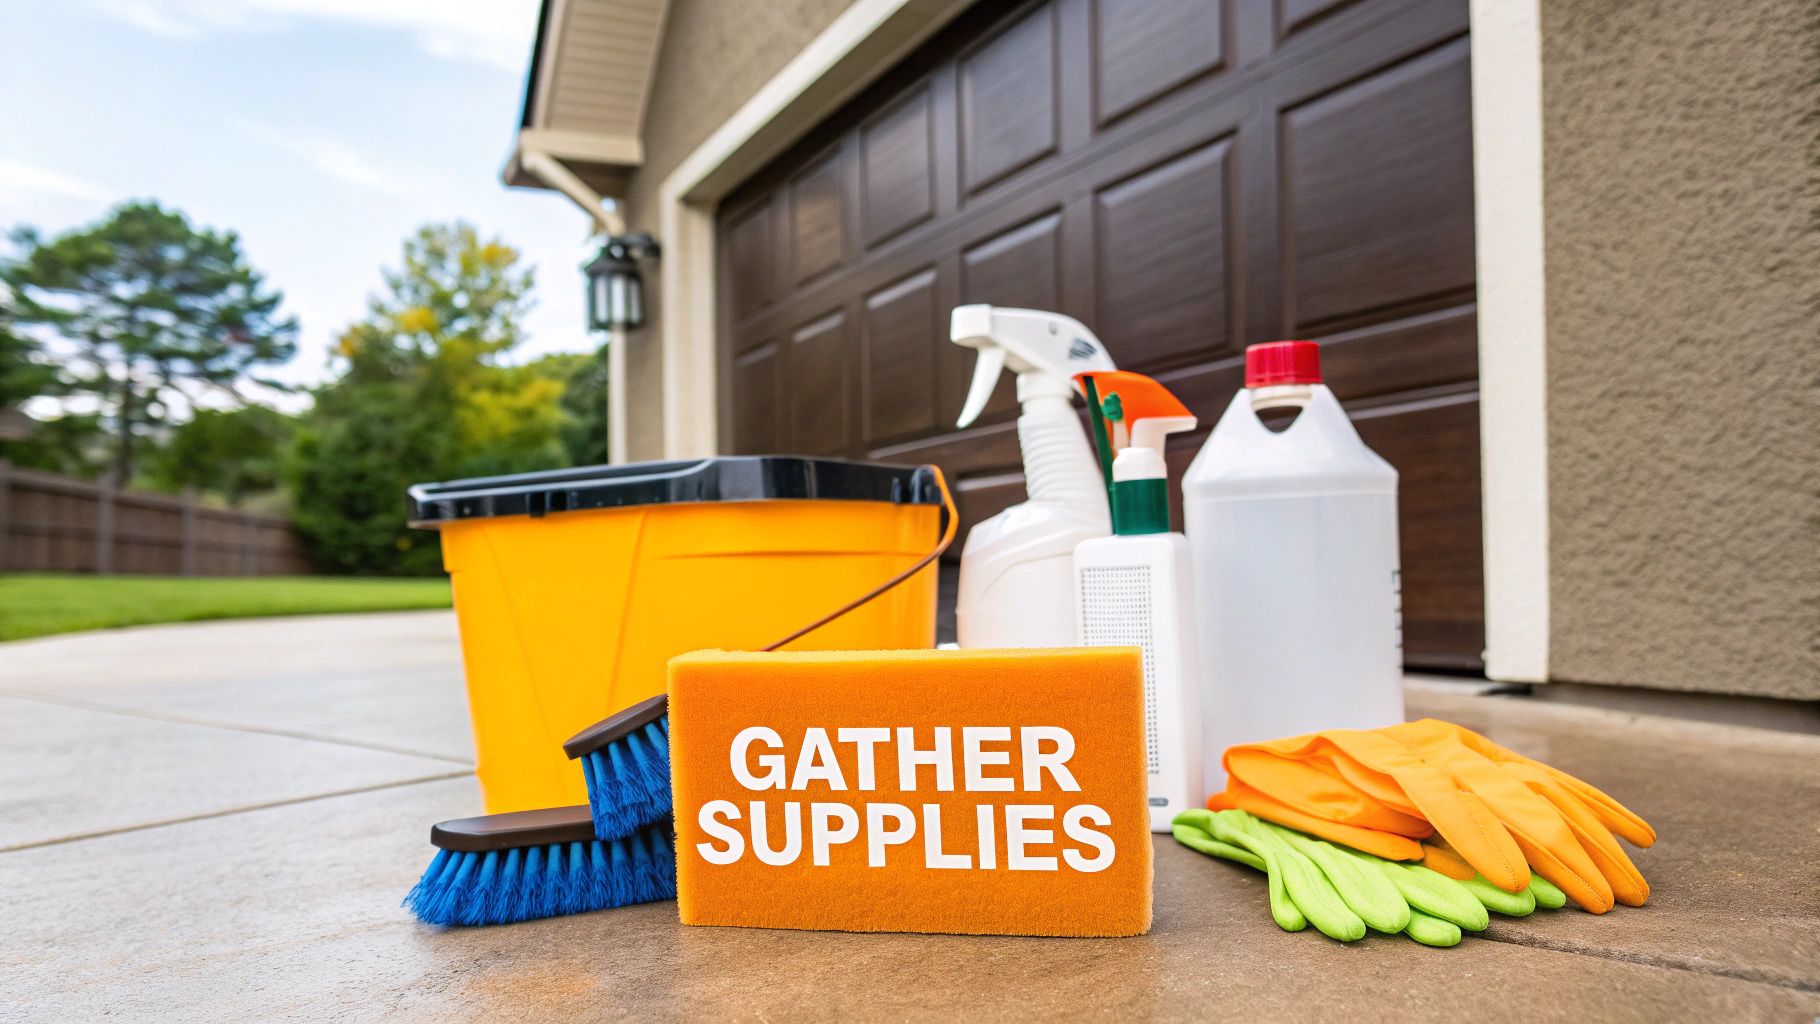
Before you even think about climbing that ladder, let’s talk about gear. Getting the right tools isn't just about a better clean; it’s about doing the job safely and avoiding some seriously expensive damage. This isn't just a shopping list—it's what I've learned works best after years of doing this.
Your most important decision actually starts on the ground: the ladder. Make sure it's stable, set on solid earth, and tall enough so you aren't dangerously stretching to step onto the roof. A wobbly ladder is a recipe for disaster, so give it a good shake before you climb.
Just as critical is what you wear on your feet. A soapy, wet RV roof can be as slick as an ice rink. Non-slip footwear is your most critical safety accessory. A good pair of boat shoes or work boots with solid, grippy soles will give you the traction you absolutely need up there.
Selecting the Perfect Brush
You might be tempted to grab a stiff brush, thinking it'll cut through the grime faster. That’s often the worst thing you can do for a delicate RV roof. Bristles that are too hard can easily gouge or tear EPDM and TPO rubber membranes, or scratch the heck out of a fiberglass roof’s gel coat.
Instead, find a soft- to medium-bristle brush that attaches to a telescoping pole. The pole gives you the reach you need without having to dangerously lean over, and the softer bristles are tough on dirt but gentle on your roof’s surface. Think scrubbing, not scouring.
A huge mistake I see people make is taking a pressure washer to their roof. It’s tempting, I get it. But that high-pressure stream can blast sealant right out of the seams, force water underneath, and permanently ruin the roof membrane. A simple garden hose with a decent spray nozzle is all you need.
The Right Cleaner: Specialized vs. Household
Walking down the cleaning aisle can be overwhelming, but the choice here is actually pretty simple: always, always use a cleaner made specifically for RV roofs.
Household cleaners are a huge no-go. Anything with citrus oils, petroleum distillates, or harsh degreasers can be a disaster for your roof. These chemicals will strip away protective coatings, leaving the material brittle and chalky over time. Worse, they can break down the adhesives holding your seams together, which is a fast track to a leaky roof.
- For Rubber Roofs (EPDM/TPO): Stick with cleaners formulated to be gentle on rubber. Brands like Dicor or Camco have products made just for this.
- For Fiberglass Roofs: A good RV wash and wax soap is perfect. It’ll get the job done without dulling the finish.
Using the right products is a huge part of learning how to clean your RV without causing more problems than you solve. A clean roof is great, but the rest of your rig needs attention, too. For a full tutorial, check out our guide on how to wash an RV like a pro. Getting these items together beforehand makes the whole job safer, quicker, and leaves you with a finish you can be proud of.
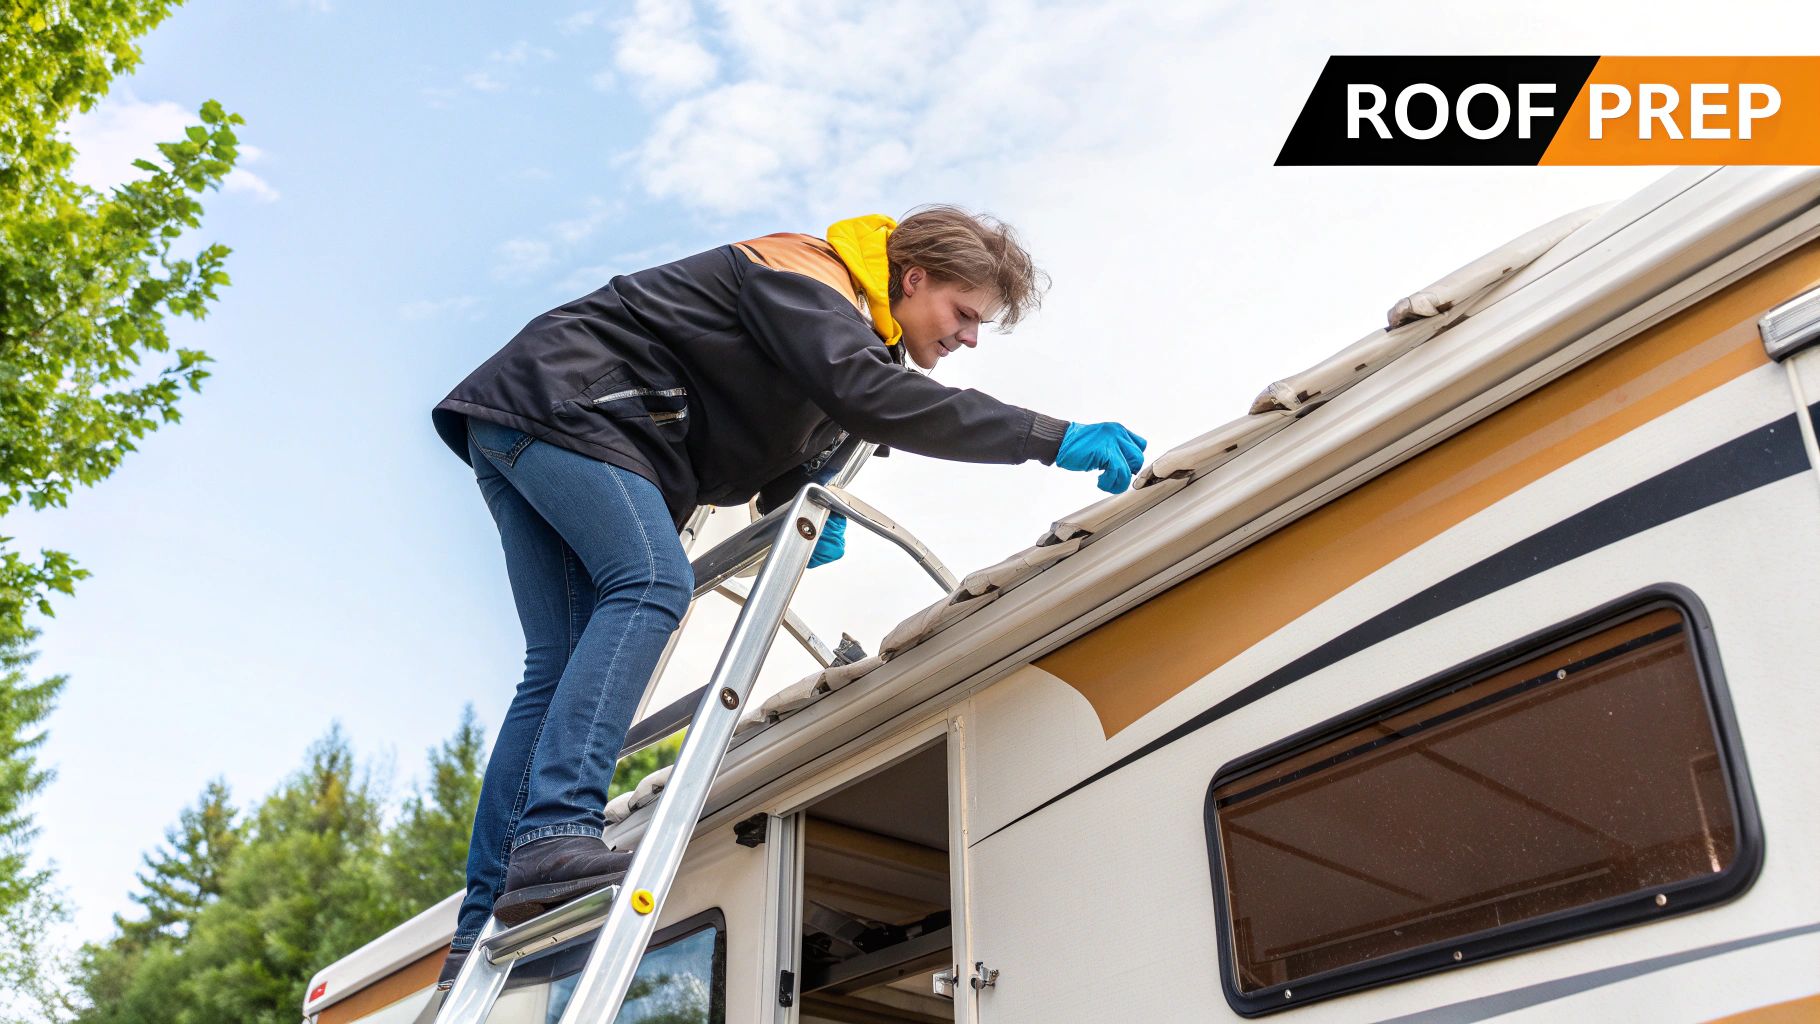
Pre-Cleaning Your RV for a Flawless Finish
I've seen it a hundred times: someone eager to get the job done jumps straight to scrubbing their RV roof. It’s a classic rookie mistake that almost always leads to a streaky, blotchy mess. The real secret to a professional-grade clean isn't in the soap or the brush—it’s all in the prep work. Taking just a few minutes upfront will make the actual washing process faster, easier, and much more effective.
First things first, get all that loose stuff off the roof. You wouldn't mop a kitchen floor without sweeping it first, right? Same principle here. You need to clear away the leaves, twigs, pine needles, and any other debris that’s collected up there. If you don't, you'll just end up grinding that grit right into your roof's delicate membrane as you scrub.
A leaf blower on a low setting is perfect for this—it'll clear the bulk of the mess in seconds. If you don't have one, a simple soft-bristle broom and a dustpan work just as well. The goal is gentle removal, not a deep scrub.
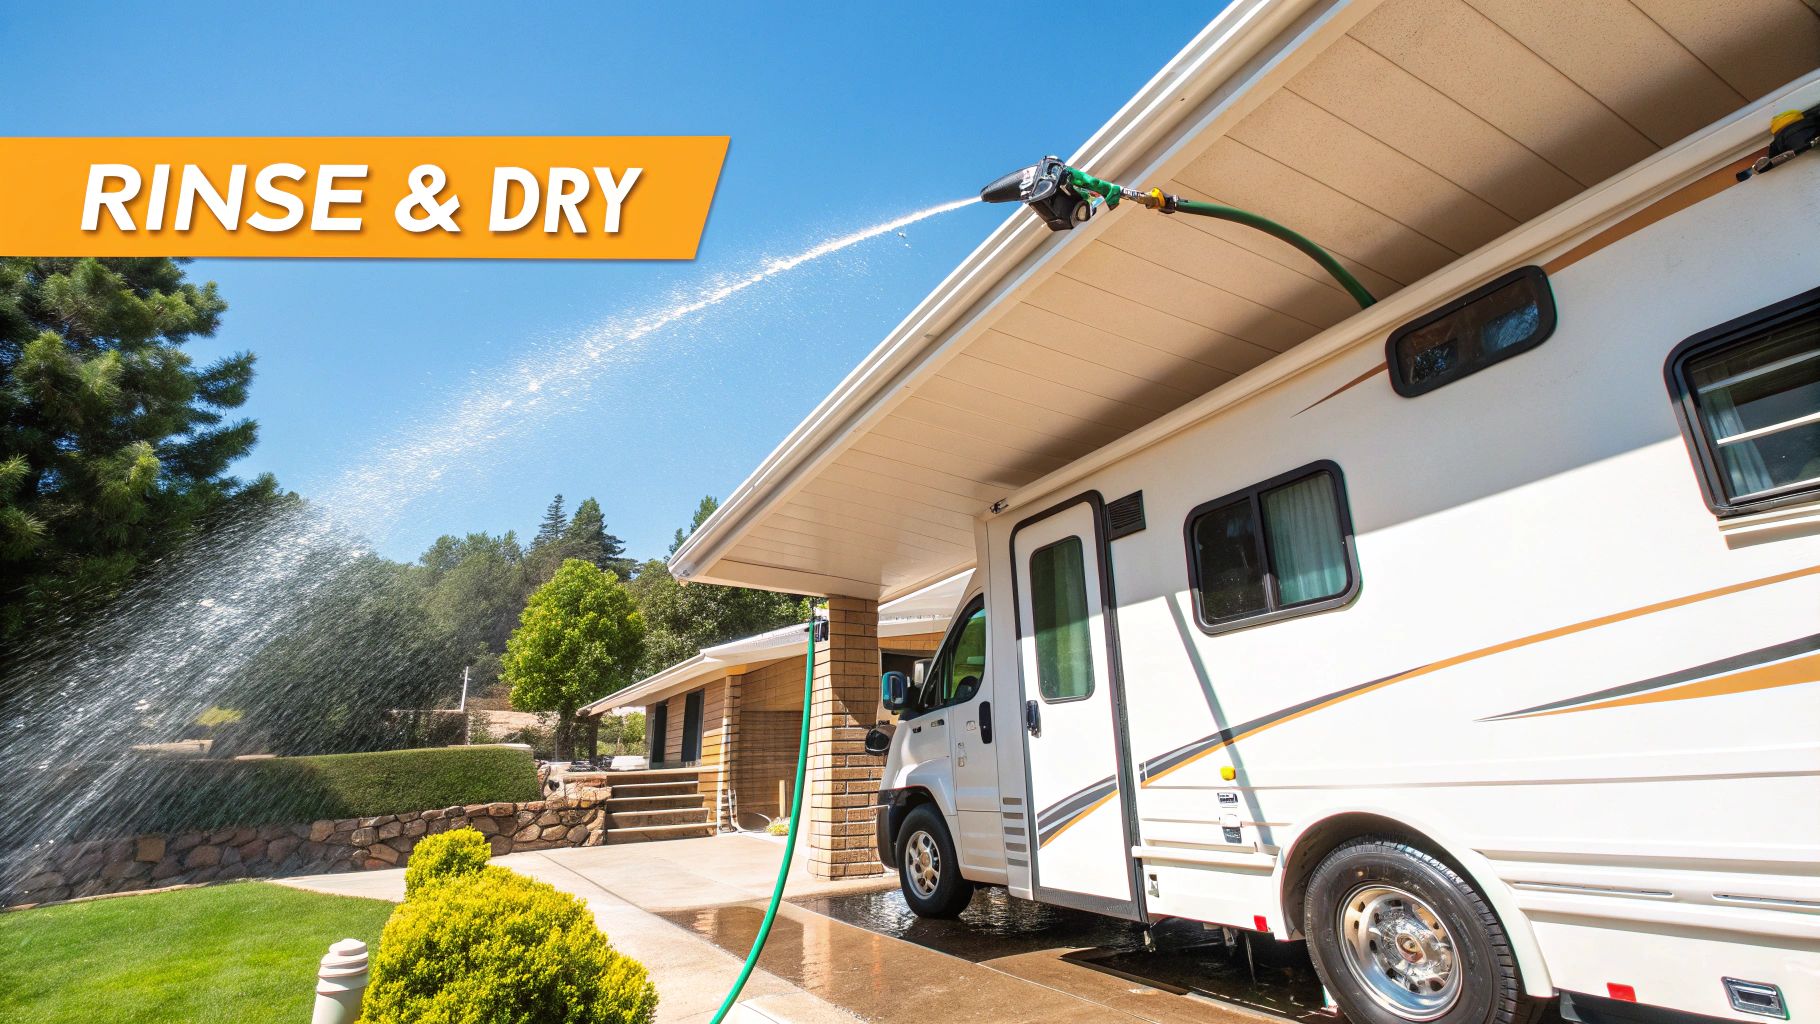
The Smart Way to Pre-Rinse
Once the big debris is gone, you'll want to give everything a good rinse. But here's a pro tip that makes a huge difference: don't start with the roof. Grab your hose and spray down the sides of your RV first.
Why does this matter so much? Because as you clean the roof, all that dirty, soapy water is going to run down the sides. If those walls are dry, the grime will stick and leave behind those ugly black streaks every RVer dreads. By pre-wetting the sides, you create a slick surface that lets the dirty runoff slide right off, saving you a massive headache later.
After the sides are wet, go ahead and give the roof a thorough rinse to wash away the last of the fine dust and grit. Now you've got a clean slate for your cleaning solution.
Protect Your Roof's Hardware
Your RV roof isn't just a blank canvas; it's home to some pretty important equipment. Before you start slathering on the soap, take a quick moment to safeguard these components.
- Solar Panels: They're built for rain, of course, but a plastic tarp can prevent soap scum from building up and hurting their efficiency.
- A/C Units & Vent Covers: You don’t need to completely seal these off, but be careful. Avoid blasting high-pressure water directly into vents or seams where it could seep in and cause problems.
- Sealants: This is a big one. Be extra gentle when you clean over any caulked seams. Scrubbing too hard can easily damage the sealant, and that’s how leaks start. A light touch is all you need.
Most experts agree that an RV roof needs a good cleaning three to four times per year, though you might need to do it more often if you're parked under trees. Kicking off the job with a careful sweep and inspection is a fundamental part of that maintenance. You can find more great tips in this guide to RV roof maintenance best practices from RVshare.
Cleaning Techniques for Different Roof Types
Before you even think about climbing that ladder, you need to know what you’re working with. The single most important factor in your whole cleaning game plan is your RV roof's material. What works like a charm on a tough fiberglass roof could spell disaster for a sensitive rubber membrane.
Getting this right isn't just about getting it clean; it's about protecting your investment for the long haul. Let's walk through the right way to tackle the two most common types of RV roofs you'll find out there.
First things first, no matter what cleaner you're using, you've got to mix it right. Here’s a quick visual of the standard dilution process you’ll follow for most specialized RV roof cleaners.
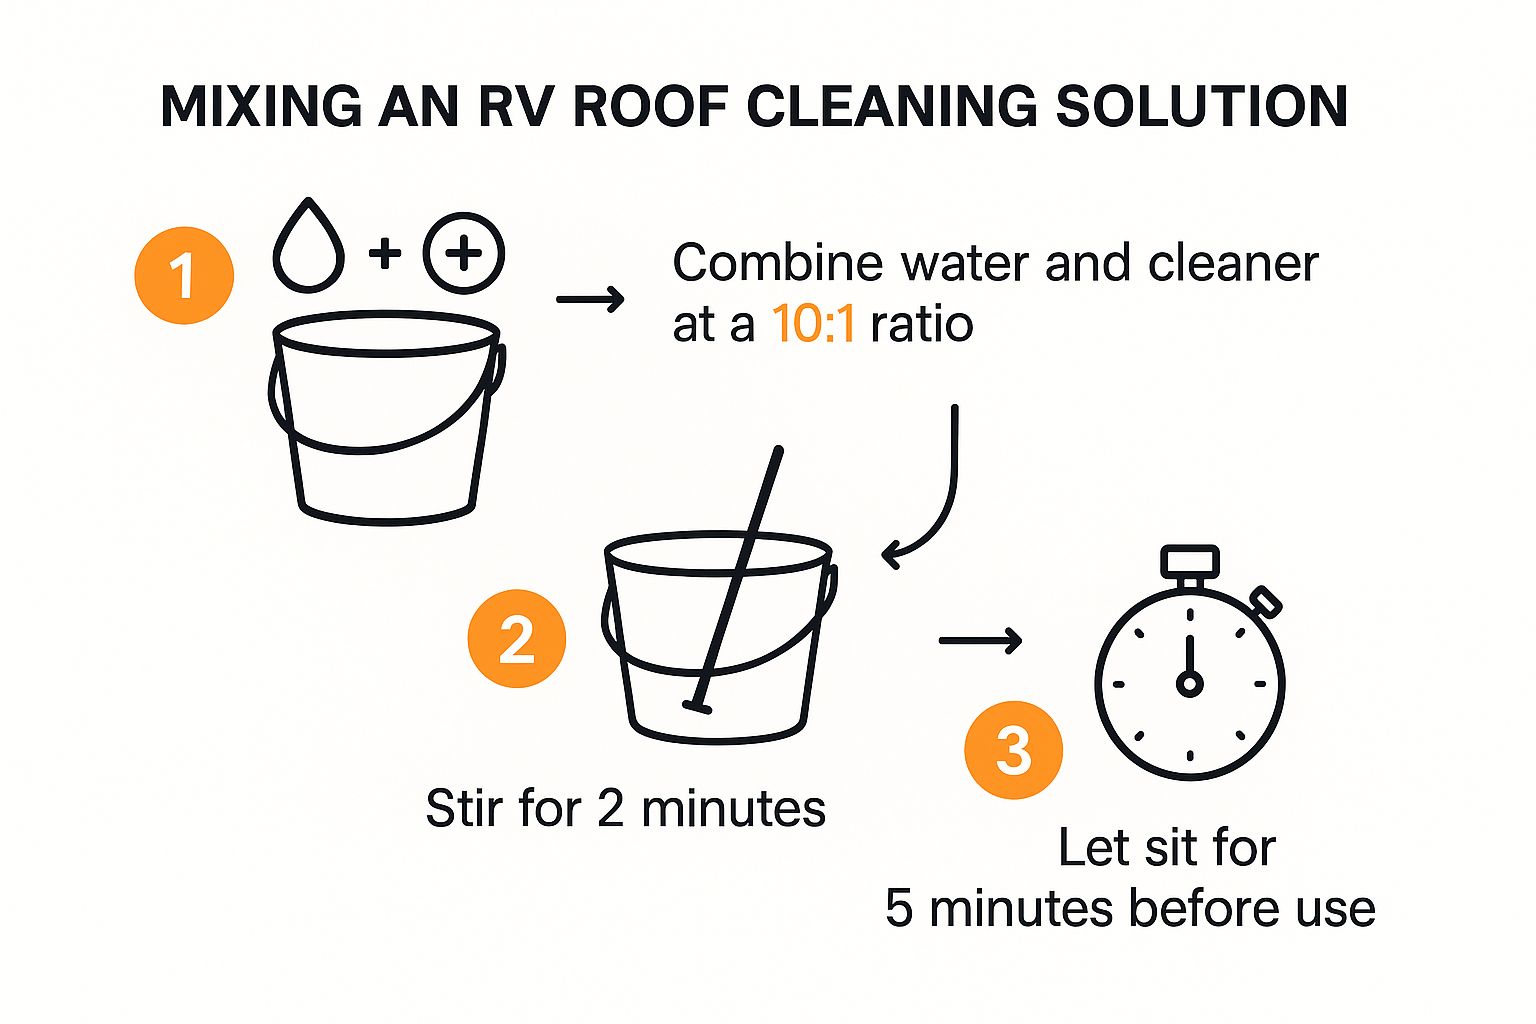
Getting this balance right ensures the cleaner is strong enough to cut through grime but gentle enough that it won't damage the roofing material itself.
The Right Approach for Rubber RV Roofs (EPDM & TPO)
Rubber roofs are the workhorses of the RV world, found on countless models. They’re fantastic, but they demand a gentle touch. These materials are somewhat porous and can be easily damaged by harsh chemicals, abrasive scrub pads, or too much elbow grease. The name of the game here is finesse, not force.
I always recommend working in small, manageable sections. Start by applying your rubber-safe cleaner to an area about 3x3 feet. This keeps the solution from drying on the surface before you have a chance to rinse it off—that's the number one cause of ugly streaks and residue. Let it sit for just a few minutes to do its thing and start breaking down the grime.
Now, take your soft-bristle brush and gently scrub the area. I find that slow, overlapping circular motions work best to lift dirt out of the material’s tiny pores without being abrasive. Once you've scrubbed that section, give it a really thorough rinse with your hose before you even think about moving on to the next one.
Here’s a pro tip learned the hard way: Never, ever let soapy water run down the sides of your rig and dry. This is what creates those stubborn black streaks that are a nightmare to remove from your siding and awning. Keep your hose at the ready and continuously rinse the sides as you work your way across the roof. Speaking of awnings, it's a great time to tackle that job too. For a detailed walkthrough, our guide on how to clean an RV awning has some great pointers.
The Best Way to Clean a Fiberglass RV Roof
If you've got a fiberglass roof, you have a bit more wiggle room. These surfaces are more robust and far less porous than their rubber counterparts. Still, you’re not just cleaning the fiberglass—you’re protecting the gel coat finish that gives it that beautiful shine and, more importantly, protects it from UV damage.
For fiberglass, a good quality, pH-neutral RV wash soap is usually all you need. You can work in slightly larger sections than you would with a rubber roof, but the core principle is identical: apply the soap, give it a gentle scrub, and rinse it completely before it can dry. A soft brush or a microfiber wash mitt on an extension pole is perfect for this.
A common headache with fiberglass, especially if you live in an area with hard water, is water spots. They can ruin an otherwise perfect cleaning job. An old-school trick that works wonders is to add a splash of plain white vinegar to your final rinse bucket. It helps neutralize the minerals in the water and leaves a brilliant, spot-free finish.
After a good cleaning, I always recommend applying a quality wax or a UV protectant spray. It’s a little extra work, but it really amps up the gloss and provides a crucial layer of defense against sun, rain, and road grime.
Applying Protection for Long-Term Durability
Getting your RV roof sparkling clean is a great feeling, but don’t pack up your supplies just yet. The job isn’t truly done. Think of this next part as putting a good coat of wax on your car after a wash—it’s the final, crucial step that keeps it looking good and prevents future damage.
Applying a UV protectant or a roof conditioner is what turns this cleaning session from a temporary fix into a real investment in your RV's health.
The sun is your roof's biggest enemy. Its UV rays are relentless, causing the chalking, fading, and eventually, the cracking that we all dread, whether you have a rubber or fiberglass roof. A quality protectant acts like a shield, deflecting that radiation to keep the roofing material pliable and strong.
Choosing Your Protective Layer
When you head to the store or shop online, you’ll mainly see two kinds of protectants: sprays and wipe-on conditioners.
- Spray-on treatments are fantastic for speed. They let you cover large, flat areas of the roof quickly and easily.
- Wipe-on conditioners, applied with a microfiber cloth or an applicator pad, give you much more precision. This control is perfect for getting an even coat around tricky spots like roof vents, skylights, and along the seams.
It always pays to see what other RVers are using and trusting. For instance, you'll often hear that after cleaning a fiberglass roof, applying a conditioner is non-negotiable. Products like Protect All Rubber Roof Treatment or Camco Pro-Tec Rubber Roof Protectant are popular for a reason—they work. They actively repel dirt and shield against UV rays, which is exactly what you need to prevent fading and cracking.
CRITICAL SAFETY WARNING: These protectants are excellent at their job, but they can make your roof extremely slippery. And I don't just mean for a day or two—we're talking weeks or even months. Once you’ve applied the product, stay off the roof until it has fully cured and weathered a bit. Any work you need to do up there later will require extreme caution.
Application for a Lasting Finish
To get a finish that lasts, stick with the same strategy you used for cleaning: work in small, manageable sections. Follow the directions on the bottle to the letter. Some products need to be buffed off after they haze over, while others are a simpler "wipe on and walk away" deal.
Make sure to overlap your strokes slightly as you go. This simple technique ensures you don't leave any unprotected gaps, creating a seamless shield against the elements.
This protective layer does more than just block sun damage. It creates a slick surface that makes your next cleaning job way easier because dirt, sap, and other grime will have a much harder time sticking.
Your RV roof is out in the open 24/7, just like your car's paint job. You wouldn't leave your car's clear coat unprotected, right? The principle is the same here. If you’re curious about protecting your other vehicles, we have some great advice on how to protect car paint from sun damage.
Ultimately, consistent cleaning and conditioning are the keys to a long-lasting roof. A well-cared-for surface is far less likely to develop the cracks and leaks that lead to those eye-watering repair bills. This kind of proactive care is exactly how cleaning and painting can increase roof lifespan, keeping your rig sealed up tight for many more adventures down the road.
Got Questions About Cleaning Your RV Roof? We’ve Got Answers.
Even after walking through the process, a few questions always pop up. That’s completely normal. Your RV’s roof is what keeps you dry and protected, so you want to be 100% sure you’re taking care of it the right way. Let's tackle some of the most common questions I hear from fellow RVers.
Think of this as that last bit of advice you'd get from a seasoned RVer at the campground before you get started.
How Often Should I Really Be Cleaning My RV Roof?
This is the big one, and the honest-to-goodness answer is, "it depends." The general rule of thumb you’ll hear is three to four times a year, but that's just a starting point. Your real-world situation is what truly matters.
- Where do you park? If you're tucked under pine trees all season, you're in a constant battle with sap, needles, and bird droppings. You might find yourself up there every other month.
- What's the climate like? Living out in the dusty Southwest is a whole different ballgame than the humid Southeast, where mold and mildew are the primary enemies. You have to adapt your schedule to what nature is throwing at your rig.
- How much do you travel? An RV that’s hitting the road every weekend is going to collect a lot more road grime than one that’s stored in a covered facility for six months of the year.
My best advice? Look at it. A quick monthly inspection tells you everything you need to know. When you see gunk starting to build up, it's time for a wash. Staying ahead of the mess is half the battle.
Can I Just Use My Pressure Washer to Get it Done Faster?
I get the temptation. A pressure washer seems like the ultimate shortcut, but please, put it away. For an RV roof, it's a recipe for disaster.
A pressure washer's high-pressure stream can be incredibly damaging. I've seen them tear holes in rubber roofs, force water under the seams, and completely strip the sealant around vents and skylights. You can cause thousands of dollars in damage in a matter of seconds.
Stick with a good old-fashioned garden hose and a decent spray nozzle. It has all the pressure you need to rinse off dirt and suds without waging war on your roof's delicate membranes and seals.
What’s the Deal with Those Annoying Black Streaks?
Those ugly black streaks running down the sides of your beautiful rig? They're not a paint problem; they're a roof problem. Every time it rains or you rinse the roof, all that accumulated dirt, grime, and oxidized material washes down the sides and sticks.
The absolute best way to deal with black streaks is to stop them before they start.
- Keep the Roof Clean: It’s simple—a clean roof means clean runoff. This is your number one defense.
- Rinse the Sides First: Before you even start scrubbing the roof, give the sides of your RV a good rinse. This creates a wet, slick surface that helps the dirty water just sheet off instead of clinging.
- Use a Protectant: After cleaning, applying a quality UV protectant to the roof makes it harder for dirt to stick. A good coat of wax on the sidewalls does the same for them.
If you’re already dealing with existing streaks, you’ll need a product specifically designed as a black streak remover. Just be sure to test it on a small, hidden spot first to make sure it agrees with your RV's decals and finish. Following the steps for how to clean an RV roof properly is the key to preventing them from coming back.
A deep clean is so much easier with the right gear. The SwiftJet foam gun hooks up to any garden hose and blankets your roof in thick, grime-lifting foam. You get a powerful clean without the destructive force of a pressure washer. It's the perfect tool for getting your RV roof clean safely and effectively.