
Driving with cloudy headlights isn't just about your car looking a bit tired—it's a genuine safety risk. Getting them back to crystal clear isn't just a quick wipe-down. The real, lasting fix is a three-part dance: sanding away the oxidation, polishing for clarity, and sealing to protect your work. Let's walk through how to do it right, so you get a finish that looks professional and lasts.
Why Foggy Headlights Are a Bigger Deal Than You Think
Before you even think about grabbing your tools, let’s get one thing straight. That hazy, yellowed film on your headlights is a serious safety hazard. It’s not just ugly; it actively sabotages your ability to see at night and makes it harder for others to see you, especially when the weather turns sour.
The numbers are pretty stark. Research shows that foggy, oxidized headlights can cut your light output by a staggering 20% to 50%. That’s a massive handicap when you're trying to spot a deer on the edge of the road, read a street sign, or just react to what’s ahead.
What's Actually Happening to Your Headlights?
So, what’s causing that stubborn cloudiness? It comes down to the material used in nearly every modern headlight: polycarbonate plastic. It’s tough and won’t shatter easily, but it has an Achilles' heel.
The protective clear coat that's applied at the factory eventually gives up the ghost. It’s constantly under assault from a few key enemies:
- The Sun: Those UV rays are relentless. They're the primary reason the plastic oxidizes, turning it yellow and brittle.
- Road Gunk: Think about it—sand, tiny pebbles, and all sorts of grit are constantly sandblasting your lenses at highway speeds. This creates a network of tiny scratches that scatter the light.
- Harsh Chemicals: From road salt in the winter to acid rain and aggressive car wash soaps, chemicals eat away at that protective layer over time.
Here’s the thing to remember: Headlight fogginess isn't just surface dirt. It's the physical breakdown of the lens itself. A simple car wash won't touch the real problem.
It's Not Just About the Lights Anymore
This issue has become even more critical in newer cars loaded with Advanced Driver-Assistance Systems (ADAS). Many of those handy features—like automatic high beams, lane-keeping assist, or adaptive cruise control—use cameras and sensors that are often mounted right behind or near your headlight assembly.
If your headlight lens is cloudy, it can block or distort what those sensors see. This could cause them to work poorly or even fail entirely, right when you're counting on them. Keeping your lenses clear is essential for the proper function of your entire car's lighting system, ensuring both your visibility and your car's advanced safety tech are working as designed.
Getting Your Headlight Restoration Tools Together
Getting that crystal-clear, factory-fresh finish on your headlights from your own garage all comes down to having the right stuff on hand before you start. Trust me, there’s nothing worse than having to stop mid-project for an emergency run to the auto parts store.
Let's start with the non-negotiables: your safety gear. You'll be kicking up fine plastic dust and working with chemicals, so don't even think about skipping this. A good pair of nitrile gloves will keep polishing compounds off your skin, and a simple set of safety glasses is essential to protect your eyes. It only takes one stray bit of debris to ruin your day.
Kits vs. Building Your Own Arsenal
When it comes to the actual restoration supplies, you’ve got two main options: grabbing a pre-packaged kit or buying everything a la carte.
- All-in-One Restoration Kits: These are your easy button. They usually come with everything you need, from pre-cut sandpaper discs to polishing compound and even a UV sealant. They're fantastic for first-timers, but I've found they sometimes don't include the more aggressive sandpaper grits you need for really bad, yellowed-out headlights.
- Buying Individual Supplies: This is my preferred route. It gives you total control over the process and can be cheaper in the long run, especially if you have more than one car to detail. You can hand-pick the exact sandpaper grits and professional-grade compounds that match the condition of your specific headlights.
If you’re going the DIY route, you'll want to build a solid toolkit.
A quick word of advice from experience: don't cheap out on the painter's tape. Spend a little extra on a quality automotive tape, like the blue or green stuff from 3M. It’s designed to stick firmly through all the water and sanding but peels off without a hint of residue or paint damage. Protecting the paint around your headlights is one of the most important parts of the job.
Your Definitive DIY Toolkit
Here's a rundown of everything you should have laid out before you even touch the car.
- Spray bottle with water: Wet sanding is the only way to go. It keeps the sandpaper from getting clogged with plastic gunk and also keeps the surface cool, preventing any heat damage.
- Wet/Dry Sandpaper (Various Grits): For most jobs with moderate haziness, you can start with 1000-grit, then move to 2000-grit, and finish with a super-fine 3000-grit. If your headlights are severely yellowed and crusty, you may need to start with something more aggressive, like an 800-grit.
- Plastic Polishing Compound: After sanding, you’ll be left with very fine scratches. A quality polishing compound is what buffs those out and brings back the shine.
- Plenty of Microfiber Towels: You can never have too many. Keep a clean stack ready for wiping away residue, buffing polish, and drying everything off at the end.
- UV Protective Sealant: This is the step that makes your hard work last. A good UV sealant acts like a fresh layer of clear coat, shielding the plastic from the sun and preventing that ugly yellow haze from returning in a few months.
This list is for a full-on sanding and polishing restoration. But what if your headlights just have a light bit of fog? There are simpler methods that might work just fine.
To help you decide which path to take, I’ve put together a quick comparison of some popular approaches.
DIY Headlight Restoration Methods at a Glance
This table gives a quick overview of common DIY methods, helping you pick the right one based on how bad your headlights are and how much effort you want to put in.
| Method | Best For | Effort Level | Cost Estimate |
|---|---|---|---|
| Baking Soda/Vinegar Paste | Very light haze, routine cleaning | Low | Under $5 |
| Toothpaste (with whitener) | Minor surface oxidation | Low | Under $5 |
| Bug Spray (with DEET) | A temporary quick-fix (not recommended) | Very Low | $5 - $10 |
| Full Sanding & Polishing | Moderate to severe yellowing & oxidation | High | $20 - $40 |
Ultimately, the sanding and polishing method gives you the most professional and long-lasting results. For lighter jobs, though, a less intensive approach can sometimes do the trick. If you think a quicker fix might be right for you, check out our guide on some great homemade headlight cleaner recipes to see if you can skip the sanding.
The Complete Headlight Restoration Workflow
This is where the real work begins. We’re going to move past the quick fixes and dive into a full-on restoration that will make your headlights look like they just rolled off the factory floor. Think of this as my personal, field-tested workflow. If you follow it closely, you’ll get that showroom-new clarity you’re looking for.
Essential Prep Work Before You Begin
Before a single piece of sandpaper gets anywhere near your car, you absolutely must prep the area. Don't rush this part. Proper prep is what separates a professional-looking job from a costly mistake that has you calling a body shop.
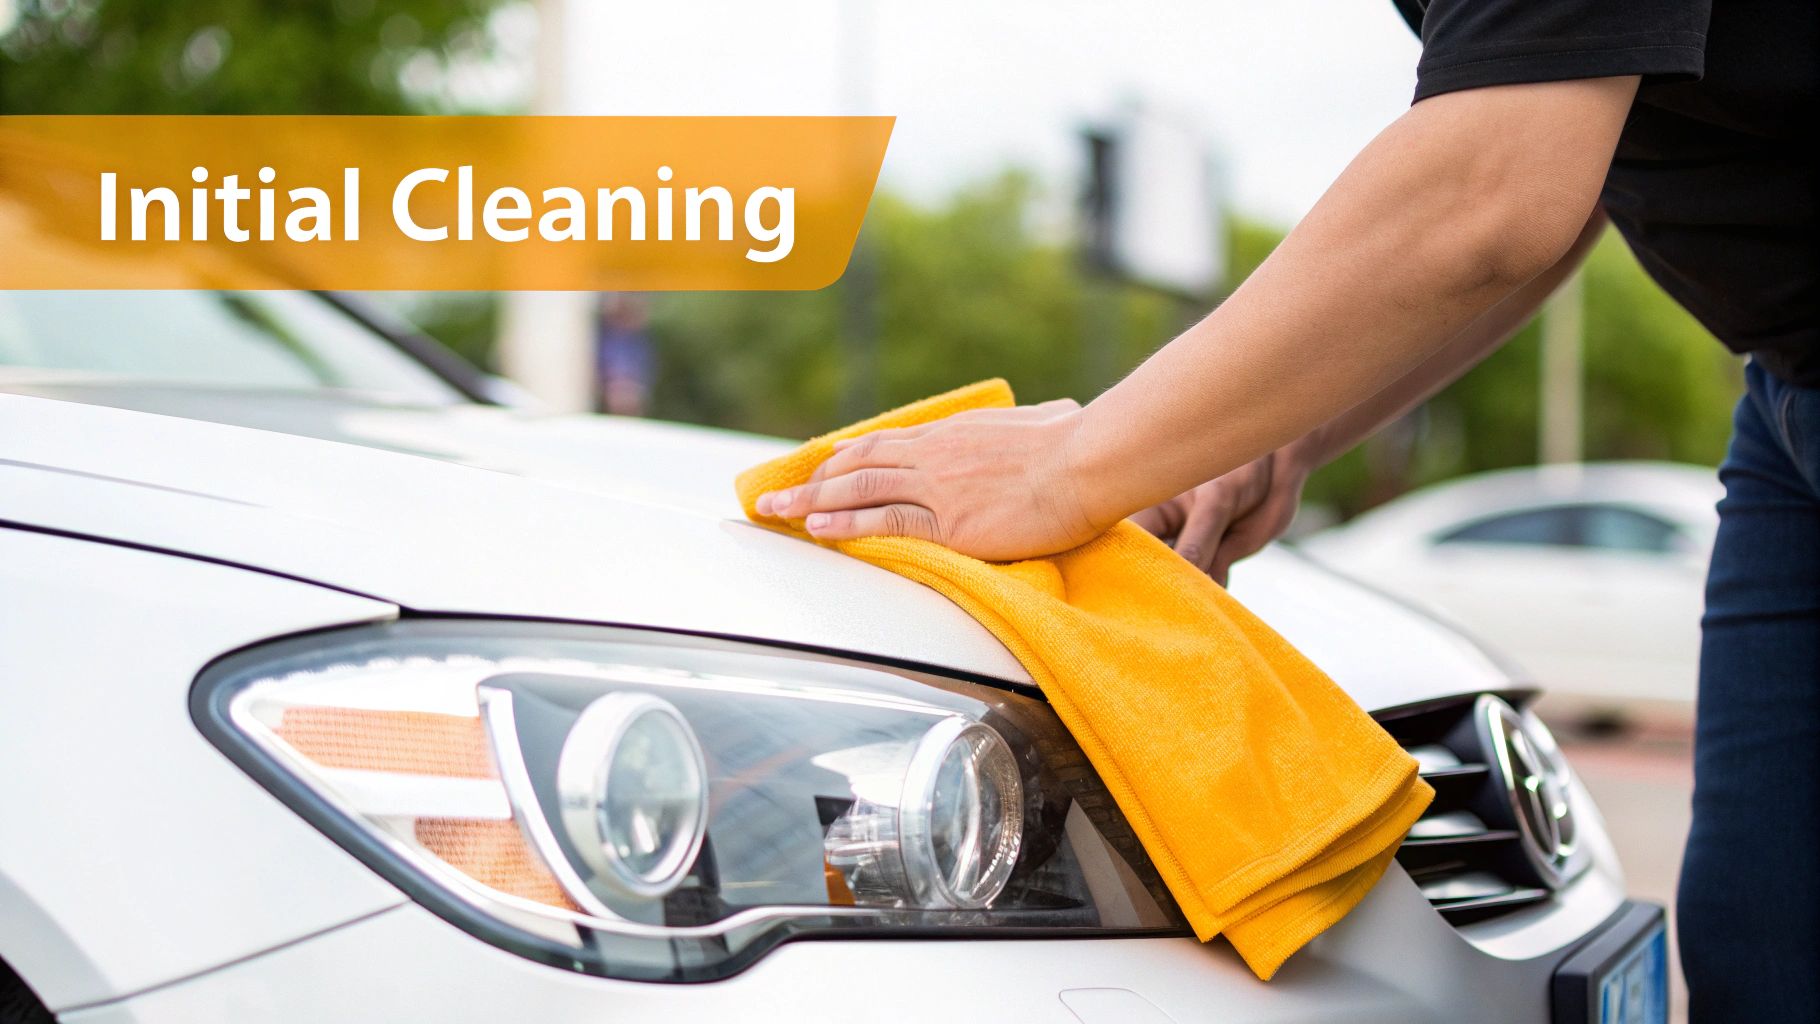
First things first, give the headlights a really good wash. You need to get all the surface dirt, bug guts, and road grime off. A quality foam gun, like the SwiftJet, is perfect for this because it helps lift all that contamination away from the surface without a lot of scrubbing. Once they're clean, dry the lens and the paint around it completely with a clean microfiber towel.
Now for the most important prep step: taping. Grab some high-quality automotive painter's tape and carefully create a border around the entire headlight. You're protecting the painted bumper, fender, and hood. This tape is the only thing standing between your sandpaper and your car’s clear coat, so don’t be shy with it. Make sure it's pressed down firmly.
The Art of Wet Sanding
With your car prepped and ready, it's time for the most transformative part of this whole process: wet sanding. Our goal here is to methodically grind away that failed, oxidized, and yellowed layer of plastic from the headlight lens.
Always, and I mean always, use wet sandpaper. Keep a spray bottle full of water handy and make sure the headlight lens and your sandpaper are constantly wet while you work. This lubrication is key—it prevents you from gouging the plastic with deep scratches and stops the fine dust from clogging up your sandpaper.
The secret is to work through different sandpaper grits in sequence, starting coarse and getting progressively finer.
- Start with a coarser grit, something like an 800 or 1000-grit paper. Sand in just one direction (let's say horizontally) using light, even pressure. Cover the entire lens until it has a uniform, frosty look.
- Move to a finer grit, like 2000-grit. Wipe the lens clean, get it wet again, and start sanding in the opposite direction (vertically). This cross-hatching pattern is crucial because it ensures you sand out the scratches you made with the previous, coarser grit.
- Finish with an ultra-fine grit, usually 3000-grit. Wipe it down one last time, re-wet, and sand back in your original direction (horizontally). By now, the lens should feel perfectly smooth to the touch, but it will still look hazy. That's normal.
My Pro Tip: After you finish with each grit of sandpaper, run your bare fingertips over the lens. You should feel a consistent level of smoothness all over. If you feel any rough or gritty patches, you need to spend more time with that grit before moving on to the next one. A little patience here pays off big time in the final finish.
This visual shows exactly what we're aiming for during this crucial sanding stage—a methodical refinement of the surface.
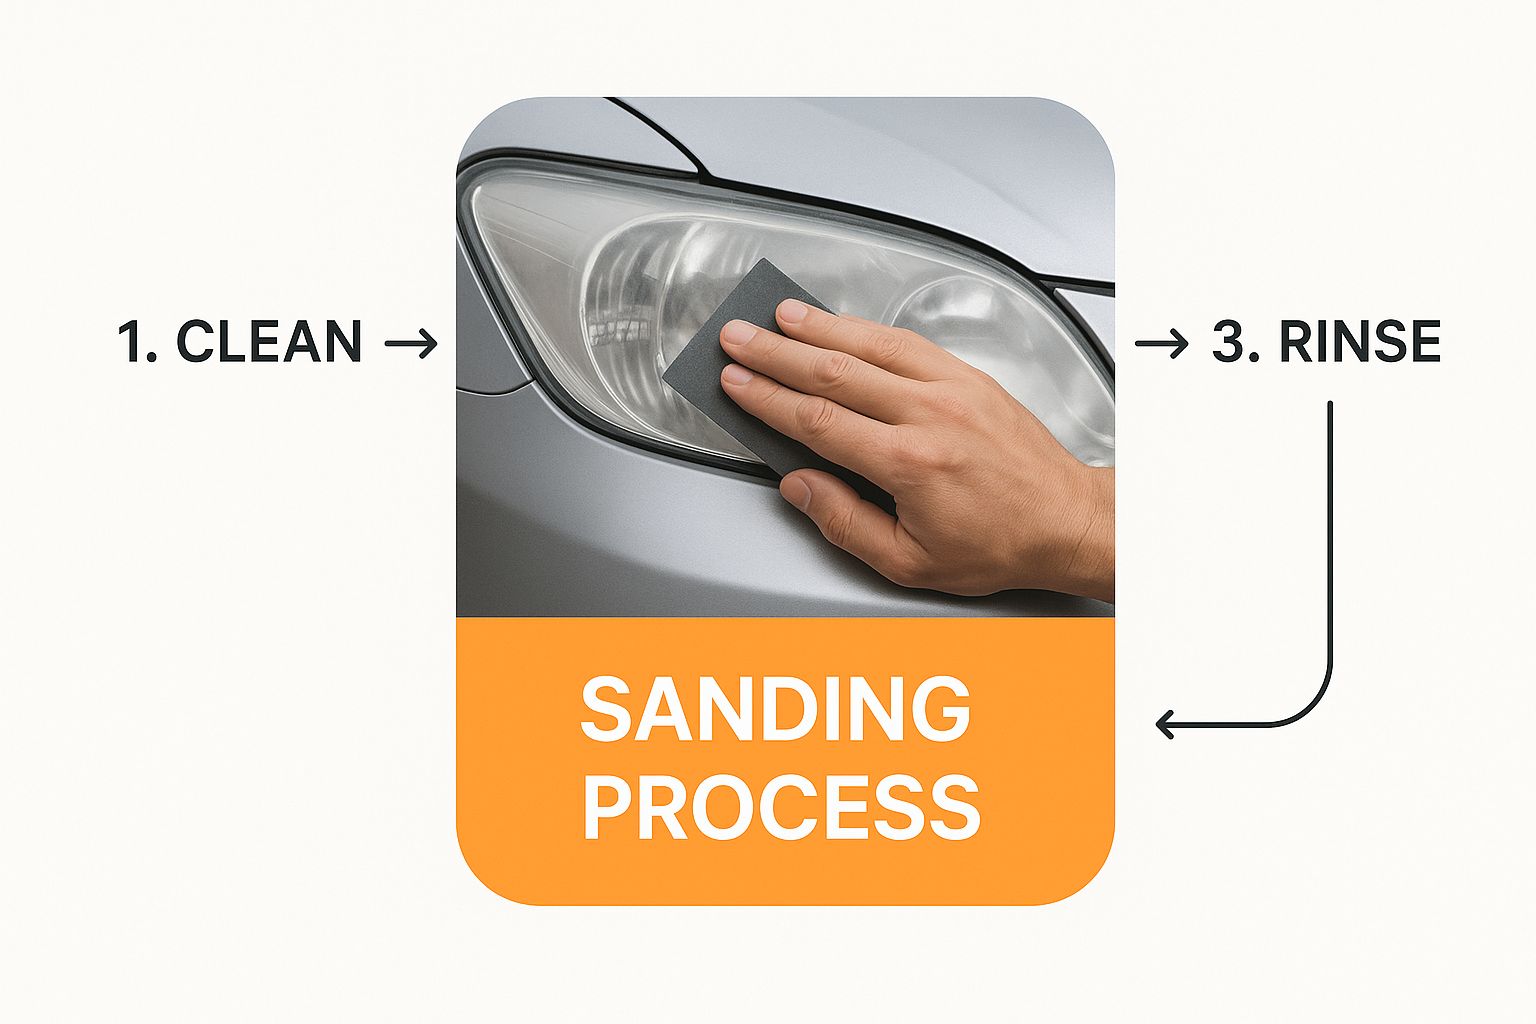
As you can see, focused and careful sanding is the foundation for getting that crystal-clear result.
Polishing to Restore Brilliant Clarity
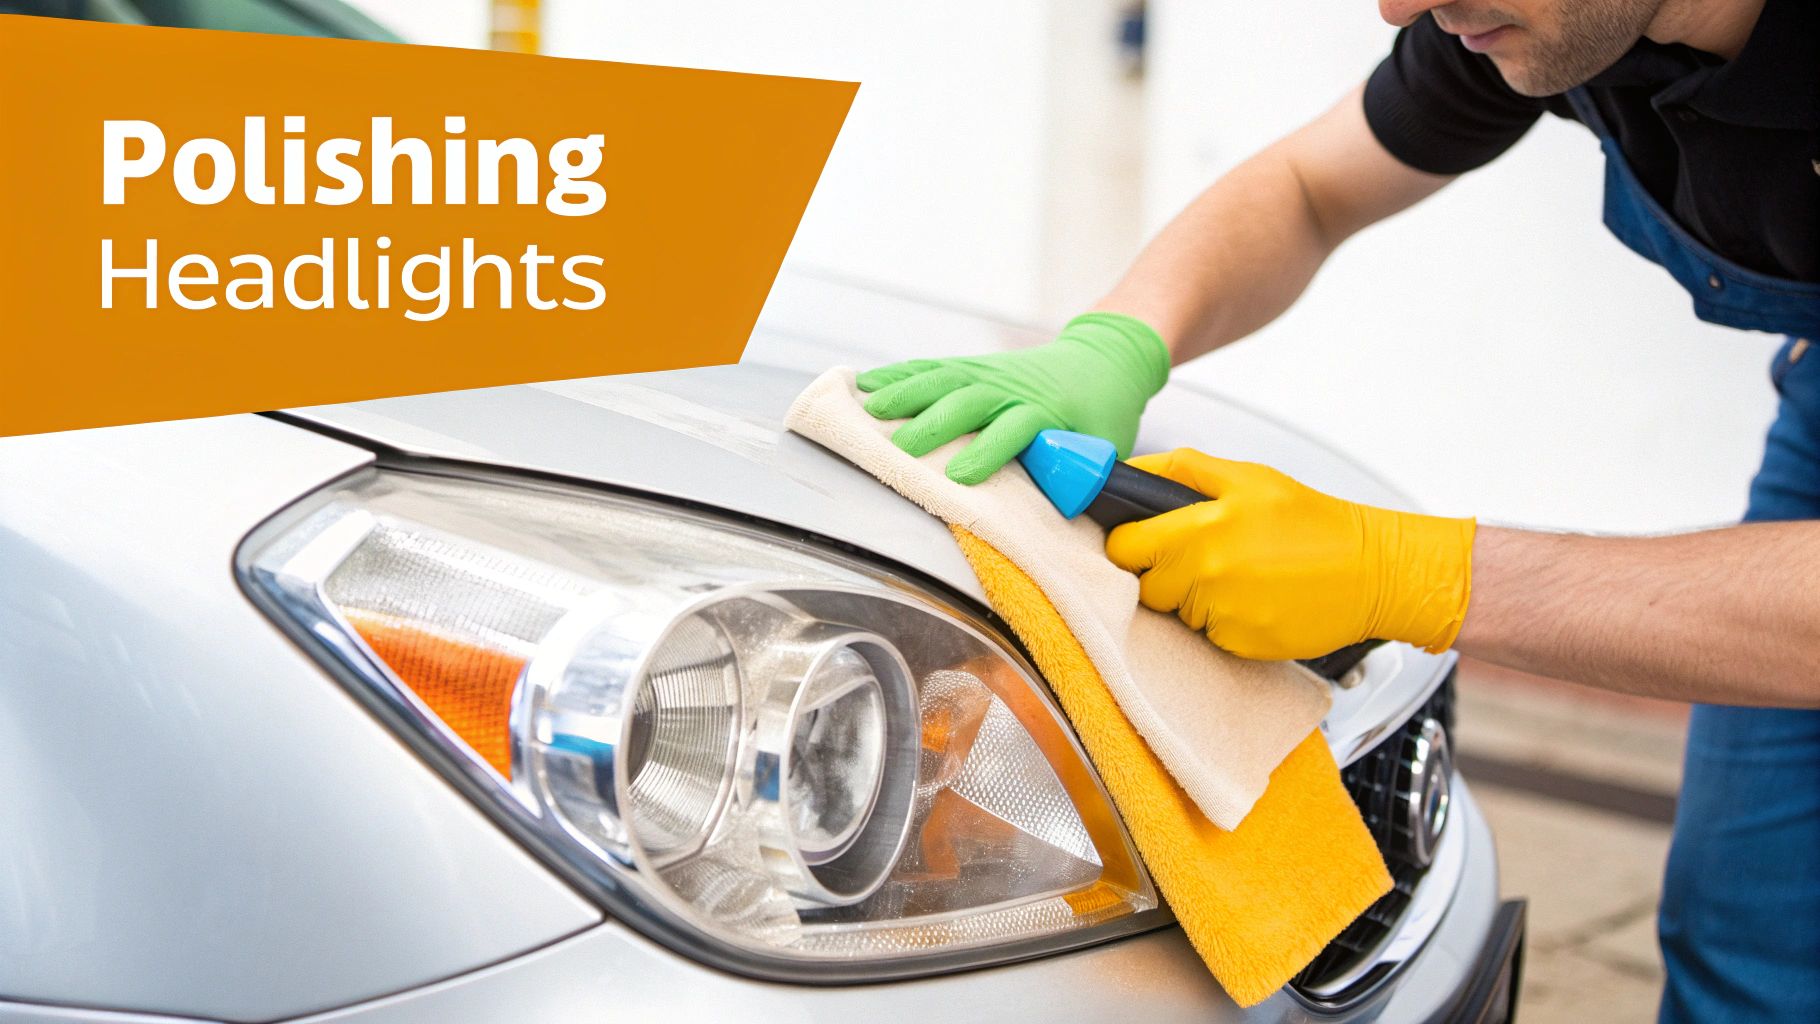
Okay, you've created a perfectly smooth but dull surface. Now it's time to bring back that brilliant shine. We'll do this with a polishing compound, which is essentially a liquid with super-fine abrasives that will buff out the microscopic scratches left by that 3000-grit sandpaper.
Put a small dab of polishing compound onto a microfiber applicator pad or, if you have one, a foam pad on a machine polisher. Work the polish into the lens using firm pressure and tight, circular, overlapping motions. As you work the compound, you'll see the hazy surface magically transform into a transparent, clear lens. Keep at it until all the cloudiness is gone.
Wipe off any leftover polish with a fresh microfiber towel. Step back and have a look—it should look almost brand new. If you see any stubborn hazy spots, just apply a little more polish to that specific area and give it another buffing. It's helpful to know what causes this damage in the first place, and you can learn more about how to remove car oxidation from your paint, too.
The Final, Critical Seal of Protection
Your headlights look amazing, but don't pack up your tools just yet. This last step is arguably the most important one for making your hard work last. You must apply a UV protective sealant.
If you skip this, the bare plastic is completely exposed to the sun and elements. All that yellowing and oxidation will come right back, sometimes in just a few months. This sealant acts like a new, artificial clear coat, shielding the lens from the sun's damaging rays.
Follow the directions on the sealant you chose. You'll typically apply it with a clean applicator in a single, smooth coat. Let it cure completely without touching it or getting it wet. This protective layer is absolutely vital, not just for looks, but for the safe performance of your car's lights.
Quick Fixes for Minor Headlight Haze
Sometimes, a full-blown restoration is just overkill. If you're only dealing with a light bit of fogginess or a slight yellow tint, you don't need to break out the sandpaper and power tools just yet. There are a few tried-and-true methods that can make a real difference without a huge time commitment.
These quick fixes are perfect for regular upkeep or for when you first notice that dreaded haze creeping in. Let's look at a couple of popular DIY tricks and a more dedicated solution to see what actually works.
The Famous Toothpaste Trick
You've almost certainly heard of this one, and for a simple reason: it can work. The magic is in using a basic whitening toothpaste, which contains very fine abrasives that act like a gentle polish. It's surprisingly effective for very light cloudiness.
Just put a good dab of toothpaste onto a microfiber cloth and start scrubbing the headlight. Use small, circular motions and apply some firm pressure to let those mild abrasives do their job. After a couple of minutes of solid scrubbing, rinse everything off with clean water and dry the lens completely.
My Personal Take: I've used this method in a pinch, and it definitely improves clarity on lightly hazed-over lenses. But let's be clear—the results don't last. You're not removing the deeply oxidized plastic or adding a new UV protective layer, so you can expect that haze to come right back in a few weeks or months. It's a great "get you by" solution, but it's not a permanent fix for how to clean car headlights.
Using a Baking Soda Paste
Here’s another classic from the kitchen cabinet. Mixing baking soda with a little water creates a thick paste that works as a natural, gentle abrasive. It's strong enough to buff away minor surface grime and oxidation but won't scratch the plastic.
To make it, just mix about two parts baking soda to one part water until you get a paste-like consistency. Slather it onto the headlight, scrub away with a sponge or a soft cloth, and rinse it off. It’s about as cheap and easy as it gets, using stuff you already have at home.
The push for crystal-clear vehicle lights isn't just about looks; it's a major industry focus. The global market for automotive headlight and camera cleaning systems is on track to become a massive $8.4 billion industry, growing at a rate of 17.66% annually. This boom shows just how critical clear lenses are, not only for our visibility but for the advanced driver-assistance cameras in modern cars. You can find more details about this trend over at Market Research Intellect.
Dedicated Plastic Polishes
If you want a fix that’s more effective and lasts longer than toothpaste but isn't as involved as a full restoration kit, a dedicated plastic polish is the perfect middle ground. These products are engineered specifically to cut through light oxidation and restore optical clarity far better than any household concoction.
You can apply them by hand with a simple microfiber applicator, but for a truly noticeable improvement, I recommend using a foam polishing pad on a standard drill. The extra speed and consistent pressure will give you much faster and more impressive results. The shine you get will also hold up much longer than what you'd get from baking soda or toothpaste.
Keeping Your Headlights Clear for the Long Haul
So, you’ve put in the elbow grease and your headlights are sparkling like new. Fantastic! But how do you stop them from slipping back into that old, hazy, yellow state? The real secret to long-lasting clarity isn't just the restoration—it's what you do after. You need to protect that fresh surface from the very elements that wrecked it in the first place.
Think about it: that newly sanded and polished lens is a blank canvas. It's completely exposed to the sun's brutal UV radiation, which is the number one enemy of headlight plastic. If you leave it bare, you'll be staring at that dreaded cloudiness again in just a few short months.
Choosing Your Shield: UV Protection
Your first and most important line of defense is a quality UV sealant. This isn't really a suggestion; it's a non-negotiable step if you want all your hard work to mean something. You’ve got a few solid options, and they all have their own pros and cons.
- Spray-on UV Sealants: These are my go-to for a quick, even finish. They essentially act like a brand-new clear coat for your headlights, creating a tough barrier against the sun.
- Wipe-on UV Sealants: You’ll often find these in restoration kits, usually in little single-use packets. They’re simple enough to use, but you need a steady hand to apply them without leaving streaks.
- High-Quality Car Wax or Ceramic Coatings: While not designed specifically for headlights, a good synthetic wax or a true ceramic coating offers a ton of UV protection. The trade-off is that you'll need to reapply them more often—think every couple of months. But honestly, it's a great habit to tack onto your regular car wash routine.
If you take away one thing, let it be this: consistency is king. It doesn’t matter if you use a sealant every six months or a wax every two. Just pick a schedule and stick to it. That’s what will keep your headlights from going cloudy again.
Installing a Physical Barrier
Want the ultimate, top-tier defense? Look into getting a physical barrier. Paint Protection Film (PPF) isn't just for your car’s paint anymore. You can buy kits pre-cut to the exact shape of your headlights.
PPF is a thick, clear film that provides incredible protection from pretty much everything. We’re talking UV rays, rock chips, road debris, and even harsh chemicals. It’s easily the most durable solution out there and can last for years. I’ll admit, installing it can be a bit tricky if you’ve never done it before, but the long-term peace of mind is totally worth it. It's the definition of a "set it and forget it" solution.
Building Smart Habits
Ultimately, keeping your headlights clear should just become part of your normal car care rhythm. It’s the small, consistent things that make the biggest difference over time. For instance, when you wash your car, give your headlights a little extra love. Using a gentle soap, like the kind you'd put in a SwiftJet foam gun, will clean them effectively without stripping away the protective sealant you’ve applied.
For a truly complete approach to vehicle care, your headlight upkeep should be just one part of a bigger plan, like following an ultimate car maintenance checklist. This helps make sure nothing important gets missed. And if you're looking for more tips to keep your entire ride looking showroom-fresh, check out our guide on car detailing for beginners.
Common Headlight Restoration Questions
Even with the best guide in hand, you’re bound to have questions when you’re staring down a pair of hazy headlights for the first time. Let's walk through some of the most common ones I hear, so you can tackle this project with confidence and get it right on the first try.
Can I Really Restore Headlights Without Sanding?
You absolutely can, but it all comes down to how bad they are.
If you’ve just noticed a light bit of cloudiness or a faint yellowish tinge starting to appear, you can often get away with a less aggressive approach. A good plastic polish paired with a drill attachment can work wonders. It’s a huge step up from the old toothpaste trick but saves you the hassle of a full-on sanding job.
But let's be realistic. For headlights that are seriously yellowed and have that chalky, oxidized layer, sanding is the only way to truly fix the problem. You have to physically remove that damaged top layer of plastic to reveal the clear material underneath.
My Two Cents: Think of it like this: polishing buffs out light haze and improves clarity. Sanding actually removes physical damage. If the damage is deep, you have to sand before you can even think about polishing.
How Long Will My Hard Work Actually Last?
This is the big one, isn't it? The answer hinges on one critical, non-negotiable step: UV protection.
If you spend all that time sanding and polishing your headlights to a crystal-clear finish but forget to seal them, you'll be lucky to get a few months before the yellowing returns. Without protection, that freshly exposed plastic is a sitting duck for the sun's rays.
A proper spray-on or wipe-on UV sealant is your best friend here. When applied correctly, it should keep your headlights looking new for at least a year, sometimes even longer. If you’re looking for the ultimate long-term solution, having a professional apply a layer of Paint Protection Film (PPF) can keep them protected for years to come.
What If the Fog Is on the Inside?
This is a different beast entirely. If you're seeing moisture, condensation droplets, or a hazy film on the inside of the lens, the problem is a broken seal around the headlight housing. No amount of sanding or polishing the outside will ever fix this.
Dealing with internal moisture means taking the entire headlight assembly off the car, carefully prying the lens from the housing, cleaning the inside, and then resealing it all. It’s a delicate and involved job.
If your lights are damaged internally or you're seeing signs of electrical issues, it's probably time to call in the pros. Your best bet is to look into professional car lighting services to make sure it’s handled safely and correctly.
Ready to give your car the wash it deserves and make headlight prep a breeze? The SwiftJet foam gun turns any garden hose into a high-powered foamer, lifting dirt and grime effortlessly. Get yours today at swiftjetusa.com.