
Getting that professional, just-detailed shine in your own driveway isn't about more elbow grease—it’s about working smarter. The real secret is tackling each part of the job in a specific order. This is how you avoid scratches and get that jaw-dropping finish every single time.
This guide is all about skipping the common blunders and focusing on the exact car cleaning steps the pros use. We're talking about techniques that protect your paint while making your car look absolutely incredible.
Why Order Is Everything in a Car Wash
Following a structured process does more than just get your car clean; it’s one of the best forms of preventative maintenance you can do. If you just jump in and start scrubbing, you're likely creating thousands of tiny scratches called "swirl marks" that make your paint look dull and tired.
A methodical wash safely lifts grime away from the paint instead of grinding it in.
Think of it this way: you wouldn't paint the trim in a room before you've even started on the walls, right? It's the same logic. You should always clean your wheels and tires first, because if you don't, all that brake dust and road filth will just splash back onto the clean paint you just worked so hard on. Each step sets the stage for the next, making the whole process safer and way more effective.
The Payoff of a Pro-Level Process
When you adopt the right car cleaning steps, the benefits go way beyond just a shiny car. You're actively preserving your vehicle's value and appearance for years to come.
Here's what you really gain:
- Serious Paint Protection: A proper pre-rinse followed by a thick foam bath minimizes how much you physically have to scrub abrasive dirt. This is the #1 way to prevent swirl marks.
- A Deeper, Glossier Shine: By safely removing all the contaminants, you’re revealing the true depth and reflectivity of your car’s paint. When you add a layer of wax or sealant on top, the results are stunning.
- Better Resale Value: No surprise here. A car with pristine, well-cared-for paint will always fetch a higher price when it's time to sell.
- Easier Cleanups Later: A properly sealed and protected car is naturally slicker. Dirt, dust, and water have a much harder time sticking, which makes your next wash quicker and easier.
The golden rule of detailing is to touch the paint as little as possible when it's dirty. A good pre-rinse and a thick blanket of foam from a SwiftJet foam gun will do most of the heavy lifting before your wash mitt ever touches the car.
Setting the Stage for a Perfect Wash
A professional-level shine starts long before your car ever gets wet. Honestly, this initial prep work is probably the most overlooked part of the whole process, but it’s what truly separates a decent wash from a fantastic one. Your first move? Get the vehicle out of direct sunlight.
Washing in the shade is non-negotiable. It keeps soap and water from evaporating too quickly, which is the number one cause of those stubborn water spots and potential chemical etching on your paint. A cool surface gives your cleaning products the time they need to work their magic without drying into a streaky, baked-on mess.
Tackle the Dirtiest Parts First
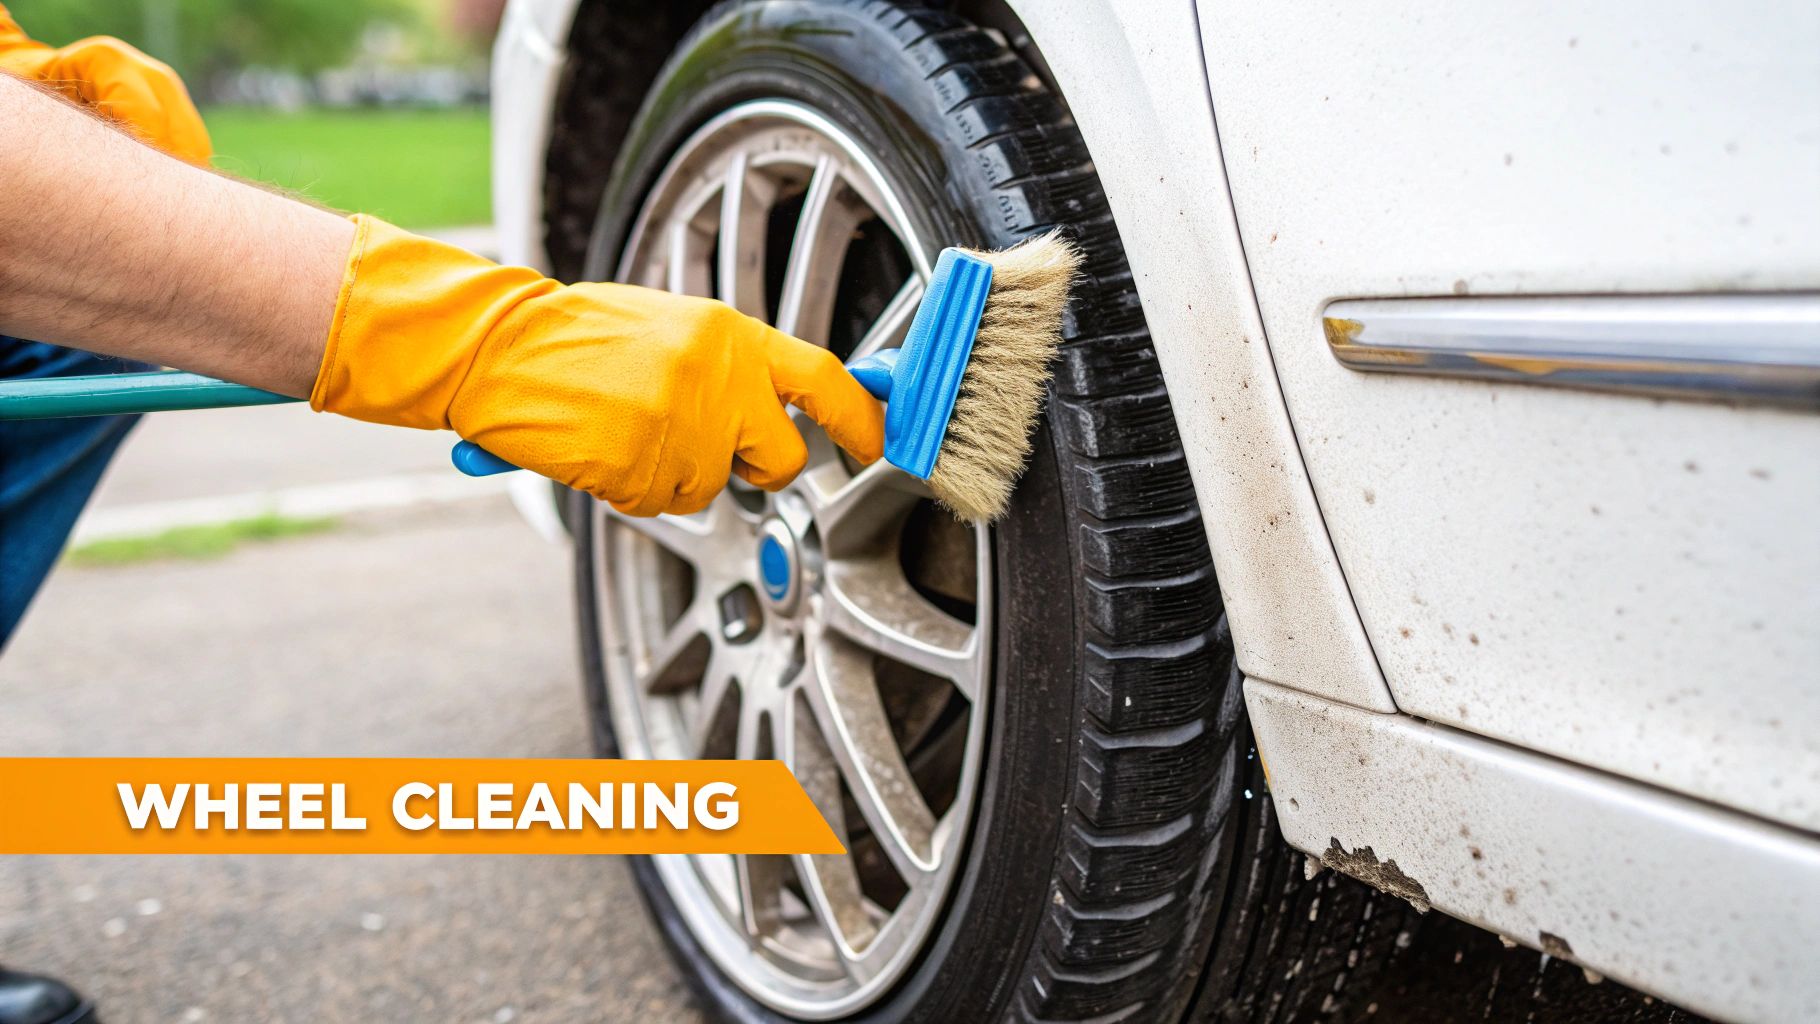
Once you've found a good, shady spot, the next pro move is to clean your wheels, tires, and wheel wells before you even think about touching the paint. These areas are magnets for the heaviest, most abrasive gunk—think brake dust, road grime, and tar. Cleaning them first means you won't be splashing all that nasty stuff onto your freshly washed doors and fenders later on.
For this job, you’ll absolutely need a dedicated wheel cleaner and a separate set of brushes and a wash bucket. This is all about avoiding cross-contamination. Trust me, the last thing you want is the metallic, gritty brake dust from your wheels ending up in the wash mitt you’re about to glide across your car’s paint.
This targeted, initial cleaning is a trick straight from the professional detailer's playbook. In fact, these specialized, multi-stage processes are a big reason why nearly 80% of drivers now prefer professional washes, a huge jump from just 48% in 1994. They start with pre-washes and dedicated wheel cleaning before the main foam bath ever begins.
The All-Important Pre-Rinse
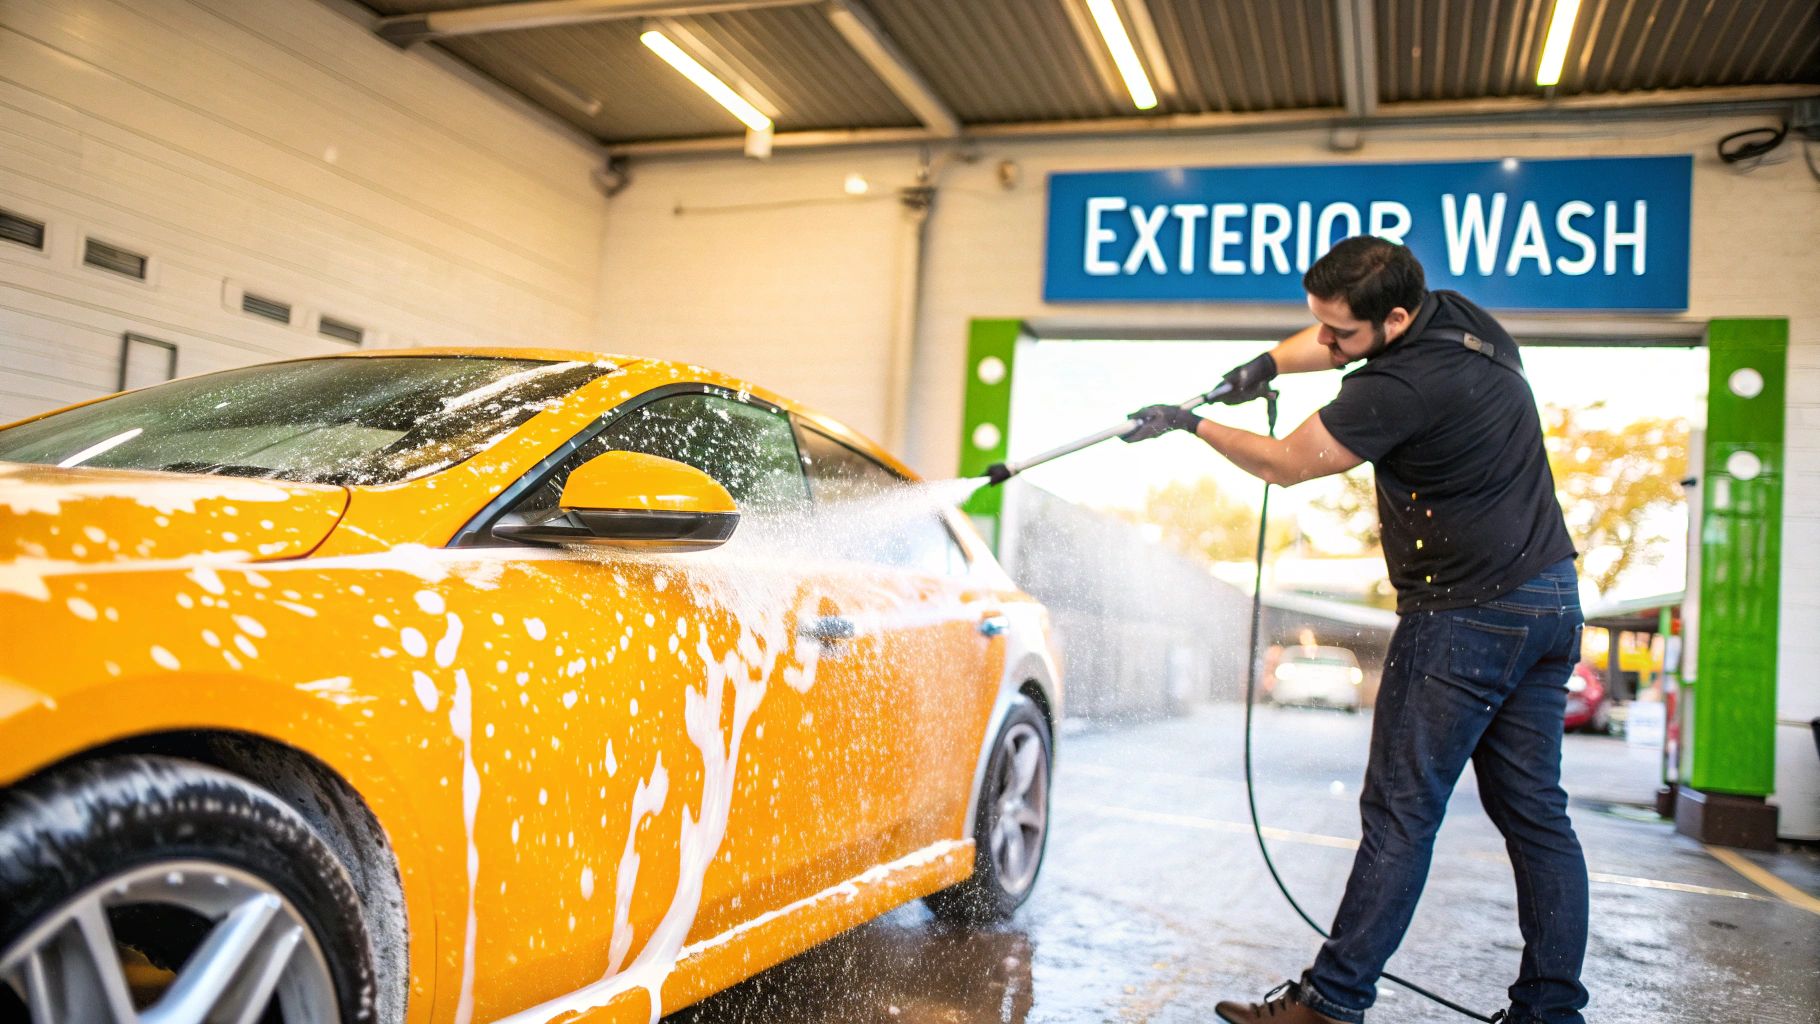
After the wheels are looking sharp, it's time for a thorough pre-rinse of the entire vehicle. A solid blast of water removes all the loose dirt and grit just sitting on the surface. Applying an effective pressure washing technique here can make quick work of caked-on mud and grime.
Think of all that loose grit as thousands of tiny pieces of sandpaper. If you skip this step and go straight to scrubbing with a mitt, you’re basically just grinding those particles into your clear coat. That’s how you get swirl marks and fine scratches.
A powerful, sweeping pre-rinse from top to bottom does about 70% of the cleaning work for you. The less loose dirt on the car when your wash mitt makes contact, the safer the entire wash will be.
Finally, do a quick walk-around and spot-treat any stubborn messes like bug splatter or bird droppings. Just hit those spots with a specialized bug and tar remover and let it sit for a minute or two. This will break them down so they come off easily, setting you up perfectly for the main event: the foam.
Foam Is Your First Line of Defense Against Scratches
This is where the magic really happens. Forget just washing your car; we're about to detail it. Blanketing your vehicle in a thick layer of foam isn't just for show—it's one of the most critical steps to prevent those dreaded swirl marks and fine scratches in your paint.
The idea is brilliantly simple. The foam clings to the surface, gets in between the dirt and your paint, and starts to break it all down. It encapsulates and lifts away all that abrasive grime before your wash mitt even touches the car. Think of it as a pre-soak that does the heavy lifting for you, letting you rinse away the worst of the mess without any physical contact. Honestly, this one step will do more to preserve your car's finish than almost anything else.
Getting the Foam Just Right
Nailing that perfect, shaving-cream-like consistency all starts with the right soap-to-water ratio in your foam gun. You don't need to go crazy with the soap. I've found a good rule of thumb is to add about 2-4 ounces of a quality car shampoo to your foam gun's reservoir, then top it off with water. Give it a gentle swirl to mix everything up, but try not to shake it too hard—you don't want a bottle full of suds before you even start.
Now, connect the foam gun to your hose and dial in your setting. A tool like the SwiftJet has an adjustable nozzle that lets you control the mixture. If you're dealing with a really dirty car, crank it to a higher setting for thicker, clingier foam that will really grab onto the grime. For a deeper dive into dialing this in, we've put together a complete guide on how to use a foam gun to its full potential.
Application and Dwell Time: Patience is Key
Always start foaming from the top of the car and work your way down. This is just common sense—it lets the foam sit the longest on the dirtiest parts of your vehicle, like the lower rocker panels and behind the wheels. Coat everything. You want a thick, even blanket covering every inch of the car.
Once your car looks like a giant marshmallow, just let it sit. This is called dwell time, and it’s when the foam is actively breaking down all that caked-on dirt and road film. Give it a good 5-10 minutes to work its magic. The one crucial thing to remember is to never let the foam dry on the surface, especially if you're working in direct sunlight or on a windy day.
You'll actually see the foam pulling dirt down the sides of the car as it slowly drips. That’s your sign that it's doing its job. You're looking for that sweet spot—long enough to loosen the grime but not so long that it dries and leaves behind pesky soap spots.
This process is exactly how the pros do it. Professional detailers always start with a pre-rinse and a foam bath before their wash mitts get anywhere near the paint. It’s the foundation of a safe wash. After the dwell time is up, grab your hose and give the car a thorough rinse, again starting from the top and working down. You'll wash away the foam and take all that loosened dirt with it, leaving you with a surface that's prepped and ready for a much safer contact wash.
The Two-Bucket Method: Your Best Defense Against Scratches
Once the foam has done its job lifting off the heavy grit, it’s time for the contact wash. This is where most swirls and fine scratches happen, but the two-bucket method is your single best defense. It's a classic, pro-level technique that seems simple on the surface but makes a world of difference in keeping your paint pristine. The whole point is to make sure only a clean, sudsy wash mitt ever touches your car.
The setup couldn't be easier. You just need two buckets, and I strongly recommend getting a Grit Guard for the bottom of each one. One bucket is for your car shampoo and water—your suds bucket. The other is filled with nothing but clean water, serving as your rinse bucket. Those Grit Guards are non-negotiable in my book; they act like a filter, trapping all the dirt you rinse off your mitt at the bottom so you can't pick it back up.
Mastering the Technique
Alright, you've got your buckets ready, so let's get to washing. The golden rule is to always work from the top down. Gravity is your friend here. Start by dunking your microfiber wash mitt into the soapy water, getting it completely saturated.
Gently wash a small section at a time—think half the roof or a single door panel. Use straight, overlapping lines, not circular scrubbing motions. Those dreaded spider-web scratches almost always come from swirling a dirty mitt around. After you've done that one panel, your mitt is now holding onto dirt.
This next part is the most important step. Before that mitt even thinks about going back into the soap, you have to rinse it in your clean water bucket. Rub it against the Grit Guard to knock all the trapped grime loose. Once it’s clean, then you can go back to the suds bucket and move on.
This simple rinse-and-reload cycle is what prevents you from dragging dirt from one part of the car all over another. It’s the core of a safe wash. If you want to see it in action, we have a complete guide to the two-bucket wash method that breaks it down even further.
The wash is just one part of the puzzle. This graphic gives you a nice overview of the finishing touches—drying, waxing, and buffing—that lock in the shine and protection.
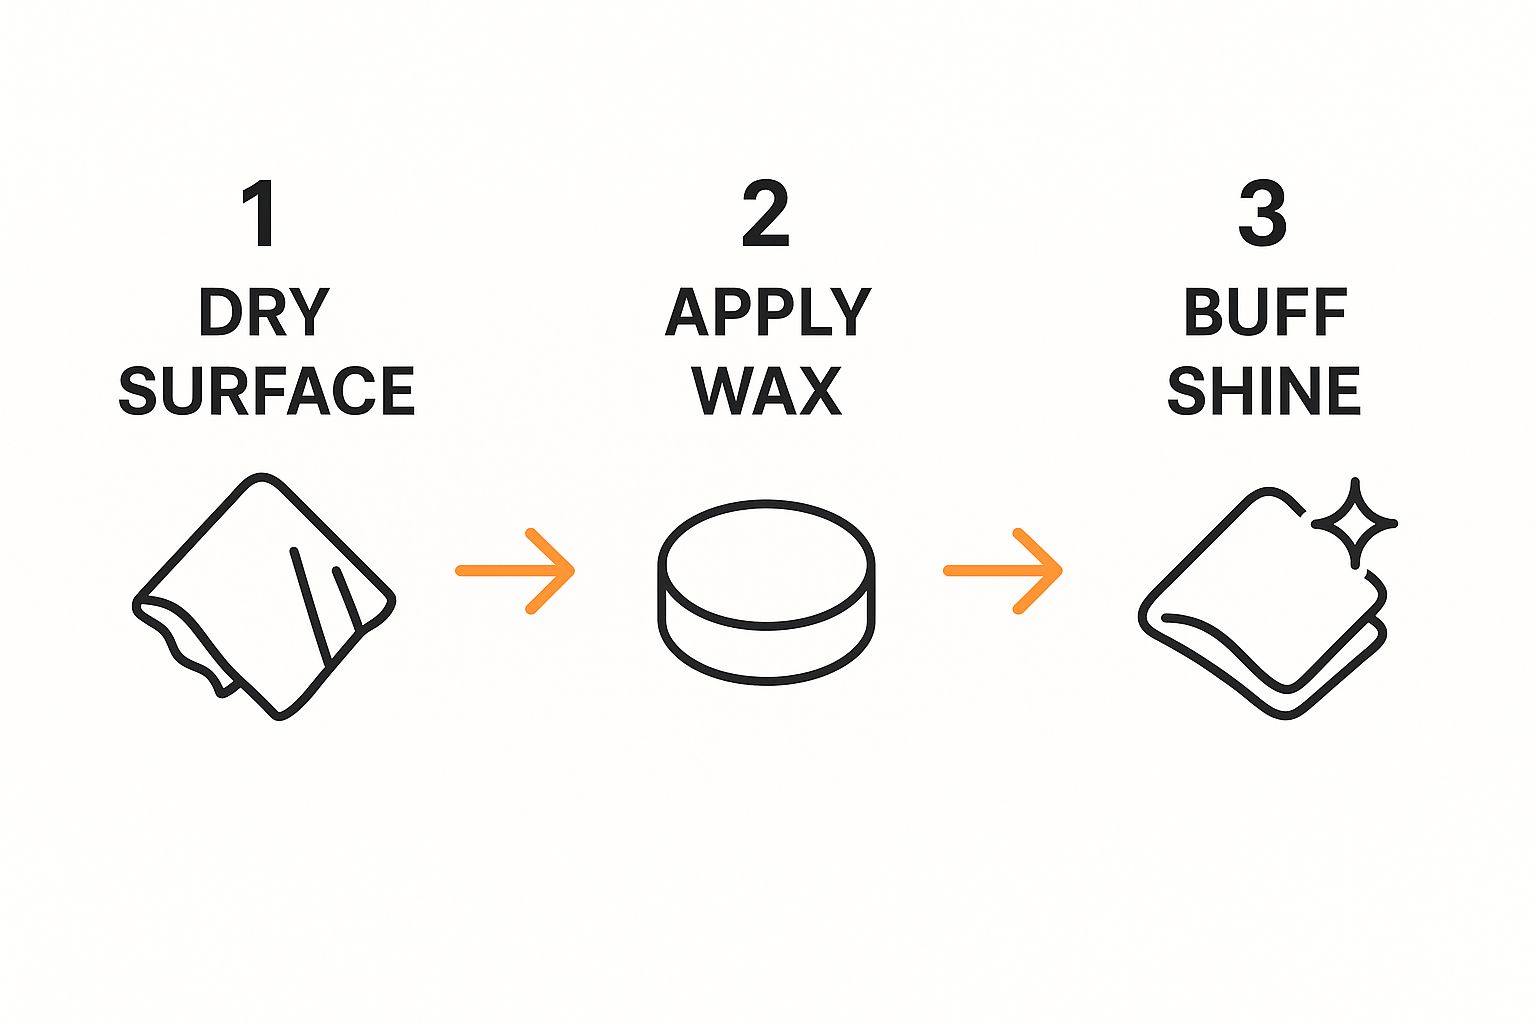
Remember, every step in the process is designed to build on the last, all with the goal of making your paint look incredible while keeping it safe.
Always, and I mean always, save the filthiest parts of the car for the very end. I'm talking about the areas that get blasted with road grime:
- The lower rocker panels along the sides
- Your front and rear bumpers
- The area directly behind the wheels
By washing these last, you keep all that heavy, abrasive gunk from ever touching the more visible and sensitive paint on your hood, roof, and doors. It’s this kind of methodical approach that separates a quick wash from a true detail.
How to Rinse and Dry Without Leaving Marks
You can do a perfect wash, but it's the final few minutes that make or break the job. Rinsing and drying are where you either lock in that showroom shine or end up with frustrating water spots and fine scratches. Trust me, learning to master these last steps is what makes all the effort worth it.
When you rinse, be just as methodical as you were when you washed. Start at the roof and work your way down, letting the water flow over the panels in a sheet. This "sheeting" technique pulls the bulk of the water (and any lingering soap) right off the surface, which is a huge help when it's time to dry.
Ensuring a Complete Rinse
Whatever you do, don't rush the rinse. You need to be a bit of a detective here, looking for all the little spots where soap loves to hide, only to drip out later and ruin your finish.
- Grilles and Emblems: These intricate areas are notorious for trapping suds. Give them an extra pass.
- Mirror Caps: Soap and water will pool behind the mirror glass. A little blast of water here will save you from annoying drip marks later.
- Panel Gaps: Make sure water is flowing cleanly through the gaps around your doors, hood, and trunk.
Once you’re positive every last bit of soap is gone, it's time to dry. You have to move fast before the sun starts evaporating the water and leaving behind those dreaded mineral deposits we call water spots.
The single biggest mistake I see people make is reaching for an old bath towel or a traditional chamois. These materials are way too harsh for modern clear coats and are a primary cause of the swirl marks and micro-scratches that dull your paint.
Choosing Your Drying Method
For a genuinely safe and effective dry, you’ve got two great options. The first is a completely touchless method using forced air. A simple leaf blower on a low setting is fantastic for blasting water out of all those tricky crevices and off the large panels without anything ever touching the paint. This is, without a doubt, the safest possible way to dry your car.
The other top-tier technique is the blotting method using a high-quality microfiber drying towel. Instead of wiping, you lay a large, plush towel over a section, gently pat it to absorb the water, and then lift it straight up. Don't drag it. The idea is to soak up the water, not push it around.
For a deeper dive into tools and techniques, check out our guide on the best way to dry a car after washing. Using either of these methods minimizes friction and protects your pristine finish from any new imperfections.
Adding Protection and Final Touches
Alright, the wash is done, but don't drop the towels just yet. This is where you go from just having a clean car to having a detailed car. These final steps are what really make the finish pop and, just as importantly, protect all that hard work you just put in.
Lock in That Shine With a Protective Layer
With the paint perfectly clean and dry, it’s prime time to add a protective layer. This is what shields your finish from nasty UV rays, road grime, and water spots, all while giving it that deep, wet-looking gloss we're all after.
You don't need to spend hours with a traditional paste wax anymore. For a fantastic, quick result, a modern spray wax or paint sealant is your best bet.
Just mist a light, even coat onto one panel at a time—think of the hood as one panel, and a door as another. Grab a clean, plush microfiber towel and gently spread the product over the surface. Don't let it sit; immediately flip the towel to a dry side and buff the area to a brilliant, streak-free shine.
Nail the Details: Windows and Tires
Now it's time to zero in on the details that really complete the look. Let's start with the glass, because streaky windows can ruin an otherwise perfect job. Always use a dedicated, ammonia-free glass cleaner, especially if you have tinted windows, as ammonia can damage the film.
Here’s a trick I swear by: spray the cleaner onto your microfiber towel, not directly on the glass. This keeps overspray from landing on your freshly protected paint.
Wipe the exterior and interior glass, but do it strategically. I always wipe the inside windows with horizontal strokes and the outside with vertical strokes. That way, if you spot a streak later, you’ll know instantly whether it’s on the inside or the outside.
Next up, the tires. A good tire dressing is the finishing touch. It doesn't just give them that rich, satin-black finish; it also conditions the rubber. Put a small amount on an applicator pad and wipe it evenly onto the tire sidewall. You’re aiming for a clean, uniform look that won’t sling product all over your paint once you start driving.
Pro Tip: Those final touches are what separate a quick wash from a professional-looking detail. Applying a sealant, getting the glass spotless, and dressing the tires are the three things you should never skip.
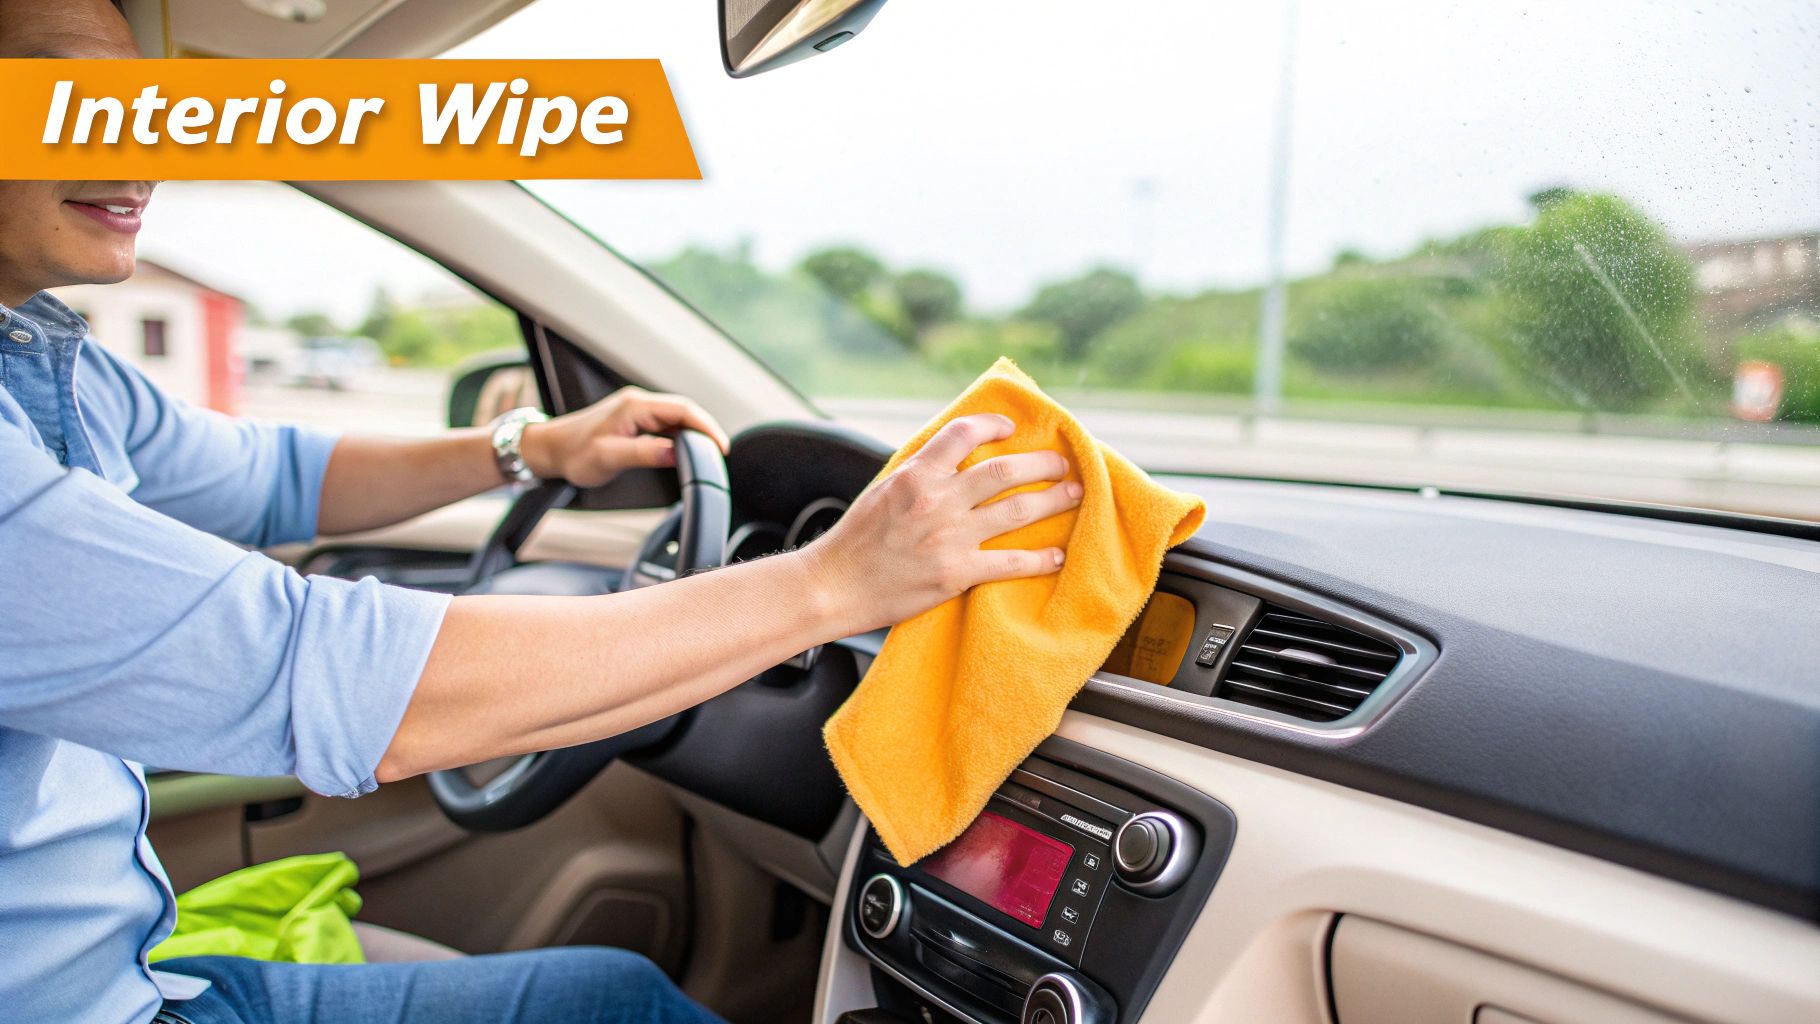
While the exterior is gleaming, a clean interior is just as important for that full showroom feel. You can learn how to effectively clean your car's interior seats to really tie it all together.
For the last step, do a final walk-around with a bottle of quick detailer and a fresh microfiber towel. This is your last chance to catch any smudges, fingerprints, or leftover product residue, leaving you with a flawless finish.
Common Car Cleaning Questions Answered
Even with the best routine, questions always come up. Getting the right answers is what separates a decent wash from a great one—the kind that truly protects your car and gives it that head-turning shine. I've heard a ton of questions over the years, so let's tackle some of the most common ones.
Probably the number one thing people ask is how often they really need to be washing their car.
How Often Should I Wash My Car?
For a car you drive every day, a good rule of thumb is to wash it every two weeks. This is the sweet spot for preventing the gradual buildup of grime and road film that makes your paint look dull and tired.
But that’s just a baseline. You have to react to what your car is exposed to. If you get hit with bird droppings, a swarm of bugs, or tree sap, you need to wash that off immediately. Those things are incredibly acidic and can start to etch into your clear coat in just a matter of days. The same goes for road salt during winter—it's super corrosive. In those situations, don't wait. Wash it as soon as you possibly can.
Can I Use Dish Soap to Wash My Car?
I see this question a lot, and it's a tempting shortcut, but the answer is a firm no. You should never use dish soap on your car's paint. Dish detergents are designed to be aggressive grease cutters, and while that's perfect for a dirty pan, it's a disaster for your car.
That powerful grease-stripping formula doesn't just remove dirt; it completely strips away your car's protective layer of wax or sealant. This leaves the paint totally vulnerable to UV damage, acid rain, and oxidation, which will make your finish look old and faded much faster. Always stick with a pH-balanced car shampoo made specifically for vehicles.
What's the Difference Between Wax and Sealant?
Choosing between wax and a sealant really boils down to whether you prioritize looks or longevity.
A traditional carnauba wax is famous for the deep, warm glow it gives your paint—it creates that classic "wet look," especially on dark colors. It's beautiful, but it's not very durable. You’ll be lucky to get more than a few weeks or a month of protection out of it.
On the other hand, a synthetic paint sealant is all about endurance. It's engineered to create a slick, hard shell over your paint that provides serious protection against the elements, often lasting for 4-6 months or more. The shine is typically sharper and more reflective. These days, you can also find a lot of hybrid products that blend polymers with carnauba to give you a bit of the best of both worlds.
Ready to take your wash to the next level? The SwiftJet Car Wash Foam Gun makes it incredibly easy to lay down that thick, dirt-lifting foam you need for a safe, scratch-free wash. Get your SwiftJet foam gun today.