
That hazy film or stubborn streak on your windshield isn't just an eyesore—it's a real safety hazard. The secret to a truly crystal-clear view is simple: grab two separate microfiber towels and a quality, ammonia-free automotive glass cleaner. This two-towel method is my go-to for preventing streaks and, just as importantly, protecting your car's interior from harsh chemicals.
Why a Clean Windshield Is More Than Just Looks
A pristine windshield is absolutely fundamental to safe driving, but it's one of those maintenance tasks that’s easy to put off. We've all been there—those minor smudges suddenly catch the sun, creating a dangerous glare. At night, they distort the headlights of oncoming traffic, making it tough to see clearly.
This gets even worse in bad weather. Add a little rain, and a dirty windshield can create a blinding smear with every pass of the wipers, seriously cutting down your reaction time.

Common Cleaning Mistakes to Avoid
It’s tempting to just grab a bottle of Windex and a paper towel, but these shortcuts often do more harm than good. Most household glass cleaners contain ammonia, a chemical that can wreak havoc on your car's dashboard, rubber seals, and expensive window tint over time. And it’s not just about the windshield; a clear view from all your glass is critical. Just think about the safety implications of compromised side mirror visibility.
The science behind a truly streak-free finish lies in using the right tools and techniques. Dedicated automotive cleaners are formulated to cut through road grime and interior off-gassing film without leaving a residue that causes glare.
There's a reason the market for specialized car care products is booming. In fact, the car windshield cleaner market was valued at USD 1.2 billion and is projected to climb to USD 1.8 billion, largely because drivers are more aware of how crucial clear visibility is.
Keeping your windshield spotless is a cornerstone of your vehicle maintenance routine. For a bigger picture on keeping your car in top shape, check out our guide on how often you should wash your car: https://www.swiftjetusa.com/blogs/news/how-often-should-you-wash-your-car-complete-care-guide.
Putting Together Your Windshield Cleaning Arsenal
Long before you even think about spraying cleaner, getting that perfect, streak-free shine on your windshield starts with having the right gear. Seriously, this is what separates a frustrating, smeary mess from a finish so clear it looks like the glass isn't even there.
The Non-Negotiable Basics: Towels and Cleaner
First things first: you need at least two top-notch microfiber towels. This isn't just a pro tip; it's the bedrock of a good result. One towel will do the heavy lifting—the initial cleaning—while the second, completely dry towel is your secret weapon for the final buff. Using two towels is the only way to avoid just pushing grime around and to lift every last bit of residue.
Now, let's talk about the cleaner itself, because what you use matters a lot. Steer clear of household glass cleaners like Windex. Most of them are packed with ammonia, which is terrible for your car. Over time, it can wreck your window tint, fade your dashboard, and dry out the rubber seals around the glass. Always grab a dedicated, ammonia-free automotive glass cleaner.
You need a cleaner made for cars because it's specifically designed to tackle road grime on the outside and that weird, hazy film that builds up on the inside from off-gassing plastics. Household cleaners just can't handle that.
Upgrading Your Toolkit: From Good to Great
While good towels and the right cleaner will get you far, a few extra tools can really take your results to the next level. We cover all the essentials in our complete car detailing supplies list, but let's compare the basics to a more advanced setup.
Here's a quick look at what it takes to go from a basic clean to a truly professional finish.
| Tool | Essential (For a Good Clean) | Pro-Level (For a Perfect Finish) |
|---|---|---|
| Cleaning Media | Two high-quality microfiber towels | Two towels plus a clay bar or mitt |
| Cleaning Agent | Automotive ammonia-free glass cleaner | Glass cleaner and a foam gun soap |
| Application | Spray bottle and hand application | SwiftJet Foam Gun for pre-soaking |
As you can see, the pro-level approach introduces a couple of game-changers. Pre-soaking the exterior glass with a foam gun like the SwiftJet is a fantastic way to break down stubborn stuff like baked-on bugs or tree sap. It does the hard work for you, loosening grime so you don't have to scrub aggressively.
Likewise, a clay bar is the ultimate tool for getting the glass perfectly smooth. It gently lifts away those tiny, embedded contaminants that washing can't touch, leaving a surface that's primed for a flawless, invisible finish.
Mastering Your Exterior Windshield Cleaning Process
Cleaning the outside of your windshield is a constant fight against the elements. We're talking road grime, bug splatters that seem to bake on instantly, bird droppings, and all sorts of environmental gunk. The best way to get a car windshield truly clean isn't just a quick spray-and-wipe; it's a specific method that guarantees a crystal-clear, streak-free view every single time.
First thing's first: always pre-rinse the glass with plain water. This is non-negotiable. You're washing away all the loose, gritty stuff that can easily scratch your windshield the moment you start scrubbing. Trust me, you don't want to start wiping on a dry, dirty surface.
Once it's rinsed, it’s time to bring in your cleaning solution. For a seriously deep clean that does most of the work for you, a tool like the SwiftJet foam gun is a game-changer. It covers the glass in a thick, even layer of foam that actually clings to the surface, giving the soap plenty of time to break down and lift away stubborn grime without you having to scrub like crazy.
The Art of the Streak-Free Wipe
After letting the cleaner sit for a moment, your wiping technique is what makes or breaks the final result. A crucial tip: always work in the shade. If you're out in the direct sun, the cleaner will evaporate way too fast, leaving behind ugly streaks and residue before you even have a chance to wipe it off.
Grab a clean microfiber towel and fold it into quarters. Start wiping the glass in a consistent pattern—either go side-to-side or top-to-bottom. Stay away from those swirling, circular motions; they tend to just push the dirt around instead of removing it.
The goal here is to lift the grime off the glass, not just spread it. By using a straight-line wiping pattern and frequently flipping to a clean side of your towel, you're physically pulling all those contaminants off the surface.
Once you’ve done the initial wipe-down, take your second, completely dry microfiber towel for the final buff. This is the secret step that polishes the glass and gets rid of any tiny bit of leftover moisture, which is the real culprit behind streaks. For a deeper dive into these methods, you can check out some general professional glass cleaning techniques.
This simple flowchart lays out the essential steps for getting that perfect, streak-free shine.
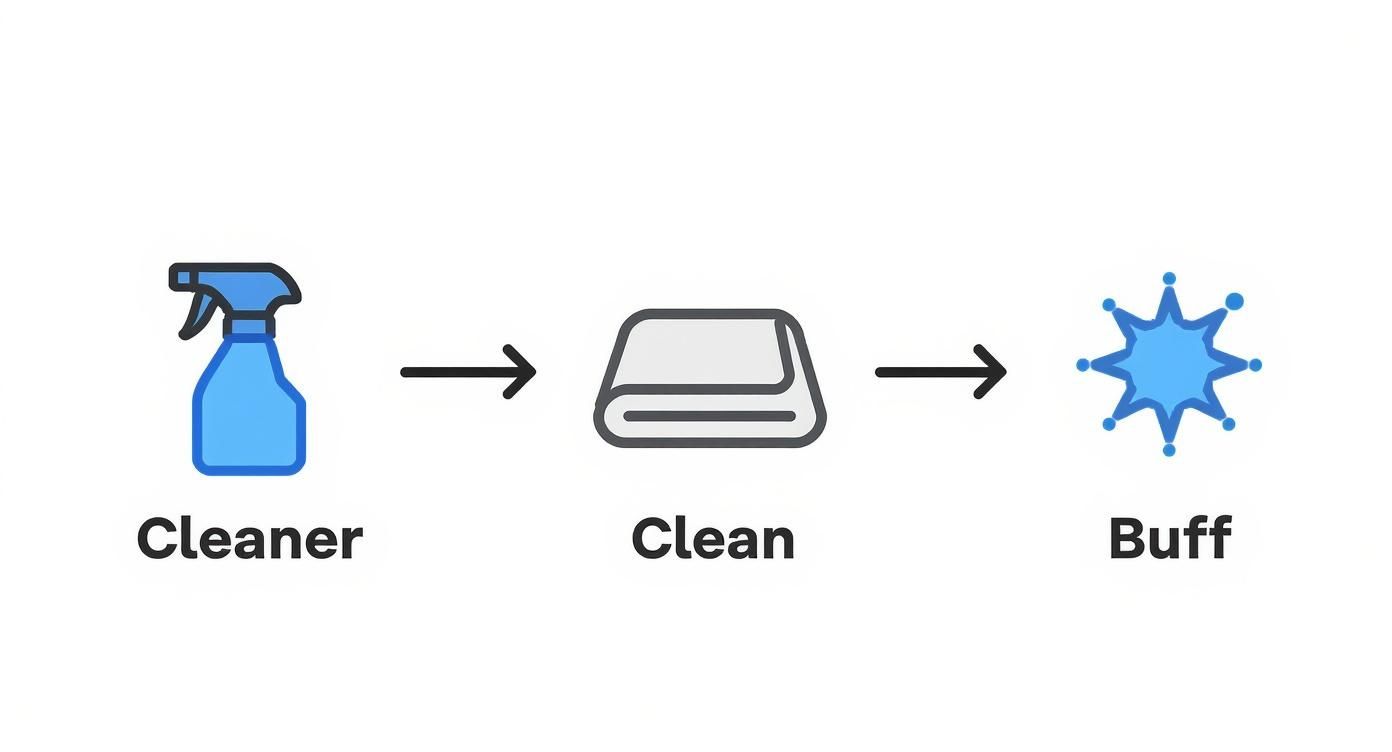
As you can see, it really boils down to three key actions: apply the cleaner, wipe away the gunk, and buff to a perfect finish. This is why the two-towel method works so well.
Don't Forget the Wiper Blades
So many people miss this step. It’s completely pointless to get your glass perfectly clean only to have dirty wipers smear grime right back across it the first time it rains.
Just lift the wiper arms away from the windshield. Take a microfiber towel, dampen it lightly with your glass cleaner, and wipe down the rubber blades. You'll probably be shocked at how much black gunk comes off. This small detail makes a huge difference and ensures your hard work actually lasts. While you're at it, if you're dealing with stubborn mineral deposits, you might want to learn how to remove water spots from your windshield to get total clarity.
This kind of attention to detail is why the market for specialized cleaning products keeps growing. The global windshield cleaning concentrate market was valued at around $2.5 billion and is expected to grow at a 5% CAGR. It's all driven by more people understanding how much clean, clear glass impacts road safety.
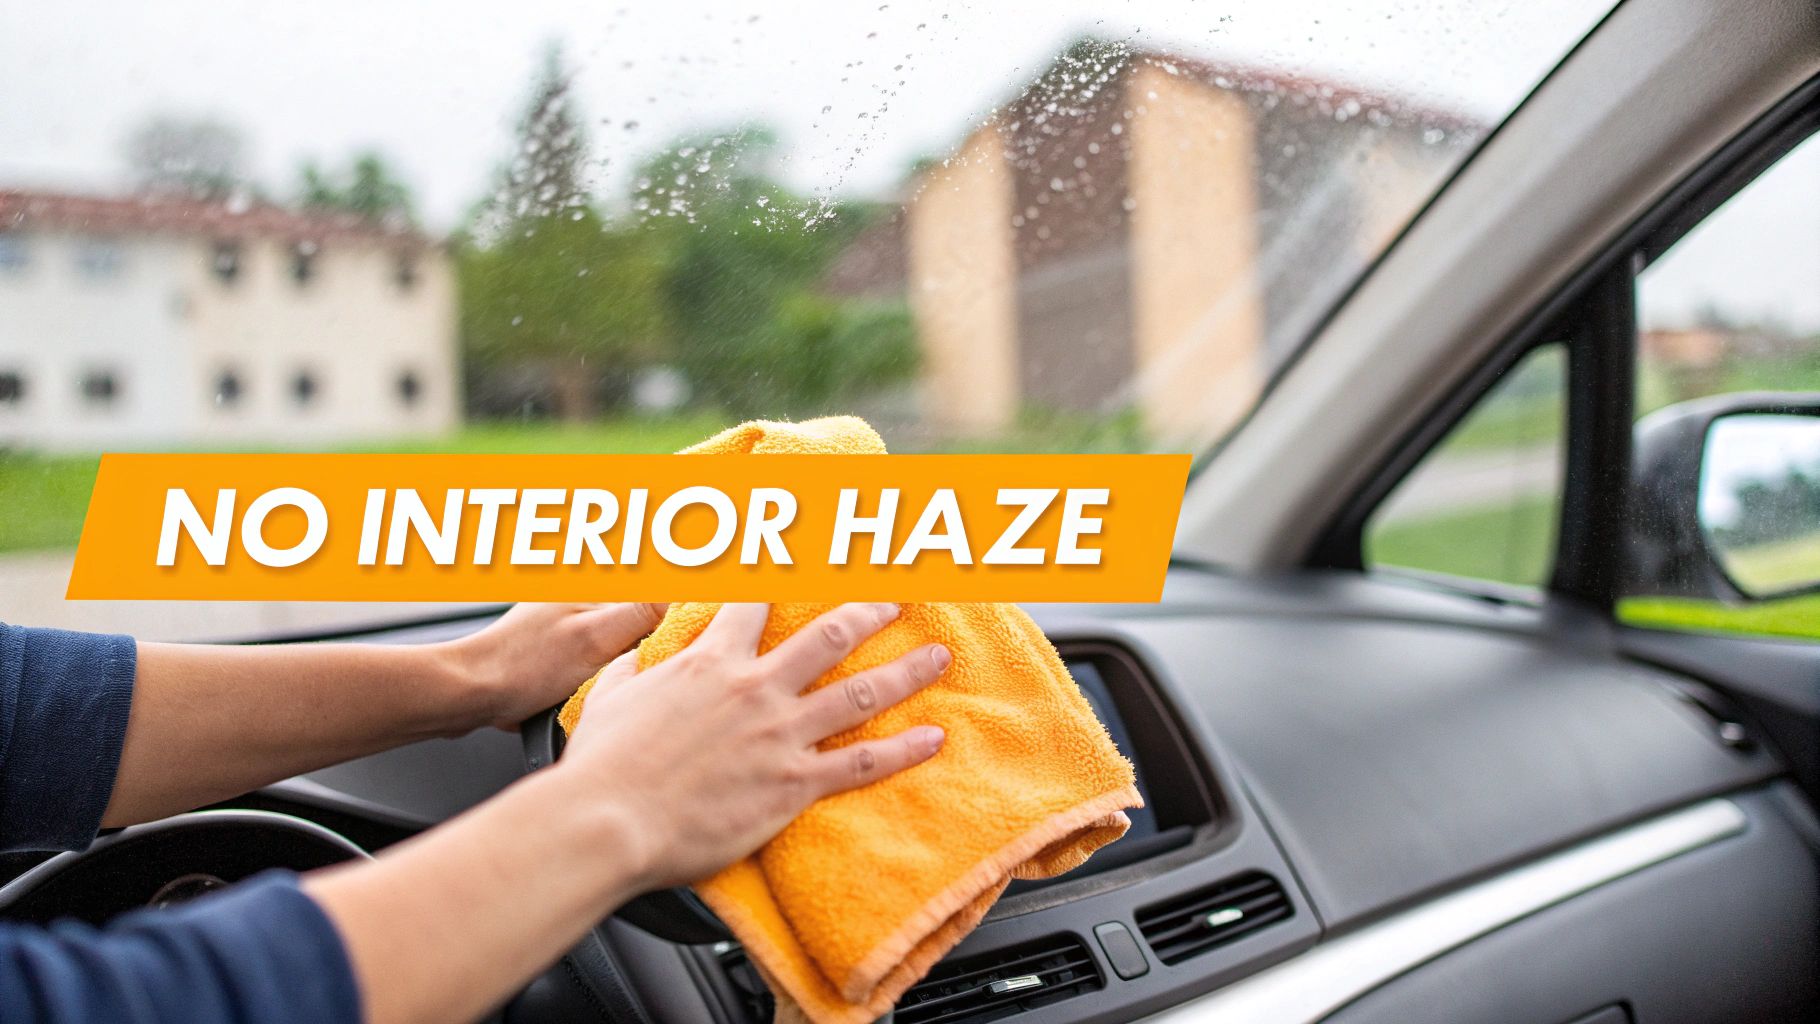
Conquering the Haze on Your Interior Windshield
The inside of your windshield is a whole different beast. It’s where that stubborn, hazy film seems to appear out of thin air, distorting sunlight and oncoming headlights into a dangerous glare. This isn't just dirt; it's a chemical residue caused by a process called off-gassing, where vinyl and plastic from your dashboard slowly release vapors that settle on the glass.
This film requires a specific game plan. It’s tempting to just grab a bottle and spray the glass, but that’s a rookie mistake. Overspray can easily get on your dashboard, potentially staining the material or damaging sensitive electronics. The pro move is to spray the cleaner directly onto your microfiber towel instead.
This controlled method prevents drips and gives you total command over where the product goes. It's no surprise that as drivers demand better solutions for this exact problem, the automotive glass cleaner market is projected to grow from $1.95 billion to an impressive $5.02 billion. The innovation is being driven by streak-free and anti-fog formulas perfect for tackling that interior haze. You can dig into the automotive glass cleaner market trends on persistencemarketresearch.com to see where the industry is headed.
The Two-Towel Technique Pros Swear By
If you want a truly transparent finish, the secret lies in the two-towel method. It’s a simple but incredibly effective technique that professional detailers use every single day.
First, you'll need two high-quality microfiber towels. One is for cleaning, the other for buffing. Lightly mist an ammonia-free automotive glass cleaner onto your first towel—just enough to make it damp, not soaked. Your second towel stays completely dry, ready for the final pass.
I find it’s easiest to start from the passenger side of the car. This gives you a better angle and more leverage to reach across the entire windshield, especially that tricky spot where the glass meets the dash. Wipe the glass with your dampened towel using a consistent, methodical top-to-bottom motion.
Don't wait. As soon as you finish the initial wipe-down, immediately grab your dry towel and buff the glass to a crystal-clear shine. This is the most important part—it removes any lingering moisture or cleaner residue before it can dry and form those dreaded streaks.
Reaching Those Awkward Corners
We've all been there: the main part of the windshield is perfect, but those last few inches where the glass curves down to meet the dash are a streaky mess. They’re notoriously tough to get right.
Here are a couple of tricks I've picked up over the years:
- Use the back of your hand. Instead of trying to contort your wrist into an impossible position, lay the towel over the back of your hand. This lets you press it firmly into the corner and follow the natural curve of the glass.
- Wrap a trim tool. For extremely tight spots, you can wrap a clean section of your towel around a plastic interior trim tool. It acts like an extension of your finger, letting you get deep into that crevice.
Taking this extra bit of care ensures every single inch of your interior glass is free from that distracting film. The result is the safest, clearest view of the road ahead.
Keeping Your Windshield Cleaner for Longer
https://www.youtube.com/embed/Dyyi0ZQxrK8
Getting that perfectly clean, streak-free windshield feels great, but let's be honest—the real win is making that clarity last. The trick is to shift your mindset from just cleaning off the grime to actively protecting the glass afterward. This turns a one-off chore into a smart, simple maintenance routine.
One of the best things you can do is apply a hydrophobic glass sealant. It’s basically like a wax for your windshield, creating an invisible, super-slick barrier over the surface.
This coating completely changes how water behaves on your glass. Rain beads up into tiny droplets and zips right off, especially once you're moving. It's a game-changer for visibility in a downpour and means you don't have to rely on your wipers nearly as much.
The biggest upside to using a sealant? It makes future cleaning a breeze. Dirt, bug splatters, and road grime just can't get a good grip on the slick surface, so they often wash away with a simple rinse.
A Simple Weekly Habit Goes a Long Way
To really stretch the life of your deep clean, a quick weekly check-in can work wonders. We're not talking about another full-on cleaning session—just a couple of minutes is all you need.
Try working these two ridiculously easy habits into your weekly routine:
- Clean Your Wiper Blades: Grab a damp microfiber towel and give the rubber edges of your wipers a quick wipe. This gets rid of the built-up grit that causes those annoying smears on your otherwise pristine glass.
- Top Off Your Washer Fluid: Make sure your reservoir is full of a good-quality washer fluid. Trust me, the last thing you want is an empty tank right when a truck kicks up a wall of mud onto your windshield.
These little steps don't take much effort, but they stop grime from building up in the first place. It’s how you transform windshield care from a dreaded task into a simple habit that keeps you safe with a crystal-clear view of the road.
Got Windshield Woes? We’ve Got Answers.
Even when you follow all the right steps, sometimes you just hit a snag. Let's walk through some of the most common hangups people face when they’re chasing that crystal-clear, streak-free shine.
Can I Just Grab My Household Glass Cleaner?
I hear this one all the time, and it's a hard "no" from me. That bottle of Windex under your sink is likely loaded with ammonia. While it works wonders on your home's windows, ammonia is a real troublemaker for cars.
Over time, it can wreck your window tint, make the rubber seals around your glass brittle and cracked, and even fade the plastic on your dashboard. Do yourself a favor and stick with a dedicated, ammonia-free automotive glass cleaner. It’s designed specifically to be safe for all the different surfaces inside and outside your vehicle.
How Do I Get Rid of Those Baked-On Bug Guts?
You know the ones—the bug splatters that seem to have fossilized onto your glass. For those, and for sticky tree sap, the key isn't scrubbing harder, it's working smarter. The trick is to give the gunk some time to soften up.
- Start by hitting the spot with your car wash soap or a good bug and tar remover.
- Don't wipe it off right away! Let it dwell for at least a full minute. This is where the magic happens, as the cleaner breaks down the mess.
- After it has soaked, a gentle wipe with a fresh microfiber towel should lift it right off.
If you're dealing with something seriously stubborn, a detailing clay bar (used after a full wash) is your secret weapon. It’ll safely pull those contaminants off the glass without leaving a single scratch behind.
By the way, the number one culprit behind streaks is surprisingly simple: your cleaner is drying before you can wipe it off. To beat this, always work in the shade, keep one microfiber towel for wiping and a separate dry one for buffing, and use just a light mist of cleaner—don't drench the glass.
Want to make the whole process faster and way more effective? The SwiftJet Car Wash Foam Gun covers your windshield in a thick blanket of foam that lifts away dirt and grime, so you don't have to. Grab yours today and see what a pro-level clean looks like right in your own driveway.